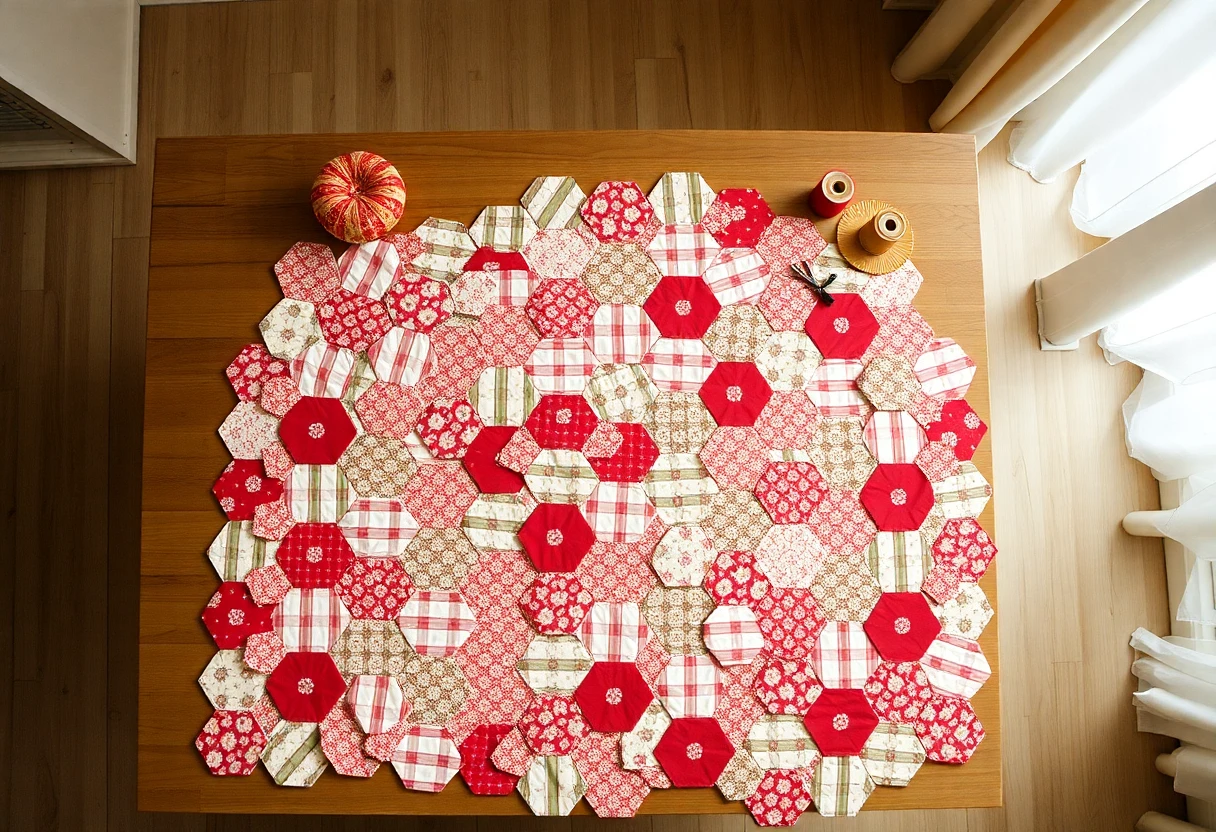
It is slow and very portable. A rosette in progress fits in a small tin, and nothing needs a machine, an iron or a table, which is a large part of its appeal.
A short history
Hexagon quilts are old. The Textile Research Centre in Leiden's notes on Grandmother's Flower Garden trace the hexagon paper-piecing template to 18th-century England and mention a hexagon quilt made in Britain in 1796 by Anna Ruggles, now in the International Quilt Study Center and Museum. In the 19th century these quilts were called honeycomb, mosaic or six-sided patchwork. The same notes say the pattern was especially popular in the United States in the 1920s and 1930s, often in bright, repeating pastels, and that some of these quilts hold a thousand hexagons or more.
What you need
- Papers. Print them at true size with the hexagon template generator (no seam allowance), or buy precut ones. Card stock holds a crisp edge; copy paper is fine for a first try.
- Fabric, cut about ⅜ inch bigger than the paper all around. Quilting cotton folds and holds a crease best.
- A fine, sharp hand needle and thread that blends with your fabrics. Gray or beige thread disappears into most prints; a fine 50 or 60 weight thread keeps the stitches small.
- For glue basting, a fabric glue pen. For thread basting, any needle and a contrasting thread you can find later.
- Small scissors and a couple of clips to hold pieces together while you stitch.
Step 1: cut and baste
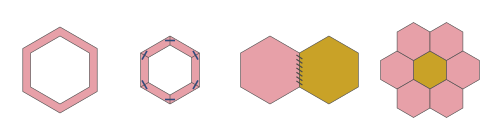
- Cut the fabric. Lay a paper on the wrong side of the fabric and cut around it with ⅜ inch to spare. Rectangles are fine and faster to cut than hexagons; the calculator gives the rectangle size for each paper size.
- Center the paper on the wrong side of the fabric and hold it with a clip, or with a dab of glue in the middle of the paper.
- Fold one edge of the allowance over the paper and crease it with a fingernail. Fold the next edge so the corner makes a neat pleat, and keep going around.
- Baste. With thread, take a stitch through the folded fabric at each corner. You can stitch through the paper as well, which holds it firmly, or only through the fabric folds, which lets the paper drop out easily later. With glue, run a thin line along the paper's edge on the back and press the allowance onto it, one side at a time. Keep the glue on the paper side only, near the edge, never on the folded edge you will sew through.
Thread basting is quieter work and leaves nothing behind. Glue is faster, and many people baste a whole stack of shapes with glue in an evening, then stitch them for weeks. Either way, the fabric should be snug against the paper: if it's loose, the edges drift and the shapes won't meet at the corners.
Step 2: stitch the edges together
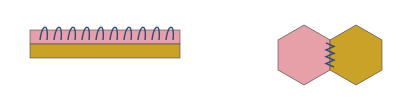
Whipstitch
Hold two basted shapes right sides together with the edges to be joined exactly lined up, corner to corner. Knot the thread and start at one corner: bury the knot in the seam allowance, take two small stitches on top of each other to lock the corner, then sew across the edge with small stitches that catch only a few threads of each fold. Keep the needle out of the paper. Even stitches matter more than tiny ones. Lock the far corner with another double stitch.
Flatback stitch
Lay the two shapes side by side, right side up, with the edges butted together, and flip them over so you're working on the back. Take a small stitch into the fold of one piece, then straight across into the fold of the other, moving along the edge a little each time, so the thread makes a gentle zigzag. The stitches lie flat and almost invisible on the front, and the pieces open flat with no hump at the seam. Clips help hold the edges together while you learn it.
Whipstitch is the traditional stitch and makes a strong, slightly raised seam. Flatback looks neater from the front. Try both on your first rosette; most people settle on one quickly.
Step 3: build the rosette
Start with the center and one petal. Sew one edge, then without cutting the thread, fold the work so the next petal lines up with the center's next edge and with the side of the first petal, and keep stitching. When you reach a corner where three shapes meet, fold the paper slightly to bring the next pair of edges together; the papers bend, and that's how English paper piecing handles the inset seams that are tricky on a machine.
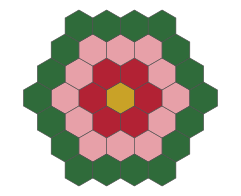
A classic Grandmother's Flower Garden flower has a center, a ring of 6 and a ring of 12, for 19 hexagons. The flowers are then joined with a path of hexagons, often green or white, between them. The calculator on the hexagon generator page counts the hexagons and the fabric for any number of flowers, with or without a path.
Step 4: take the papers out
Leave a paper in until every edge of its shape has been sewn to a neighbor; the papers on the outside edge stay in until the very end. Then snip and pull any basting threads that go through the paper, or loosen glue by easing a finger under the allowance, and lift the paper out with a pin through the hole. Press the piece from the back with the seam allowances left folded. Clean papers can go back in the pile.
A finished hexagon top has zigzag edges. You can appliqué the whole piece onto a background or border, trim it straight after the papers come out (staystitch near the edge first, since the cut edges are on the bias), or fill the edges with half hexagons cut to size.
Other shapes
Anything with straight edges and angles of at least 60 degrees works. Six 60-degree diamonds make a star, and three make a tumbling block that reads as a cube. Clamshells can be paper pieced too, and so can Dresden plate blades. Print papers for these with the curved and 60-degree template generator, and for the plate itself see the Dresden plate block.
Common problems and fixes
- Corners that don't meet: usually loose basting. Pull the fabric snug on the next batch, and fold each corner the same way.
- Stitches that show on the front: you're taking too much fabric. Catch only the very edge of each fold, two or three threads deep.
- Puckered seams: the thread is pulled too tight. Snug each stitch, then relax the tension a little before the next.
- Tangled thread: cut it shorter, about 18 inches, and knot the end you cut from the spool.
- Papers that won't come out: you stitched through them. It's not a disaster; tear the paper gently along the stitches and pick out the scraps.
Once the top is done, the rest is the same as any quilt: baste the layers, quilt by hand or machine, and bind it. A flower garden pieced over months is the kind of quilt that ends up being handed down, so it's worth adding a label with the maker's name and the dates.
You might also like
 How to baste a quiltBuilding the quilt sandwich and holding it together with pins, spray or thread, with sizes and spacing.
 How to hand quiltBetweens, thread, hoop and thimble, then the rocking stitch and how to hide every knot.
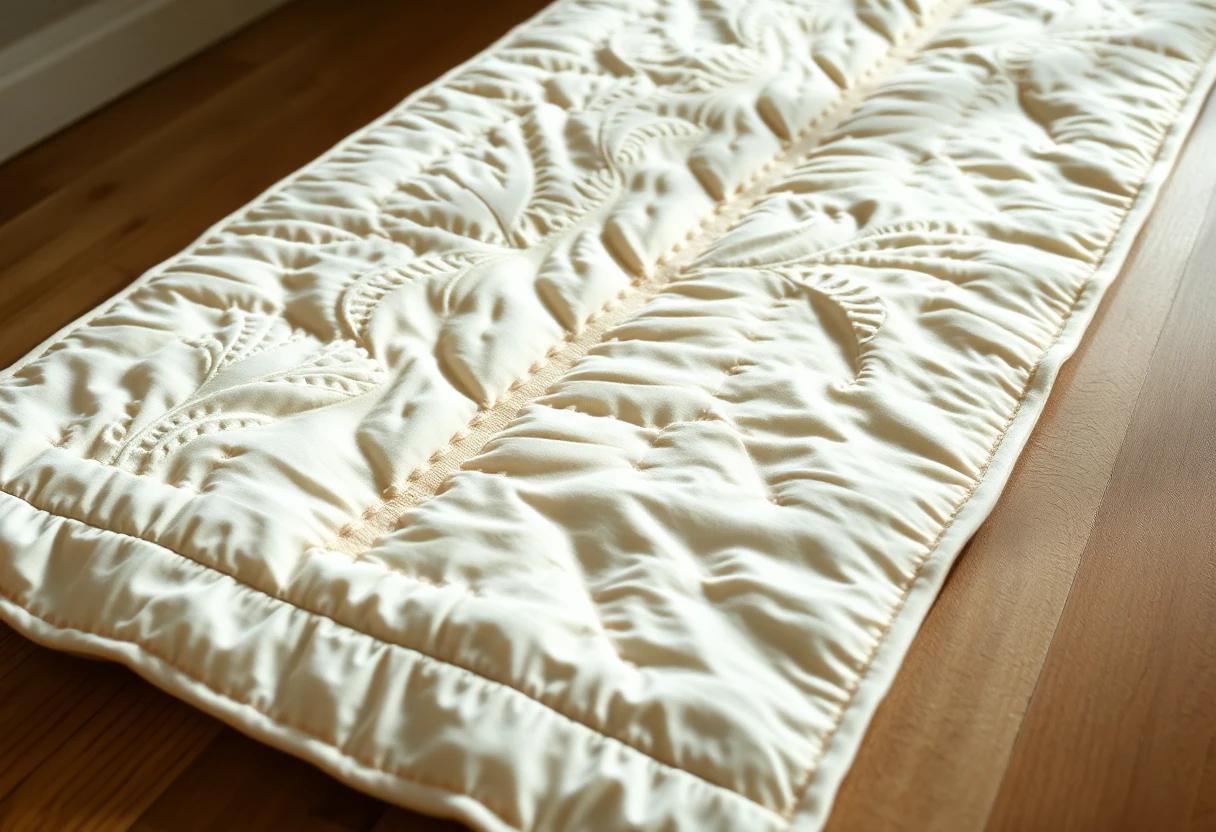 Echo and feather quiltingEcho lines around shapes, and feathers by hand and machine: spines, plumes, the bump-back method and common fixes.
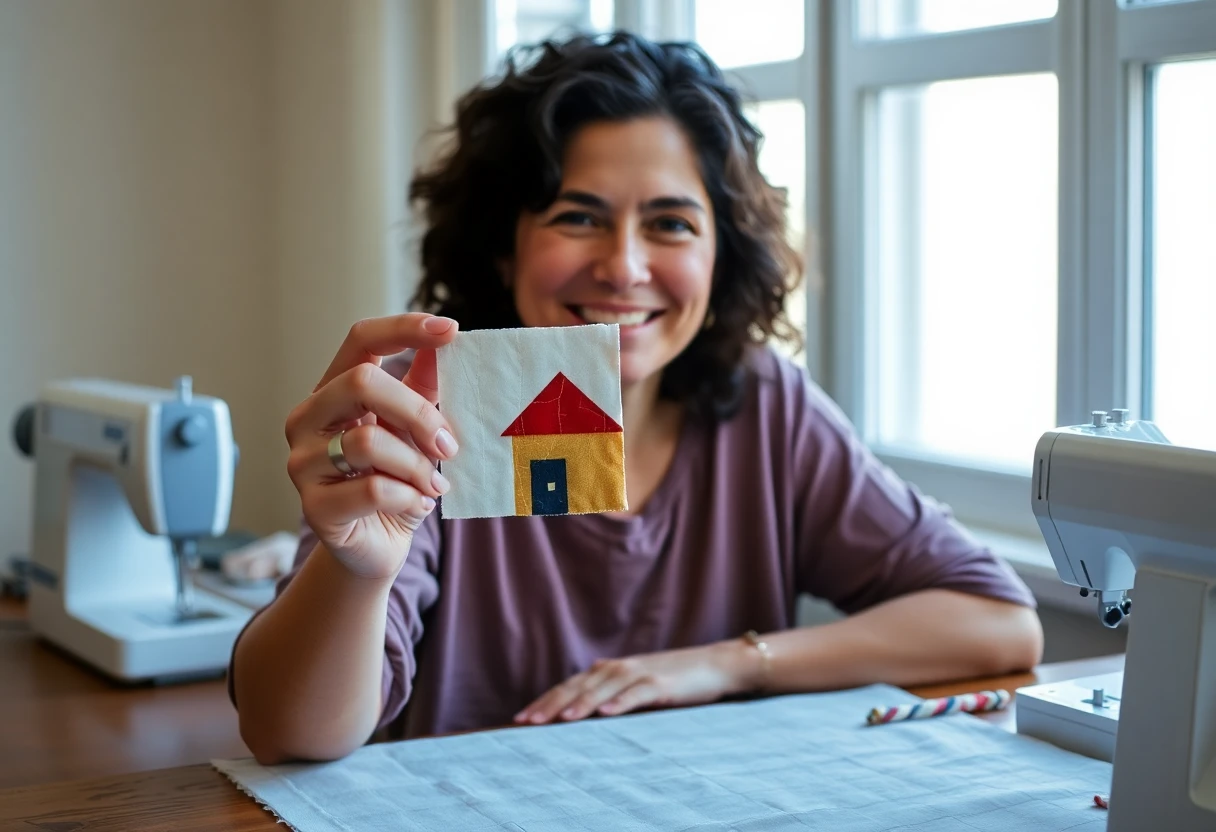 Foundation paper piecingHow paper piecing works, from sewing order and stitch length to removing the paper, with a free printable 6-inch house block.