Parts and sizes
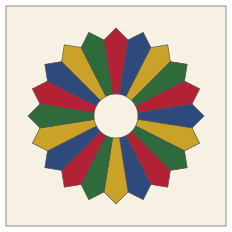
The block has three parts: the blades, a center circle and the background square. Twenty blades is a common count, each one an 18-degree wedge; 12 and 16 blades make a chunkier plate, and 24 a finer one. Whatever the count, the blade angle is 360 divided by the number of blades.
Print true-size blade and center templates for any count and size with the Dresden plate template generator. It also works out the strips to cut. Three common sizes, all with ¼-inch seams and pointed tips, checked by calculation:
| Blades | Finished plate | Center circle (finished) | Blade length (cut) | Strips for the blades | Background (finished) |
|---|---|---|---|---|---|
| 12 | 12 in | 3 in | 5.16 in | one 5¼-in strip (15 blades) | 16 in |
| 16 | 16 in | 4 in | 6.66 in | two 6¾-in strips (15 per strip) | 20 in |
| 20 | 16 in | 4 in | 6.65 in | two 6¾-in strips (18 per strip) | 20 in |
Cut the background 1 inch larger than its finished size plus seam allowance (21 inches for a 20-inch block), appliqué the plate, then trim it to 20½ inches square with the plate centered. Appliqué can draw the fabric in a little, and the extra inch lets you trim it square.
Cutting the blades
Cut a strip as wide as the blade template is long. Lay the template on the strip with its wide end at the top edge, cut both sides, then turn the template end for end so the next blade's wide end sits at the bottom edge. The blades nest along the strip, sharing each cut. A ruler made for Dresden blades does the same job; the template from the generator works if you tape it to the underside of a straight ruler or trace it onto template plastic.
Scrappy plates are the classic look. For a planned plate, cut half the blades from one fabric and half from another and alternate them, or fussy-cut the same motif into every blade.
Making pointed tips
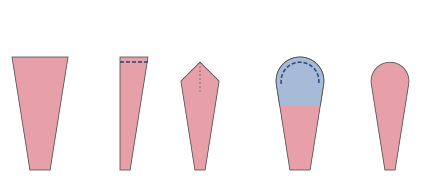
- Fold a blade in half lengthwise, right sides together, so the long sides line up.
- Sew straight across the wide end with a ¼-inch seam. Chain-piece all the blades one after another without cutting the thread.
- Clip the corner at the fold, close to the stitching, to reduce bulk.
- Turn the tip right side out and push the point out gently with a point turner or a chopstick.
- Open the blade so the seam sits down the center of the back, and press. The point is now a right angle exactly on the top sewing line, and the seam on the back keeps the edges lined up.
If the points come out lopsided, the seam isn't centered. Lay the blade face down on the ironing board, line the seam up with the fold line you'd see on the template, and press again.
Making rounded tips
Rounded blades are made by facing the curve, which gives a smooth edge with no hand turning.
- Cut a facing for each blade from lightweight fabric or lightweight fusible interfacing: the top 2 inches or so of the blade template.
- Lay the facing on the right side of the blade (the fusible side facing the right side of the blade, if you use interfacing) and sew along the curved sewing line, from one side to the other.
- Trim the allowance to about ⅛ inch and clip or notch the curve.
- Turn the facing to the back, roll the seam slightly to the back so the facing doesn't show, and press. A fusible facing then glues the curve flat.
The other way is to turn the curve under by hand: press it over a card or heat-resistant template with a little starch, then appliqué it with the rest of the plate.
Sewing the plate
- Lay the blades out in a ring and move them around until you like the color order.
- Sew blades together in pairs along their long sides, right sides together, with a ¼-inch seam, starting at the tip end. Backstitch at the tip.
- Sew pairs into fours, fours into halves and check that the half lies flat. Then sew the two halves together.
- Press all the seams in one direction around the ring, or press them open.
A plate that cups in the middle has seams that are a little too wide; one that ruffles or won't close has seams that are a little narrow. Adjust a few seams by a thread or two rather than all of them. An accurate quarter-inch seam prevents most of it.
Applique onto the background
- Fold the background in half both ways and on both diagonals and finger-press or lightly press the folds. They meet at the center and give you guide lines for the blades.
- Center the plate on the background, lining seams up with the creases, and pin or glue-baste it.
- Stitch around the outer edge. By hand, use a small blind stitch through the fold. By machine, use a narrow zigzag, a blanket stitch or a straight stitch about ⅛ inch from the edge, in matching or invisible thread. Pivot with the needle down at each point.
- Make the center circle. Cut it with ¼ inch to turn under, run a line of hand gathering stitches in the allowance, place a card circle the finished size in the middle and pull the thread up snugly around it. Starch and press, then pop the card out. Appliqué the circle over the center, covering the raw ends of the blades.
- Optional: from the back, cut away the background inside the plate, ¼ inch from the stitching. It removes a layer for hand quilting and keeps a dark background from showing through pale blades.
- Trim the block to its unfinished size with the plate centered.
Quilt layouts and ideas
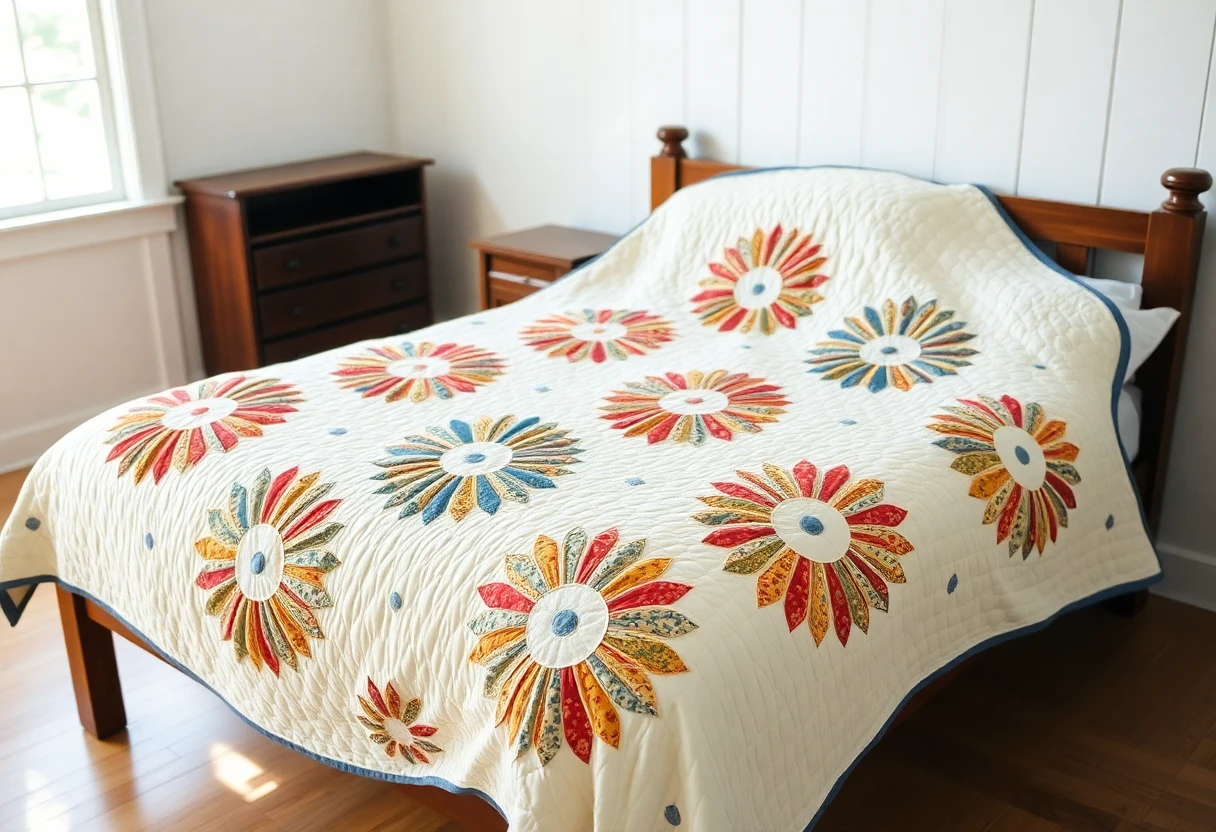
Twelve 20-inch blocks, 3 across and 4 down, make a 60 × 80-inch top before borders; add sashing between them to give each plate a frame. Half or quarter plates fit in the corners and edges of a quilt. A single large plate makes a good wall hanging or the center of a medallion quilt.
Dresden blades are wide enough to sign. A plate with a name on each blade, written with a fabric pen before the blades are sewn, makes a circle of friends or a family ring; see signature quilts for pens and how to make the ink last. Turn the plate into a patriotic medallion with alternating red and white blades and a navy center.
When the blocks are together, baste and quilt around each plate and its center to make the appliqué stand out, then bind. For other hand-friendly shapes, see English paper piecing and the drunkard's path block.
You might also like
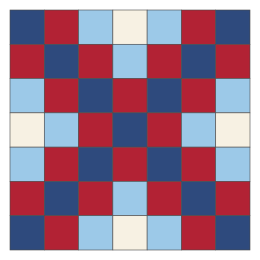 Triple Irish chain quilt blockA 7 x 7 chain block and a background block that link into three-square-wide chains.
 How to make half-square trianglesThe 2-, 4- and 8-at-a-time methods, a cut-size chart for each and how to trim.
 Ohio star quilt blockAn eight-point star from quarter-square triangles, cut for 6, 9 and 12 inch blocks.
 Churn dash quilt blockHalf-square triangle corners and two-strip bars, cut for 6, 9 and 12 inch blocks.