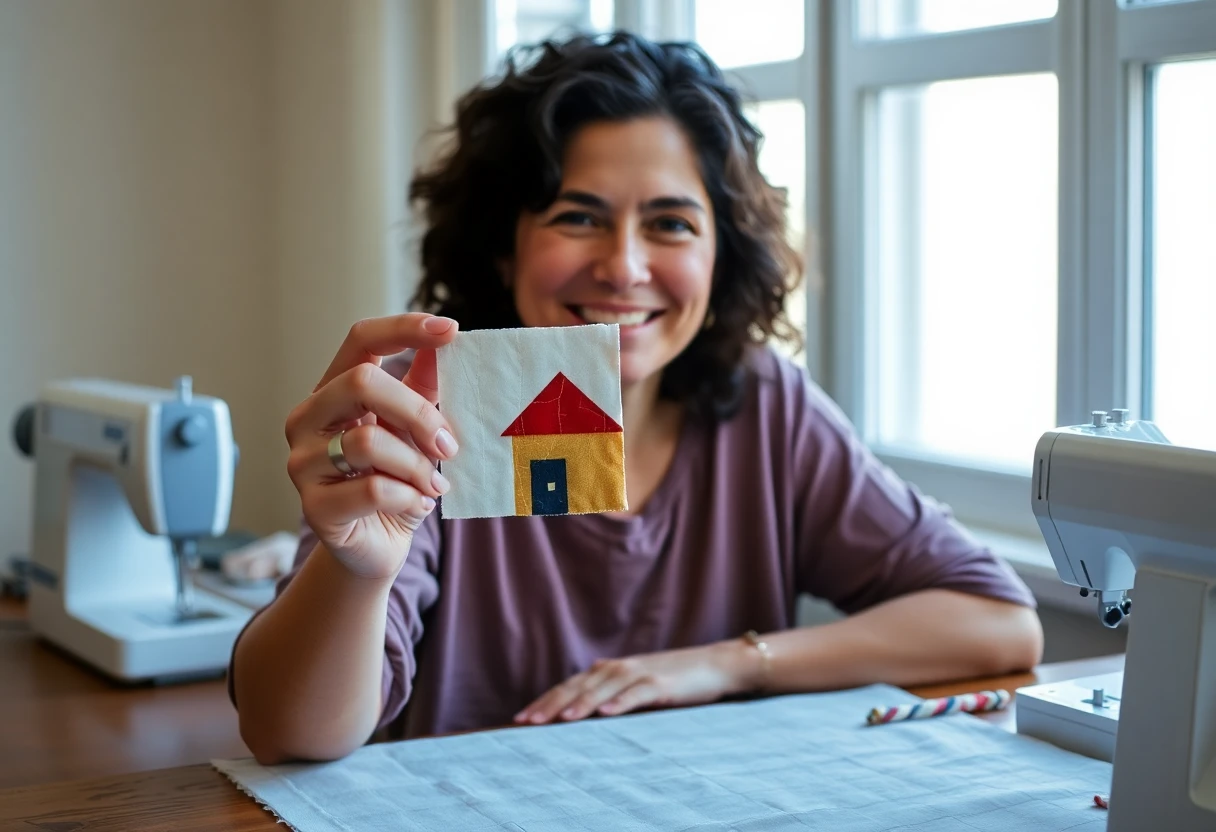
How it works
A paper piecing pattern is a drawing of the block divided into numbered sections, usually grouped into units (A, B, C) that are pieced separately and then sewn together with ordinary straight seams. Each line inside a unit is a seam you sew through the paper.
- The printed side faces you while you sew; the fabric sits underneath against the blank side. So the finished block is the mirror image of the print. For symmetric blocks that doesn't matter. For a letter, a house with an off-center door or a bird, it does.
- Numbers give the order. You start with piece 1, then add 2, then 3. Each new seam has to run across the full width of what's already sewn, which is why the sections are numbered the way they are.
- Each fabric piece is cut oversized. You don't need exact shapes, only rectangles big enough to cover the section plus a ¼-inch seam allowance on every side, with a little room to spare. The excess gets trimmed after each seam.

Paper, stitch length and needle
| Setting | What to use | Why |
|---|---|---|
| Stitch length | 1.5 mm (about 16 to 18 stitches per inch) | Short stitches perforate the paper so it tears away easily, and they don't pull apart when you do |
| Needle | A size 90/14 | A slightly bigger needle makes bigger holes in the paper |
| Paper | Thin foundation paper, or plain 20-lb copy paper | Thin paper tears out faster; copy paper works fine for a first block |
| Pressing | A dry iron, or finger pressing | Steam curls and shrinks paper, and some printer ink smears |
| Printing | 100% (actual size), then measure the 1-inch square | Every unit has to match its neighbors to the line |
A small add-a-quarter ruler (a short ruler with a ¼-inch lip) speeds up trimming, but any ruler with a ¼-inch line works.
Step by step
- Cut each unit out on its dashed line, which is ¼ inch outside the solid outer line.
- Hold the paper up to a window or a lamp, printed side toward you. Put the first fabric behind section 1, right side out (facing away from the paper), so it covers the section with at least ¼ inch extra all around. Pin it from the printed side, or dab it with a glue stick.
- Fold the paper back along the line between sections 1 and 2. Trim the fabric showing beyond the fold to ¼ inch. Unfold the paper.
- On the fabric side, lay fabric 2 right side down on fabric 1, with its edge lined up with the trimmed edge. Check that when flipped over the line it will cover section 2 with room to spare. This is where most mistakes happen; flip it over before you sew if you aren't sure.
- Turn the unit printed side up and sew exactly on the line between 1 and 2, starting and stopping about ¼ inch past each end of the line.
- Turn the unit over, open fabric 2 so it covers section 2, and press with a dry iron.
- Repeat for every number in order: fold back on the next line, trim to ¼ inch, add the next fabric, sew, flip and press.
- With the printed side up, trim the whole unit on the dashed line, ¼ inch outside the outer line.
- Pin the units right sides together, matching the outer solid lines with pins pushed straight through both papers at the ends and at every seam that meets. Sew on the solid line.
- Remove the paper once the block is sewn into something else, or at least once all its seams are done. Fold along each stitched line to crease it, then tear the paper away from the stitching, starting with the last piece sewn. Tweezers help with small corners.
Free pattern: 6-inch house block
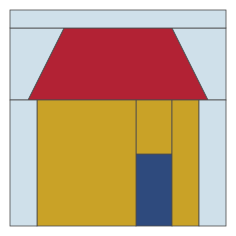
The house is two units: a roof row (A, four pieces) and a house row (B, six pieces). It uses only straight seams, but the roof's slanted sides give you the angled sections that paper piecing handles so well. Choose which side the door should be on and the pattern below redraws itself: it prints the units reversed, as paper piecing needs, so the finished block comes out the way you picked.
Turn on JavaScript to draw the printable pattern. The cut sizes are listed in the text below.
Fabric and cutting
Each piece is cut as a rectangle a bit bigger than its section; the table above lists them (each section plus about ¾ inch, or 1 inch for the slanted pieces). In short: one 6 × 3-inch roof piece; sky pieces 2½ × 3 inches (two), 6¾ × 1¼ inches and 1½ × 4¼ inches (two); house pieces 1¾ × 2¼, 3½ × 4¼ and 1½ × 4¼ inches; and a 1¾ × 2¾-inch door. A low-contrast sky with a strong roof color reads best from a distance.
Sewing the house
- Unit A: roof fabric on A1. Add the sky pieces A2 and A3 on the slanted lines. Their cut rectangles are generous because a slanted seam needs more fabric to flip over than you'd think; check the coverage before sewing. Add the sky strip A4 across the top.
- Unit B: door fabric on B1, then the house piece B2 above the door. Add B3, the wide wall, along the long line beside the door, then B4 on the other side. Finish with the sky strips B5 and B6.
- Trim both units on their dashed lines. Sew A to B along the long edge, matching the outer lines, and press the seam open to reduce bulk. Remove the paper.
A row of houses makes a street for a housewarming or a new-baby quilt, and a block with a name and date in the sky makes a nice label. Six-inch blocks set 6 by 8 make a 36 × 48-inch top before borders. Our template resize calculator gives the copier percentage for a bigger house (133% makes an 8-inch block, 200% a 12-inch one; cut every fabric rectangle bigger by at least the same amount).
Common mistakes and fixes
| Problem | Cause | Fix |
|---|---|---|
| Piece doesn't cover its section after flipping | Too small, or placed off the line | Unpick (the short stitches come out slowly; cut every third one) and use a bigger piece. Flip it over the line before sewing to check. |
| Block is backwards | Forgot the pattern is a mirror image | Print one-way designs reversed, or choose the side you want in our generator |
| Paper tears while sewing | Stitches too short for thin paper, or very thin paper | Try 1.8 mm, or a slightly heavier paper |
| Paper is hard to remove | Stitches too long | Use 1.5 mm and crease each seam before tearing |
| Units don't line up | Printer scaled the page, or one sheet was printed differently | Measure the 1-inch square on every sheet; print all units at once |
| Bulky seams | Seam allowances left wider than ¼ inch | Trim to ¼ inch with the paper folded back after every seam |
Paper piecing is one of three ways to use paper in a quilt. In English paper piecing the fabric is folded around paper shapes and whipstitched by hand; in freezer paper applique the paper is a pressing template. To keep your seams accurate on the parts sewn without paper, see how to sew a quarter-inch seam.
You might also like
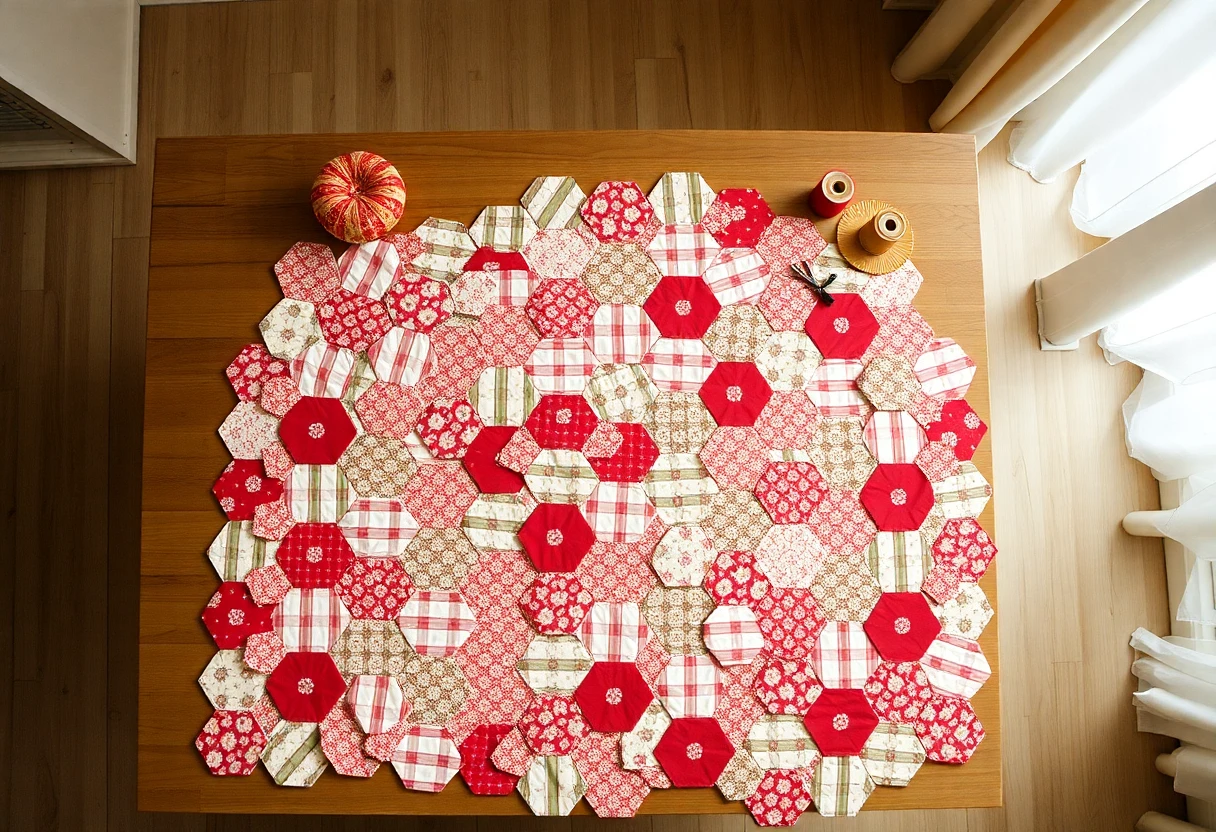 English paper piecingWrap fabric around paper shapes, baste with thread or glue, then stitch the edges together by hand.
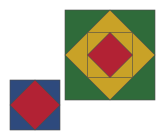 Template resize calculatorThe printer percentage to enlarge or reduce a template or paper piecing pattern, plus a printable table.
 Log cabin block calculatorEvery log length in sewing order and the yardage, for log cabin and courthouse steps.
 How to make a crazy quiltOdd-shaped scraps sewn to a foundation, then every seam covered with embroidery.