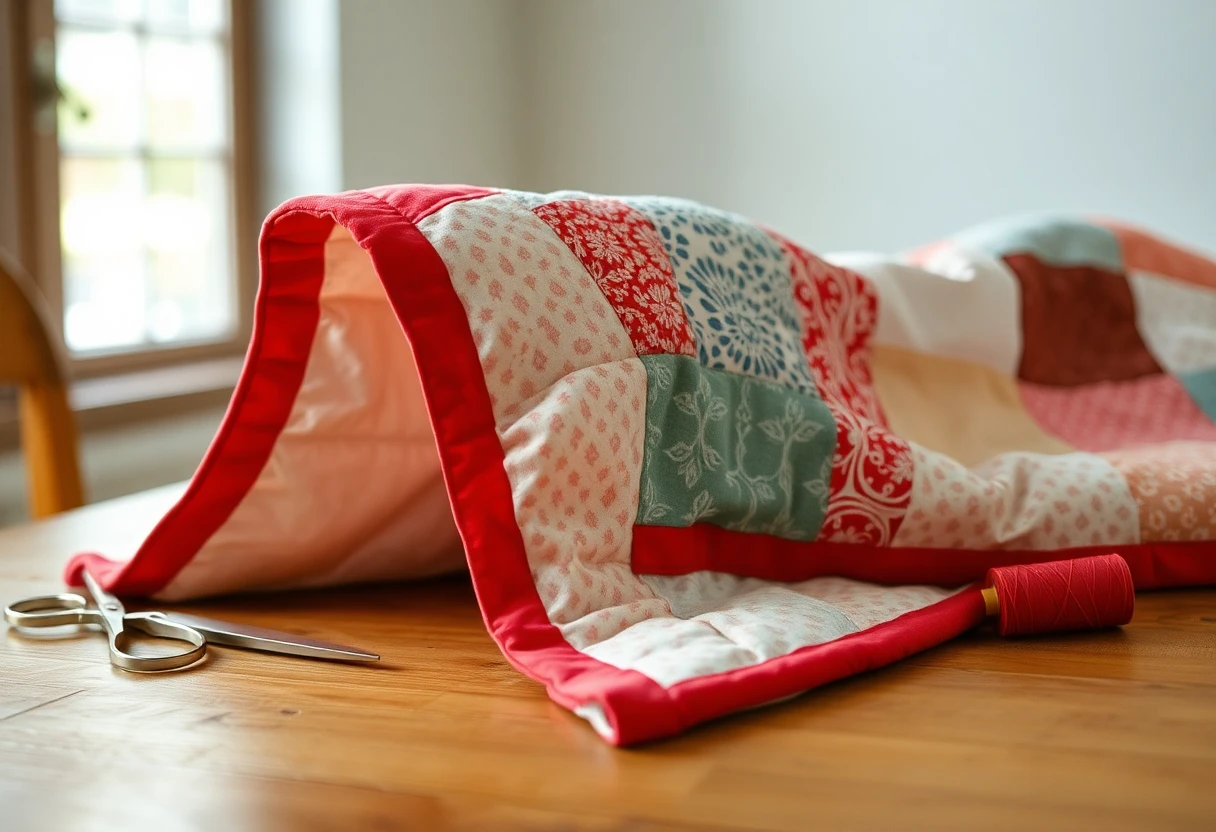
How much binding you need
Add up the four sides of the quilt and add about 12 inches for the corners and the join. Divide by 40 (the usable width of a strip cut selvage to selvage) and round up to get the number of strips. A 60 × 80 inch quilt is 280 inches around, plus 12 is 292, so you need 8 strips. StitchTested has a fuller guide to binding yardage and a calculator if you'd rather not do the math.
1. Cut and join the strips
Cut 2½-inch strips across the width of the fabric. Some quilters prefer 2¼ inches for a narrower, tighter binding; either works if you stay consistent.
To join two strips, lay them right sides together at a right angle, like an L, with the ends overlapping in a square. Draw a line from corner to corner across that square and sew on it. Trim ¼ inch past the seam and press it open. A diagonal seam spreads the bulk out, so you won't feel a lump in the finished binding the way you would with a straight seam.
Once all the strips are one long piece, fold it in half lengthwise, wrong sides together, and press.
2. Square up the quilt
Trim the batting and backing even with the quilt top, using a long ruler and checking that the corners are square. A crooked edge here shows up as a wavy binding later.
3. Sew the binding to the front
Start in the middle of one side, not at a corner. Lay the binding on the front of the quilt with its raw edges lined up with the edge of the quilt. Leave a tail about 10 inches long, then start sewing with a ¼-inch seam. A walking foot helps a lot here; it feeds all the layers evenly so the binding doesn't stretch. (See StitchTested's presser feet guide if you're not sure what yours came with.)
4. Miter the corners
- Stop sewing ¼ inch before the corner. Backstitch and take the quilt out from under the needle.
- Fold the binding straight up, away from the quilt, so it makes a 45-degree angle at the corner.
- Fold it back down along the next side, with the fold lined up with the top edge you just sewed.
- Start sewing again right at the folded edge and continue down the next side.
That little pleat is what becomes the neat diagonal miter when you turn the binding to the back.
5. Join the ends
Stop sewing about 12 inches before where you started, leaving a gap with two loose tails. Lay the tails flat along the edge so they overlap. Trim the end tail so it overlaps the start tail by exactly the width of your strip, 2½ inches. Open both tails, put them right sides together at a right angle, and sew a diagonal seam just as you did when joining strips. Check that it fits before trimming the seam, refold, and finish sewing the gap.
6. Finish on the back
Fold the binding over the edge to the back so it just covers the stitching line. Binding clips hold it better than pins and don't stab you; a pack of 100 sewing clips covers a whole quilt.
By hand, sew it down with a blind stitch or ladder stitch, catching only the backing and the fold of the binding so the stitches disappear. At each corner, fold the miter into place and take a couple of stitches to close it. Hand finishing a throw takes a few evenings, and it looks the best.
By machine, sew the binding to the back of the quilt first, wrap it to the front, and topstitch close to the fold. Or sew it to the front as above and stitch in the ditch from the front, catching the binding on the back. Machine finishing is faster and stands up better to frequent washing, which matters for baby quilts and picnic quilts.
Common problems
| Problem | Usual cause | Fix |
|---|---|---|
| Wavy edges | Binding stretched while sewing, or edges not squared | Use a walking foot and don't pull the binding; square the quilt first |
| Binding too loose to fill | Seam allowance too narrow for the strip width | Use a slightly wider seam, or cut the next binding at 2¼ in |
| Lumpy corners | Sewing past the ¼-inch stopping point | Stop exactly ¼ inch from the edge before folding |
| Join doesn't fit | Overlap measured wrong | The tails overlap by the strip width, then sew on the diagonal |
Next: add a label. New to the whole process? Start with how to make a quilt.
Products on this page
Photos and prices come from Amazon and can change.
 Multipurpose Sewing Clips Pack of 100Check price on Amazon
You might also like
 How to add borders to a quiltMeasuring through the center, butted and mitered corners, and border strip math with a worked example.
 Quilt as you go: joining quilted blocks with stripsQuilting each block on its own, then joining them with narrow front and back strips, with exact cut sizes.
 How to square up a quiltTrimming blocks to exact size, squaring the quilted quilt before binding, and fixing wavy borders.
 Quilt binding variationsFlange and piped binding, machine binding done well, bias binding for curves and scallops, prairie points and facings.