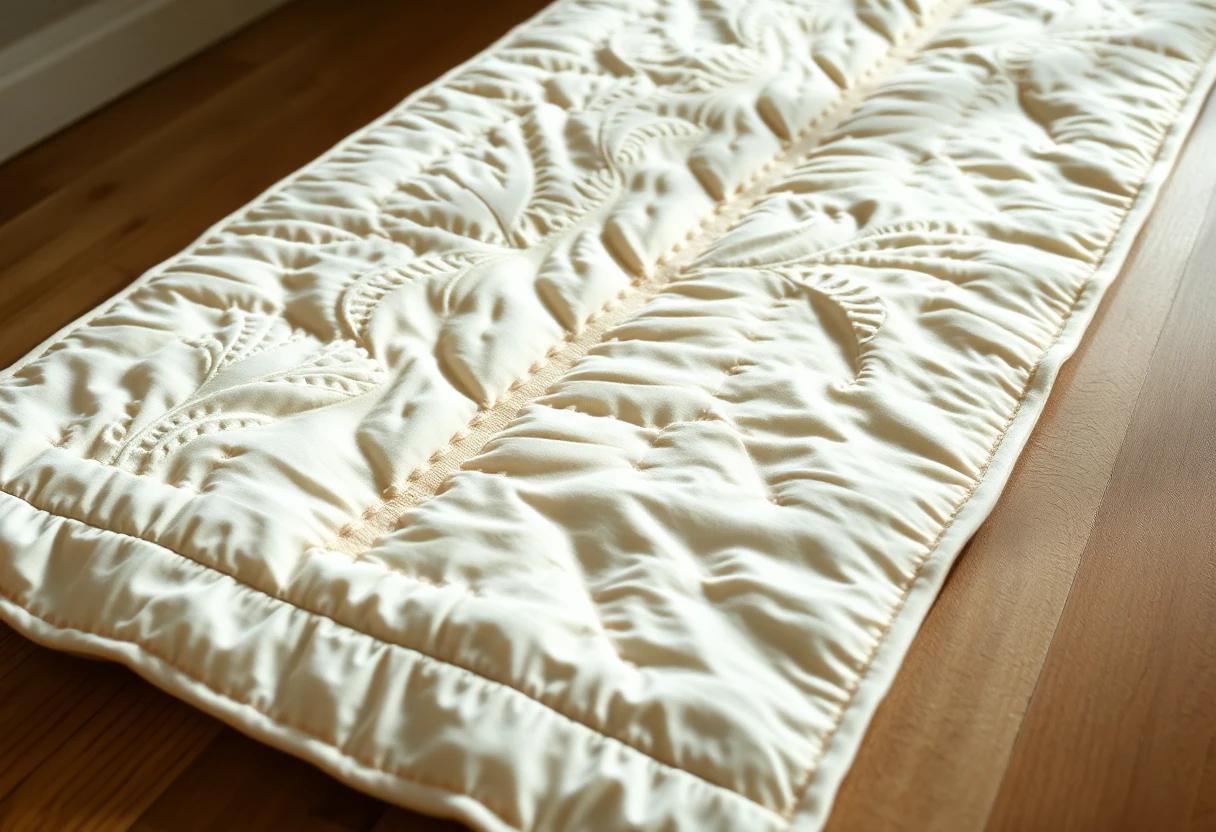
Echo quilting

Each echo line follows the one inside it at a fixed distance. Corners soften as you move out, so a heart becomes rounder with each ring, and points blunt off. That is normal; don't try to keep the sharp inner point on the outer rings.
| Spacing | Look | Use it for |
|---|---|---|
| ⅛ to ¼ in | Dense ripples; shapes pop forward | Around small applique, backgrounds of a wall quilt |
| ¼ to ½ in | A classic, even ripple | Around large applique, hand quilting |
| ½ to 1 in | Soft, drapey quilt | Bed quilts, children's quilts, check the batting's limit |
Check your batting's maximum quilting distance before choosing a wide spacing; some battings need a line every few inches, others allow much wider gaps. The batting guide explains why.
By hand
Hand quilters often echo by eye, using the width of a fingertip or a strip of ¼-inch quilter's masking tape laid along the previous line. Stitch the first line in the ditch right next to the applique, then work outward ring by ring. Each ring is a separate line: travel to the next by sliding the needle through the batting, not across the back. The rocking stitch and thread choices are in how to hand quilt.
By machine
Gentle shapes with few corners can be echoed with a walking foot; the edge of the foot is the guide. Sharp curves and points need free motion: drop or cover the feed dogs, use a darning or ruler foot, and keep the needle a steady distance from the line beside it. A foot with marked rings, or a ruler foot used with a small template ruler, keeps the spacing even. To move from one ring to the next without breaking thread, stitch a short jog outward at a point that will be hidden, such as a corner or the bottom of a heart, and keep going around.
Feathers
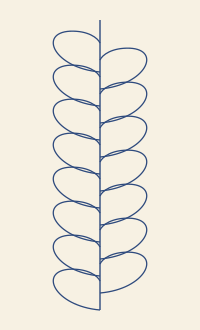
Every feather has two parts. The spine is the center line; it can be straight, a gentle S-curve, or a circle for a feather wreath. The plumes are the rounded leaves that grow from it. Each plume starts at the spine, swells out to a rounded top, and comes back down to meet the spine or the plume before it. Plumes on one side are usually offset by half a plume from the other side, like the barbs of a real feather.
A few proportions keep feathers looking right:
- Plume length about one and a half to two times plume width.
- Plumes lean the same way, toward the top of the spine. Their tips curl in that direction.
- Plumes grow smaller toward the end of the spine and toward tight curves, then finish with one small plume over the tip.
- On a curved spine, plumes on the outside of the curve are a little bigger than those on the inside.
Drawing feathers first
Practice on paper with a pencil before you stitch: the hand learns the plume shape quickly, and the order of plumes is the same on fabric. Draw the spine, then draw the first plume at the bottom, then each next plume starting on the spine (or on the previous plume) and curving up over it. For hand quilting and for marked machine work, draw the feather on the quilt top with a removable marker, or trace a printed design through the fabric on a light box. Test the marker on a scrap first; some heat-erasable inks come back in the cold.
By hand
Traditional hand-quilted feathers are marked in full, spine and plumes, and quilted with a short running stitch. Quilt the spine first, then each plume, starting each one where it touches its neighbor so the curves meet cleanly. Because each plume is a separate line, plan your travel: bury the thread in the batting and come up at the next plume's base. Hoops or a frame keep the layers flat; curved plumes are easier to stitch when you turn the hoop rather than your hand.
By machine: the bump-back feather
Free-motion feathers are usually stitched in one continuous line, no marking needed beyond the spine:
- Stitch the spine first, from bottom to top, and travel back down along it to the start. (Or mark it and stitch the plumes on one side, then the other.)
- Stitch the first plume: from the spine, out, up over the rounded top, and back down to the spine just above where it started.
- For each next plume, travel back along the outer edge of the previous plume for about a third of its length (the bump back), then swing out and around into a new plume that ends on the previous one.
- Keep going to the top of the spine, end with a small plume over its tip, then travel down the spine and stitch the other side the same way.
The backtracking is what gives machine feathers their tidy look: each plume grows out of the last instead of floating. Stitch slowly on the travel and faster on the open curve. Use a thread that matches the fabric while you learn; it hides the doubled travel stitches. Free-motion setup, stitch length and speed are covered in free-motion quilting for beginners.
A variation without backtracking is the hooked plume: each plume ends with a small curl back toward the spine, and the next plume starts from that curl. It's faster but looks looser.
Where to use them
- Around applique: echo first, then let a feather fill the corners of the block.
- Borders: a feather running along the length of a plain border, with the spine curving gently in and out. Plan the corners first; a feather that turns the corner on a mitered border looks deliberate.
- Plain alternate blocks: a feather wreath (spine is a circle) in each plain block between pieced stars is a traditional setting.
- Whole-cloth quilts: feathers and echoes alone, with no piecing at all.
Common problems
| Problem | Cause | Fix |
|---|---|---|
| Plumes look like a row of bumps | Plumes too short and too round | Make them longer than wide, and lean them toward the tip of the spine |
| Gaps between plumes | Each plume ends away from the previous one | End each plume on the edge of the one before; bump back further |
| Thread build-up on the travel | Travelling too far, or wobbly travel lines | Travel a third of the plume or less, and slow down on it |
| Echo lines wander closer and farther | No guide, or speed changes on corners | Use tape, a ruler foot or a marked foot; slow down on curves |
| Puckers inside a ring of echoes | Quilting from the outside in traps fullness | Start next to the shape and work outward |
| Feather runs out of room at the end | Plumes not shrunk toward the tip | Mark the spine's end and shrink the last three or four plumes |
Echoing pairs naturally with applique; see applique methods compared and our printable applique templates. For straight-line quilting with a walking foot, see straight-line machine quilting.
You might also like
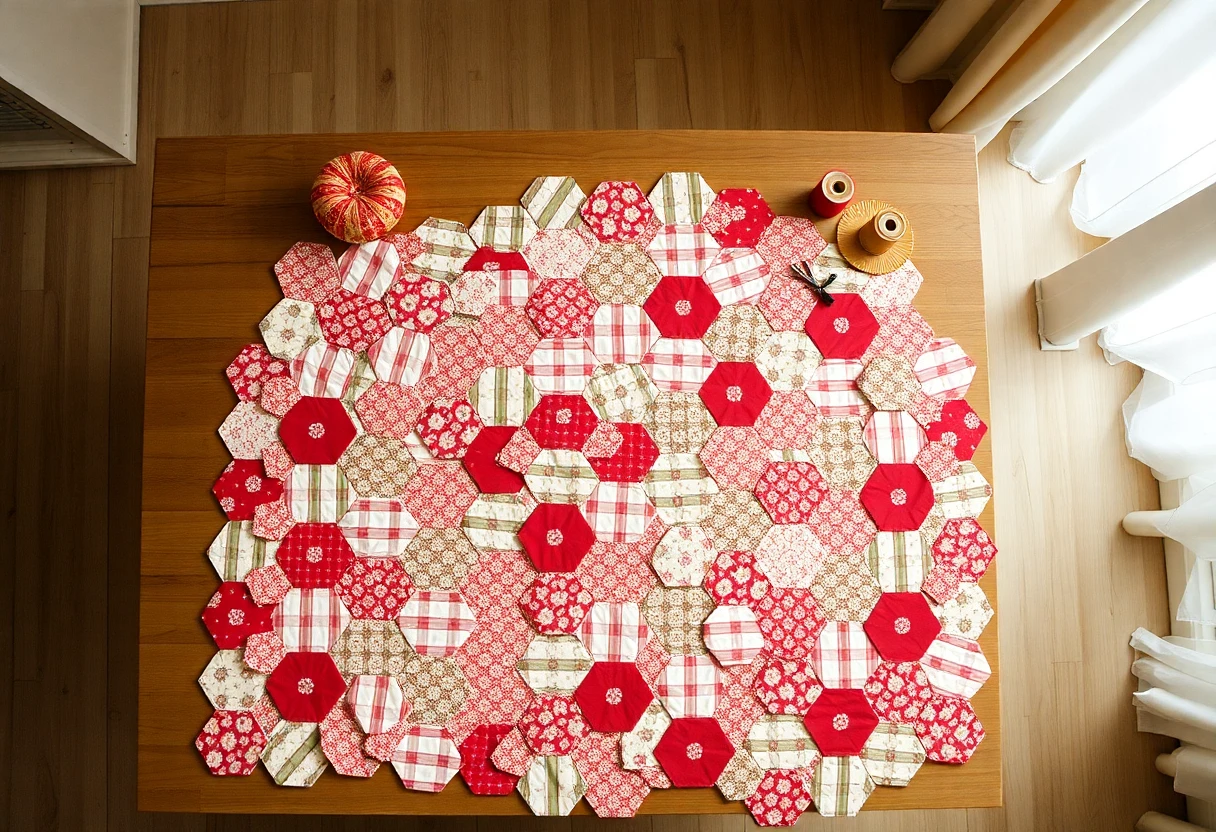 English paper piecingWrap fabric around paper shapes, baste with thread or glue, then stitch the edges together by hand.
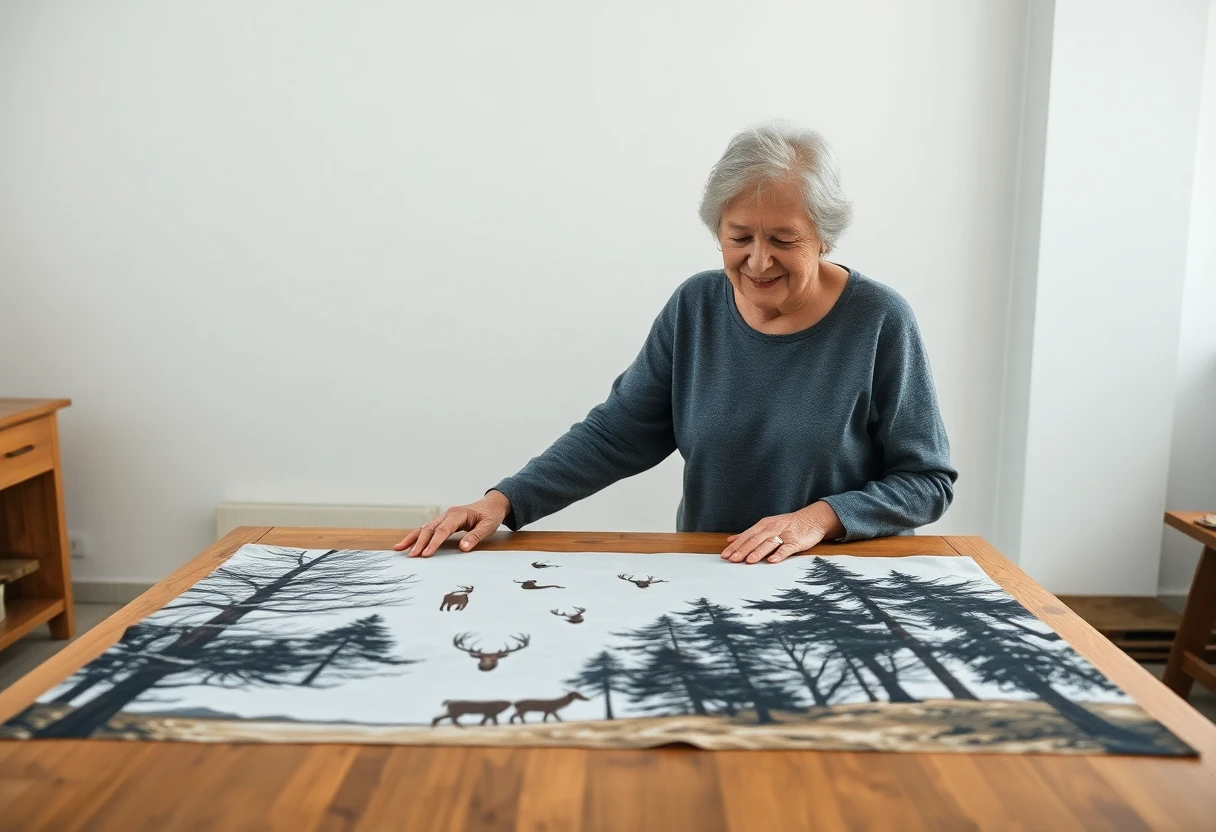 How to make a quilt from a fabric panelSquaring a pre-printed panel that's off-grain, border math for two common panel sizes, and quilting around the printed picture.
 Straight-line machine quilting with a walking footQuilting parallel lines, crosshatching and matchstick lines on a home machine with a walking foot.
 Applique methods comparedFusible raw-edge, needle-turn, freezer paper, back-basting and machine applique stitches, with a table of when to use each.