
Cut the layers to size
Quilting draws the layers in a little, and the machine needs something to grip at the edges, so the backing and batting go on oversize and get trimmed after quilting. Allow at least 4 inches on every side. A 60 × 80 inch top needs a backing at least 68 × 88 inches. Quilting cotton is about 40 inches usable after you trim the selvages, so that backing is two lengths of 88 inches sewn side by side: 176 inches, which is 4.9 yards. Buy 5. StitchTested's backing calculator does this math for any size.
If you're sending the quilt to a longarm quilter, ask what they want; many ask for more than 4 inches.
Press the backing, with its seam pressed open so it lies flat, and press the top. Unroll the batting a day early if you can so the folds relax, or tumble it in a dryer on low for a few minutes if the package says that's allowed. Which batting to use, and how far apart it can be quilted, is covered in the batting guide.
Make the quilt sandwich
- Clear a floor or tape two or three tables together. Hard floors are easiest; on carpet, use T-pins pushed straight down into the pile instead of tape.
- Lay the backing right side down. Tape the middle of the top edge, then the middle of the bottom edge, pulling gently so it's smooth, then the middle of each side. Work outward from those points, alternating sides, with a piece of painter's tape every 8 to 12 inches. The backing should be smooth and taut, not stretched so tight the weave distorts; when you peel the tape later it will spring back and pucker if you've overdone it.
- Lay the batting on top and smooth it from the center out with your palms. Don't pull it; batting stretches.
- Center the quilt top on the batting, right side up. Fold it in half to find the middles and line those up with the backing's middles. Smooth from the center out. Check that the borders are straight by laying a long ruler along them.
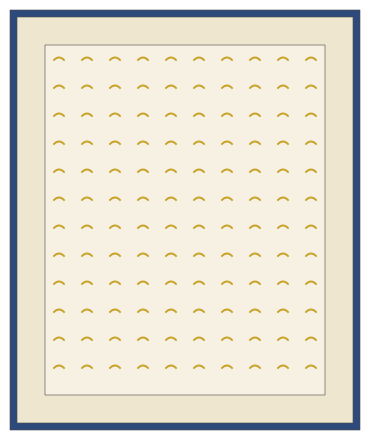
Some quilters cut the batting an inch smaller than the backing so the tape grabs only the backing, as in the diagram. Either way, both stay at least 4 inches beyond the top.
Pin basting
Pinning costs little and needs no ventilation, which is why most beginners start with it. Use curved safety pins: the bend lets the point come back up through the layers without lifting the quilt. A box of 100 size 2 curved safety pins holds 1½-inch pins, the size its listing recommends for higher-loft batting.
Space the pins about 4 inches apart in a grid, starting in the center and working out to the edges. Count before you start: a 40 × 50 baby quilt takes about 120 pins, and a 60 × 80 throw about 300. Pins closer together hold better with puffy polyester batting; thin cotton batting clings to the fabric and forgives slightly wider spacing.
- Place pins where you won't be quilting. If you'll quilt in the ditch, pin in the middle of each patch, not on the seams.
- Leave the pins open while placing them, then close them all at the end. A grapefruit spoon or a pin-closing tool saves your fingertips.
- Remove each pin as the needle approaches it. Don't sew over pins; a needle that strikes one can break.
Spray basting
Temporary spray adhesive glues the layers lightly so they can be repositioned and the glue washes out. It's fast and leaves no pins to pull. Use it for small projects and for free-motion quilting, where pins get in the way. A common choice is 505 Spray and Fix; its listing calls it odorless and colorless, says it won't gum up sewing needles, and lists quilting and basting among its uses.
- Work in a ventilated room or outdoors, and cover anything you don't want tacky, including the floor around the quilt.
- Lay out the backing as above. Lay the batting on it, fold half of the batting back, spray the backing lightly from about a foot away, and smooth the batting down from the fold outward. Repeat for the other half.
- Do the same for the top: fold half back, spray the batting (not the top), and smooth.
- Press the sandwich from the top and back with a dry iron to set the adhesive, if the can's instructions say to.
Light coats hold better than one heavy coat, and too much spray can leave the quilt stiff until washed. Read the can's directions for how long the hold lasts; for a project that will sit for weeks, pin as well.
Thread basting
Thread basting is the traditional method for hand quilting. Pins catch the thread and get in a hoop's way, and spray adhesive makes hand stitching stiff. Use a long needle and a contrasting cotton thread so it's easy to see and pull out. Sew large running stitches, about an inch long, in a grid of lines about 4 inches apart, working from the center outward: first a cross through the center, then lines parallel to it. Finish by basting all the way around the outside edge. It takes the longest of the three methods, but the stitches stay put through months of hand quilting. Pull them out as you finish each area.
Which method to choose
| Method | Speed | Holds for | Best for | Drawbacks |
|---|---|---|---|---|
| Safety pins | Medium | As long as you need | Machine quilting, most first quilts | Pins to stop and remove; sore fingers |
| Spray adhesive | Fast | Varies by brand (see the can) | Small quilts, free-motion quilting | Overspray, ventilation, cost per quilt |
| Thread | Slow | Months | Hand quilting, heirloom quilts | Hours of hand stitching for a bed quilt |
For a quilt made from a loved one's clothes, where the fabrics vary in weight, pins are the safer choice: you can see and fix any shifting as you go. Spray adhesive behaves less predictably on knits and heavy fabrics.
Common mistakes and fixes
| Problem | Cause | Fix |
|---|---|---|
| Puckers or pleats on the back | Backing not taut, or stretched too tight and then released | Re-tape smooth but not stretched; quilt from the center outward |
| Top shifts and borders go wavy | Pins too far apart | Add pins until no spot is more than about 4 inches from one |
| Backing too small on one side | Top not centered | Fold all layers in half to match the centers before smoothing |
| Sticky needle or stiff quilt | Too much spray | Lighter coats from farther away; wash the finished quilt |
Once the sandwich is basted, quilt it with straight lines and a walking foot, try free-motion quilting, or quilt it by hand. If basting a whole bed quilt on the floor sounds daunting, quilt as you go lets you baste one block at a time. After quilting comes squaring up and binding; the full sequence is in how to make a quilt.
You might also like
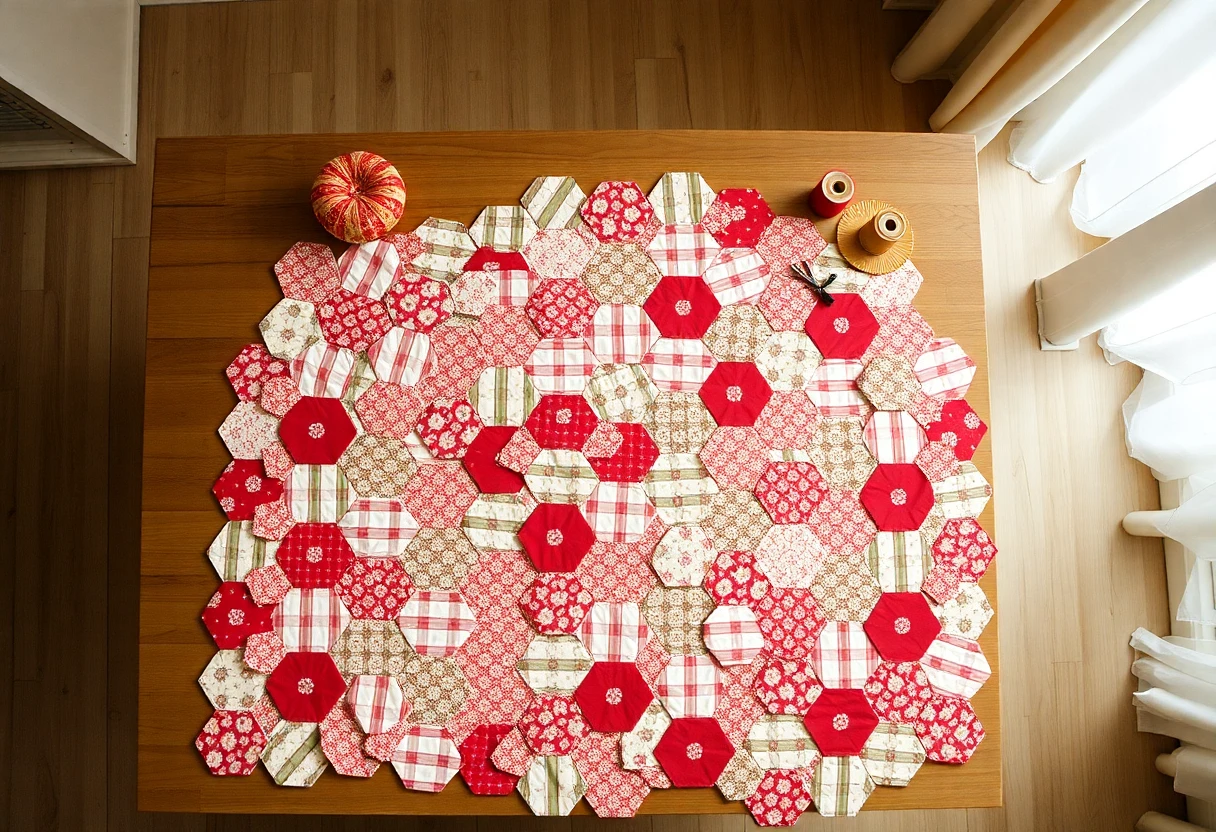 English paper piecingWrap fabric around paper shapes, baste with thread or glue, then stitch the edges together by hand.
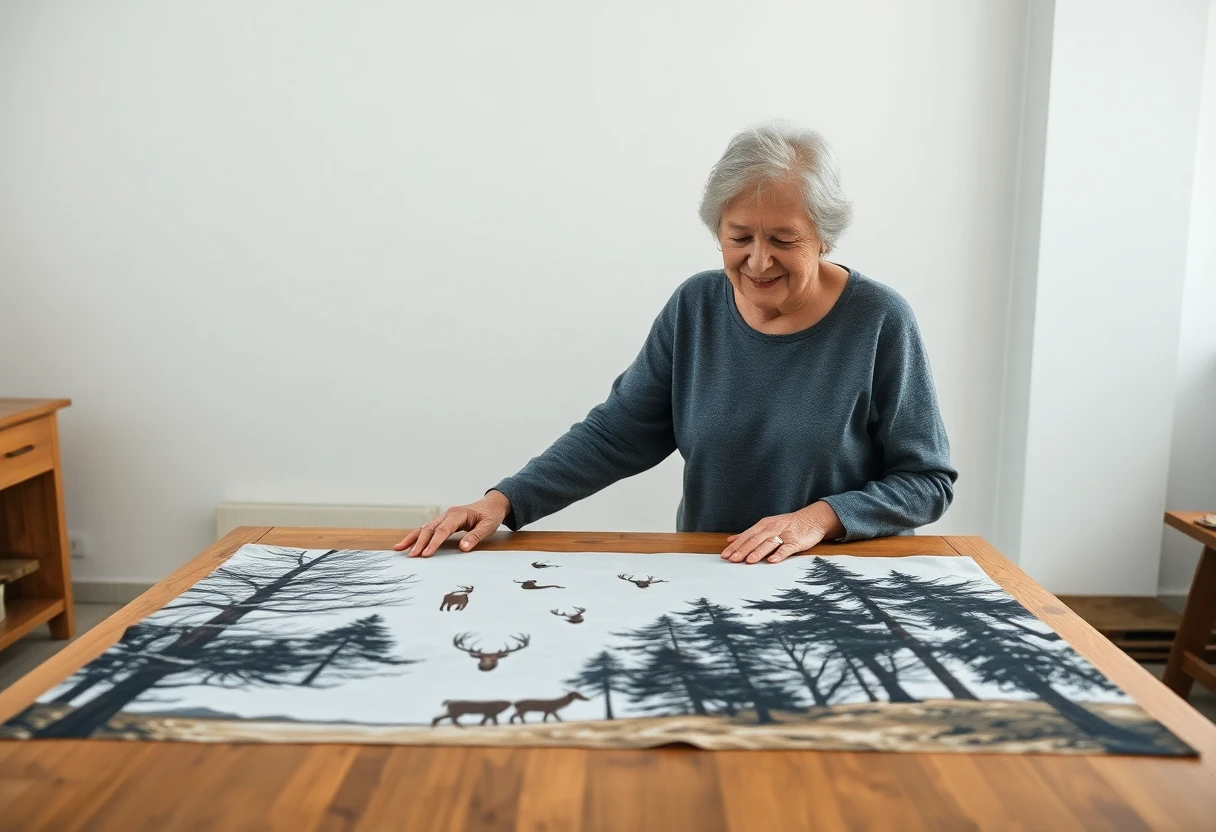 How to make a quilt from a fabric panelSquaring a pre-printed panel that's off-grain, border math for two common panel sizes, and quilting around the printed picture.
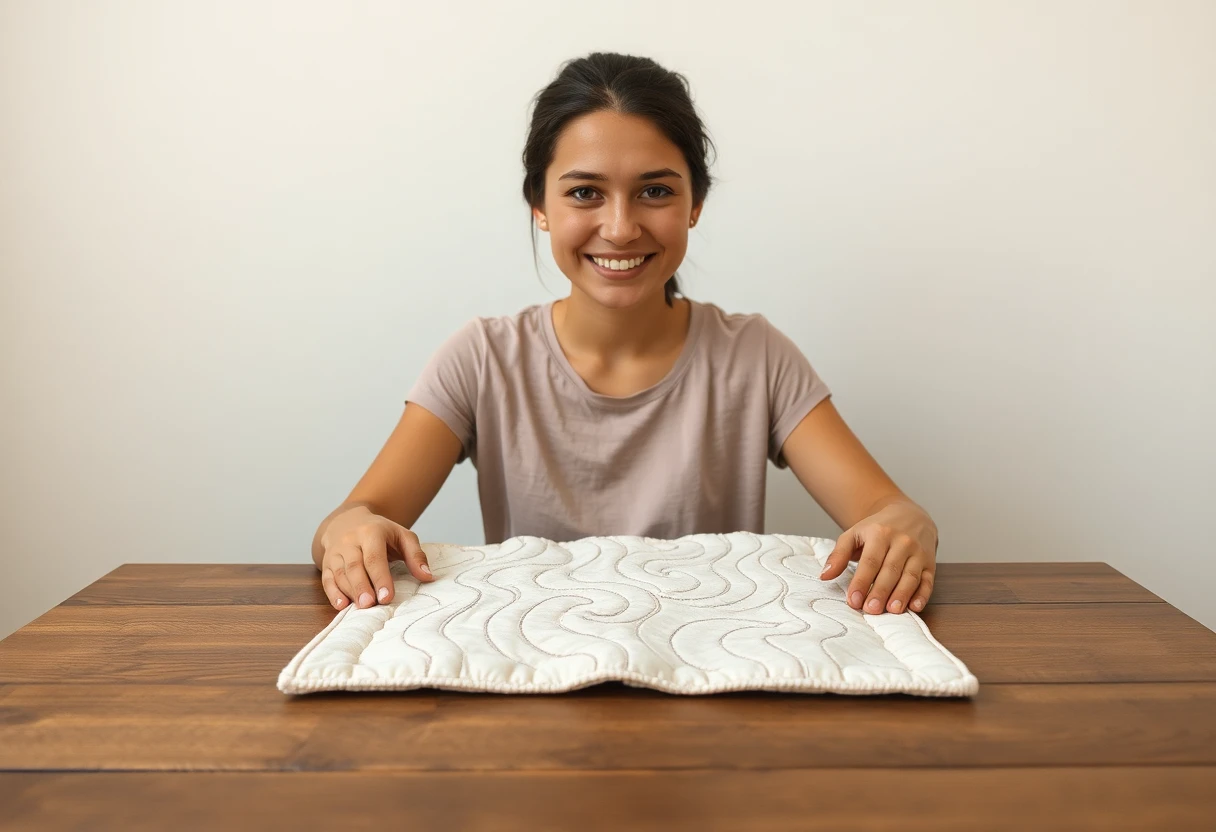 Free-motion quilting for beginnersMachine setup, practice sandwiches and three first motifs, including the meander or stipple.
 How to hand quiltBetweens, thread, hoop and thimble, then the rocking stitch and how to hide every knot.