
Cutting the pieces
Each unit is two pieces: a quarter circle and an L piece with a matching curve cut out of one corner. Print both at true size, for any unit size and curve, with the curved template generator. It adds the seam allowance correctly, which for curves is not the same on both pieces: the quarter circle is cut ¼ inch bigger in radius, and the curve in the L piece ¼ inch smaller. Cutting sizes for a medium curve (radius ⅝ of the unit), checked by calculation:
| Finished unit | Finished curve radius | Quarter circle, cut radius | L piece, cut square | L piece, cut curve radius |
|---|---|---|---|---|
| 3 in | 1⅞ in | 2⅛ in | 3½ in | 1⅝ in |
| 4 in | 2½ in | 2¾ in | 4½ in | 2¼ in |
| 5 in | 3⅛ in | 3⅜ in | 5½ in | 2⅞ in |
| 6 in | 3¾ in | 4 in | 6½ in | 3½ in |
Trace the templates onto template plastic or tape them to card, and cut around them with a small rotary cutter (28 mm is easiest on curves) or sharp scissors. Transfer the center mark to each piece with a tiny snip, no more than ⅛ inch deep, in the seam allowance. You can also find the centers by folding each piece in half and finger-pressing the curve.
Starch the fabric before cutting. Curves run partly on the bias, and starched pieces hold their shape while you pin.
Sewing the curve
- Lay the L piece right side up, and put the quarter circle on it right side down, with the center marks together. Pin through both marks.
- Line up one straight end of the curve: the edge of the quarter circle with the matching edge of the L piece. Pin. Do the same at the other end. The edges between the pins won't lie together yet; that's normal, because one curve bulges and the other dips.
- Ease the edges together between the pins and add one or two more pins on each side of the center. Flat flower-head pins or fine glass-head pins work well.
- Turn the unit over so the L piece is on top. Its concave edge is the one that needs to stretch slightly around the curve, and it's easier to guide when you can see it.
- Sew with a ¼-inch seam, slowly, stopping every inch or so with the needle down to lift the presser foot a little and realign the edges in front of the needle. Take pins out just before the needle reaches them.
- Press the seam toward the L piece for a flat curve, or toward the quarter circle to make the circle puff up slightly. Press from the front with an up-and-down motion; sliding the iron stretches the curve.
- Square the unit up to its unfinished size (4½ inches for a 4-inch unit), keeping the curve's ends ¼ inch from the edges.
Should you clip the curve? With a medium or large curve and a ¼-inch seam, usually not. On small, tight curves, a few clips into the L piece's allowance, stopping a thread short of the stitching, let the concave edge spread around the curve. Never clip the quarter circle.
Some quilters pin only at the center and guide the rest by hand, holding the top edge up and away and feeding it in as they sew. It's faster once you have the feel of it. Start with pins anyway.
Eight layouts from one unit
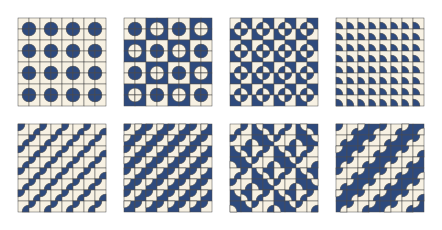
Every layout is just a rule for which corner of each unit holds the quarter circle, and whether the colors are swapped. The “colorways” column says how many units you need in each version for an 8 × 8 grid: navy circle on cream, or cream circle on navy.
| Layout | Rule | Units for 8 × 8 |
|---|---|---|
| Circles | In each 2 × 2 group, all four quarter circles point to the middle. | 64 in one colorway |
| Circles, alternating colors | As circles, with the colors swapped in every other 2 × 2 group, like a checkerboard of circles. | 32 + 32 |
| Broken circles | As circles, with the colors swapped on every other unit, so each circle is half navy, half cream. | 32 + 32 |
| Fans | Every unit turned the same way. | 64 in one colorway |
| Diagonal chains | The curve alternates between the top-left and bottom-right corners, checkerboard style. | 64 in one colorway |
| Diagonal waves | Every unit turned the same way, colors swapped on every other unit. | 32 + 32 |
| Wandering path | 2 × 2 groups alternate between two arrangements and two colorways, which makes a path that turns back on itself. | 32 + 32 |
| Wide bands | As diagonal chains, with the colors swapped every second diagonal. | 32 + 32 |
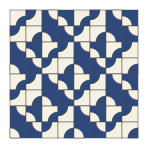
Before sewing anything, make a stack of units, or a few dozen paper cutouts, and lay them out on the floor or a design wall. Turning units around is the fun part, and you may land on a layout of your own. Photograph each arrangement with your phone. The camera shows the overall pattern better than you can standing over it.
Planning a quilt
Most of these layouts repeat every 2 or 4 units, so plan a grid with an even number of units each way. With 4-inch units, an 8 × 8 grid is 32 inches square, a good baby quilt or wall hanging. A 12 × 15 grid of 4-inch units is 48 × 60 inches, a throw, before borders. Add a plain border and the curves have a calm frame; see adding borders.
For fabric, count one square per piece. For a 4-inch unit with a medium curve, the L pieces come from 4½-inch squares, 8 to a 40-inch strip, and the quarter circles from 3-inch squares, 13 to a strip. So 64 units in one colorway take 8 strips 4½ inches wide of the background and 5 strips 3 inches wide of the circle fabric.
Sew units into rows, pressing the row seams in alternate directions so they nest, then join the rows. The curves meet across the seams in most layouts, so pin at every point where two curves touch. Finish as usual: baste, quilt (a line of stitching just inside each curve shows the shapes off), and bind.
Common problems and fixes
- Pleats in the curve: too few pins, or sewing too fast. Unpick the pleat, re-pin with one more pin each side, and sew that stretch again.
- Unit not square: the curve was stretched while pressing. Cut the units a little large next time, or starch more, and square them up after pressing.
- Curves that don't meet across units: the ends of the curve weren't exactly ¼ inch from the edge. Check the ends when you square up, not just the outer size.
- Puckered L piece: the concave edge was pulled tight instead of eased. Hold it slightly slack as it feeds.
Once curves feel comfortable, try an apple core or clamshell quilt with the same template generator, or a Dresden plate, which has gentle curves at the tips and center. For a straight-seam block that turns into many layouts the same way, see half-square triangles.
You might also like
 Curved and 60-degree template generatorTrue-size templates for drunkard's path, orange peel, clamshell, apple core, triangles, diamonds and tumbling blocks.
 Ohio star quilt blockAn eight-point star from quarter-square triangles, cut for 6, 9 and 12 inch blocks.
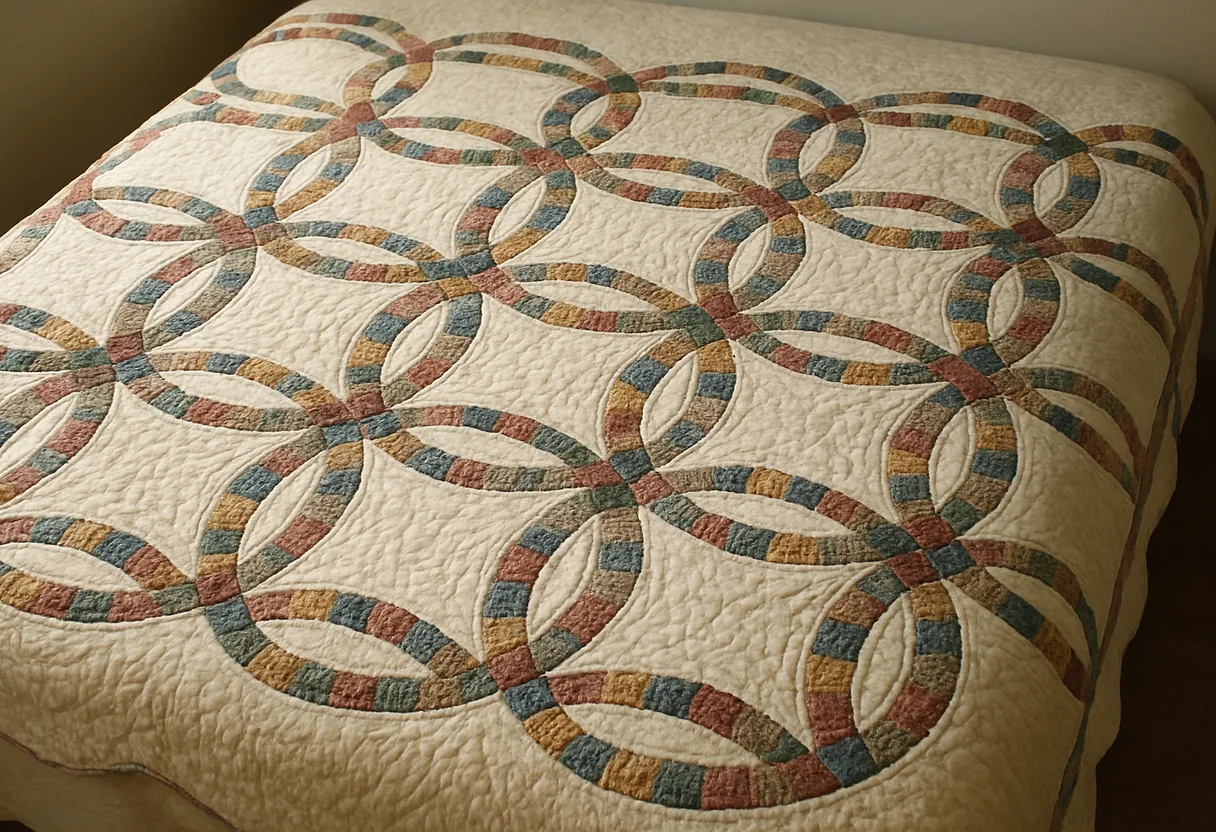 Double wedding ring quiltThe four pieces of the ring, why it's a challenge, free true-size templates for 10-inch rings, counts by quilt size and the assembly order.
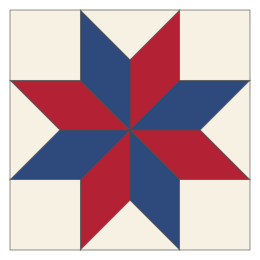 LeMoyne star quilt blockEight 45-degree diamonds with set-in corners, sized by strip width, with every Y-seam step.