Sizes first: finished, unfinished and cut
Every pattern uses three numbers, and mixing them up is the most common reason HSTs come out wrong.
- Finished size is what shows in the quilt after it's sewn in. A 3-inch HST is 3 inches on each side once its neighbors are attached.
- Unfinished size is the HST before it's sewn into the block: finished plus ½ inch (a ¼-inch seam on each side). A 3-inch HST measures 3½ inches when you trim it.
- Cut size is the square you start from. It depends on the method, because the triangles lose fabric to the diagonal seam as well.
All the methods below use a ¼-inch seam allowance. If yours wanders, the units will be off no matter which method you choose; our guide to sewing an accurate quarter-inch seam shows how to test it.
Cut-size chart
| Finished HST | Trim to | 2 at a time: exact | 2 at a time: to trim | 4 at a time | 8 at a time: exact | 8 at a time: to trim |
|---|---|---|---|---|---|---|
| 1½ in | 2 in | 2⅜ in | 2½ in | 3½ in | 4¾ in | 5 in |
| 2 in | 2½ in | 2⅞ in | 3 in | 4¼ in | 5¾ in | 6 in |
| 2½ in | 3 in | 3⅜ in | 3½ in | 5 in | 6¾ in | 7 in |
| 3 in | 3½ in | 3⅞ in | 4 in | 5¾ in | 7¾ in | 8 in |
| 3½ in | 4 in | 4⅜ in | 4½ in | 6½ in | 8¾ in | 9 in |
| 4 in | 4½ in | 4⅞ in | 5 in | 7 in | 9¾ in | 10 in |
| 5 in | 5½ in | 5⅞ in | 6 in | 8½ in | 11¾ in | 12 in |
| 6 in | 6½ in | 6⅞ in | 7 in | 10 in | 13¾ in | 14 in |
The rules behind the chart, so you can work out any size: for two at a time, cut squares the finished size plus ⅞ inch (exact) or plus 1 inch (to trim). For eight at a time, cut squares twice the finished size plus 1¾ inches (exact) or plus 2 inches (to trim). The four-at-a-time squares are worked out from the geometry, unfinished size × 1.414 + ½ inch, then rounded up to the next ¼ inch so there is a sliver to trim. Every size in the chart was checked by calculation.
The "exact" sizes leave nothing to trim, which only works if your cutting and seams are perfect. Most quilters cut the larger size and trim; the extra the extra ⅛ inch per side is cheap insurance#8539; inch is cheap insurance.
Method 1: two at a time
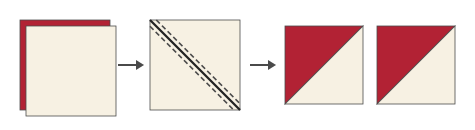
- Cut one square of each fabric to the size in the chart.
- Draw a diagonal line from corner to corner on the wrong side of the lighter square. A fine mechanical pencil or a fabric pen works; press lightly so the fabric doesn't drag.
- Put the two squares right sides together, edges matched.
- Sew ¼ inch from the line on both sides. Chain-piece a whole stack down one side, clip the chain, then turn the stack and sew down the other side.
- Cut on the drawn line.
- Press. Pressing toward the darker fabric is the default; pressing the seam open gives a flatter unit when many points meet, such as in a pinwheel center.
- Trim to the unfinished size (see "Trimming" below).
This is the method to learn first. The outer edges are on the straight grain, so the units don't stretch, and you get two identical HSTs from each pair, which suits scrappy quilts.
Method 2: four at a time
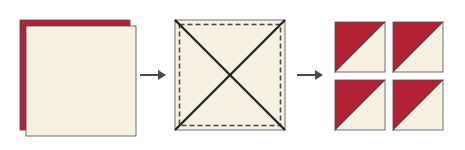
- Cut one square of each fabric to the four-at-a-time size and put them right sides together.
- Sew ¼ inch from the edge all the way around the square. Pivot at each corner with the needle down.
- Cut the square on both diagonals, corner to corner. You'll have four triangles, each sewn along its long side.
- Open and press each one, then trim.
There's no marking, which makes it fast. The catch: the outside edges of these HSTs are on the bias, so they stretch if you tug or press with a sliding iron. Starch the fabric before cutting and press with an up-and-down motion. Use this method when you need a pile of identical HSTs and don't mind careful handling.
Method 3: eight at a time
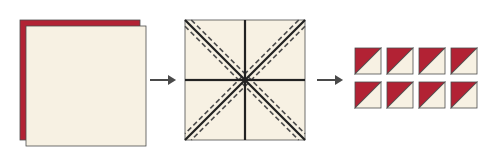
- Cut one square of each fabric to the eight-at-a-time size.
- Draw both diagonals on the wrong side of the lighter square.
- Place the squares right sides together and sew ¼ inch on both sides of each line. That's four seams.
- Without moving the squares, cut through the middle vertically and horizontally. You now have four smaller squares, each with a pair of seams.
- Cut each small square on its drawn line. Eight HSTs.
- Press and trim.
Each of the four smaller squares is, in effect, a two-at-a-time pair, which is why the cut size is twice the two-at-a-time size. The outer edges stay on the straight grain. This is the method for big batches, such as the 168 HSTs in our charm pack zigzag quilt.
Trimming
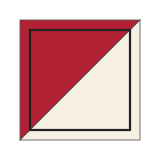
Lay a square ruler on the HST with its 45-degree line on the seam and the unfinished-size marks just inside the fabric. Trim the two sides along the ruler's edges. Turn the unit, line up the freshly cut edges with the unfinished-size lines and the 45-degree line on the seam again, and trim the other two sides. A small ruler is easier to hold steady for this than a long one; the Omnigrip 6½-inch square is marked in ⅛-inch steps and covers HSTs up to 6½ inches unfinished.
Check that the seam lands exactly in two opposite corners. If it's off, the points of whatever block you build will be off by the same amount.
Which method to use
| Method | HSTs per pair | Outer edges | Use it for |
|---|---|---|---|
| Two at a time | 2 | Straight grain | Learning, scrappy quilts, charm squares |
| Four at a time | 4 | Bias | Speed with no marking, when you'll handle units gently |
| Eight at a time | 8 | Straight grain | Large batches of the same two fabrics |
Common mistakes and fixes
- HSTs too small. Usually the seam is wider than ¼ inch, or the squares were cut at the finished size plus ½ inch (the rule for plain squares, not triangles). Use the chart above.
- Seam not in the corner after trimming. The ruler's 45-degree line wasn't on the seam. Line it up first, then the size marks.
- Wavy, stretched edges on four-at-a-time units. Bias edges. Starch, don't slide the iron, and handle by the seam.
- Dark fabric shadows through the light. Press toward the dark, or trim a sliver off the dark seam allowance so it doesn't show past the seam line.
- Drawn line drags and stretches the fabric. Put a sandpaper board or a scrap of fine sandpaper under the square while you mark.
Quilts made from half-square triangles

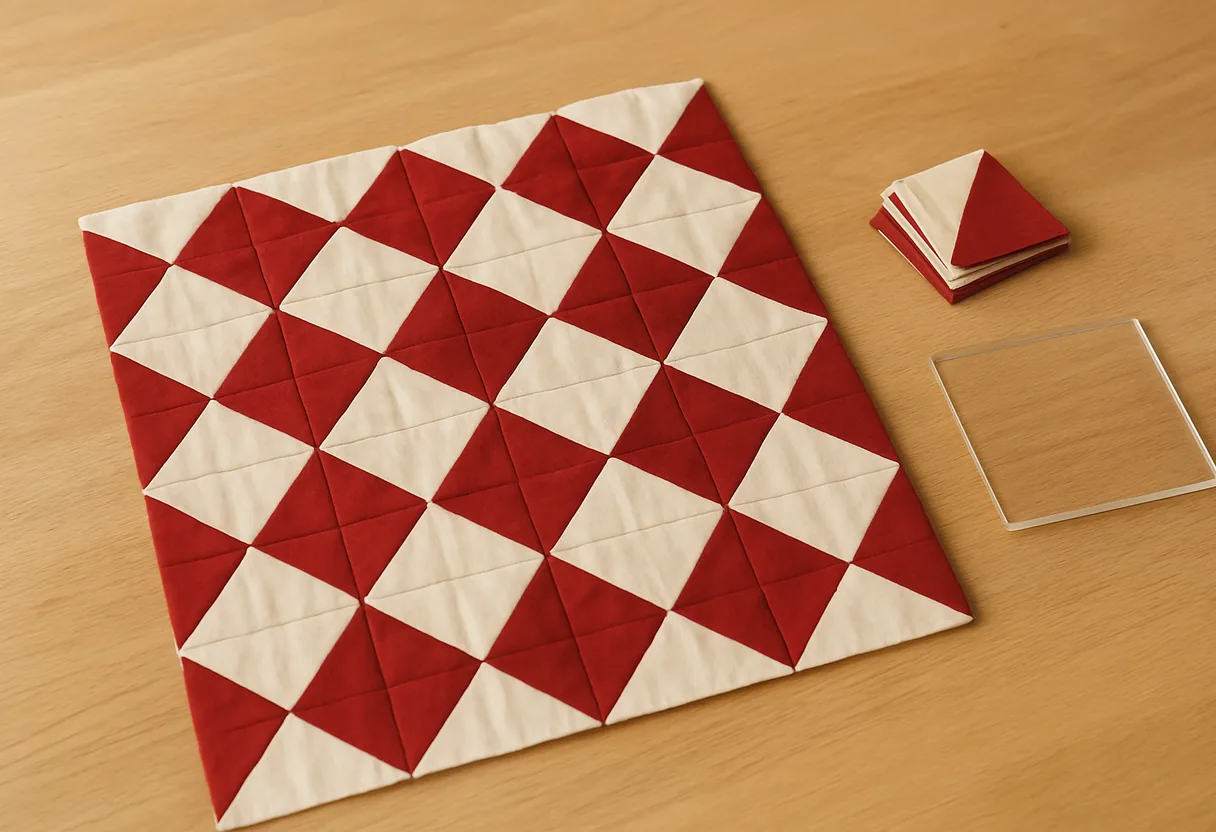
The same unit makes very different quilts depending on how you turn it. Our charm pack zigzag quilt sets HSTs in alternating rows to make zigzags, and the pinwheel baby quilt turns four of them around a center. The barn raising layout above turns each quarter of the quilt toward the middle.
HSTs are also the building block of several classic blocks with their own guides: the friendship star, the churn dash and the shoofly. Sew two HSTs together and cut again and you have a quarter-square triangle, the unit behind the hourglass and the Ohio star.
You might also like
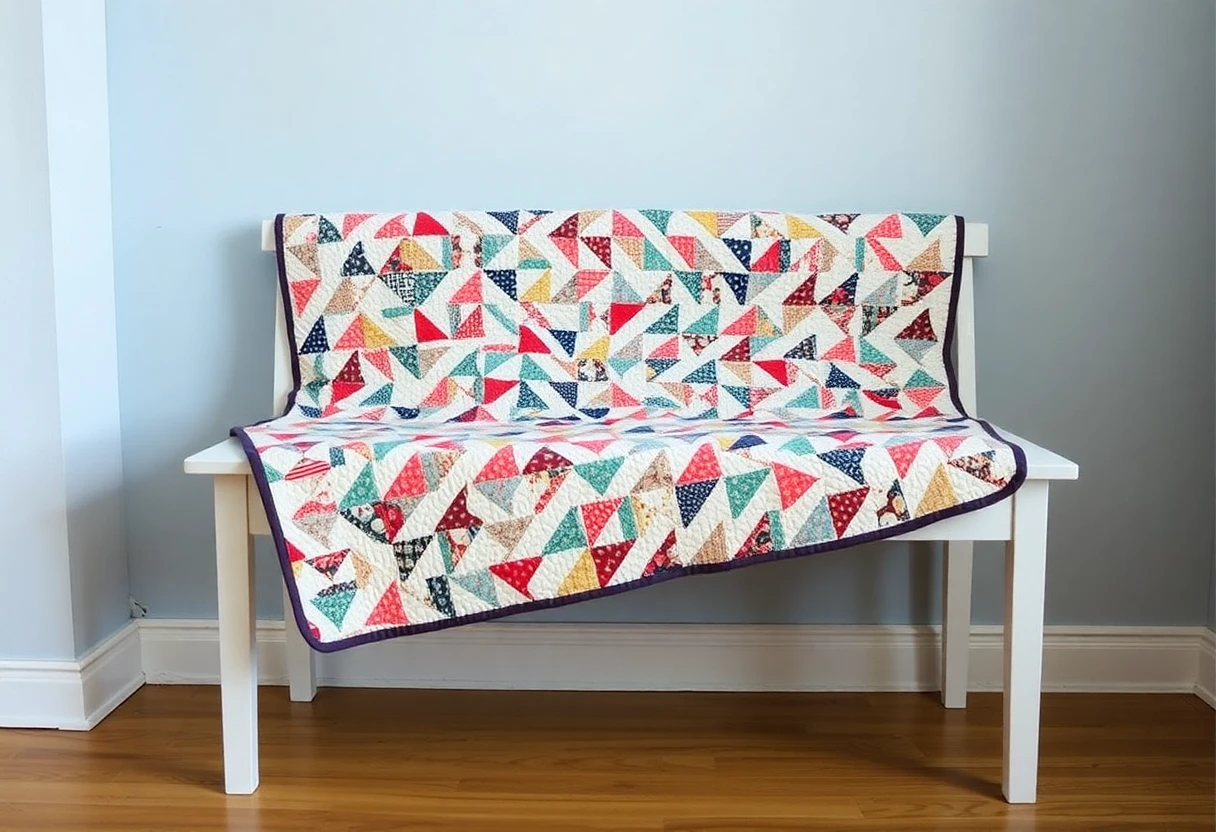 Hourglass quilt blockQuarter-square triangles two ways, with a cut chart from 2 to 6 inches finished.
 Ohio star quilt blockAn eight-point star from quarter-square triangles, cut for 6, 9 and 12 inch blocks.
 Churn dash quilt blockHalf-square triangle corners and two-strip bars, cut for 6, 9 and 12 inch blocks.
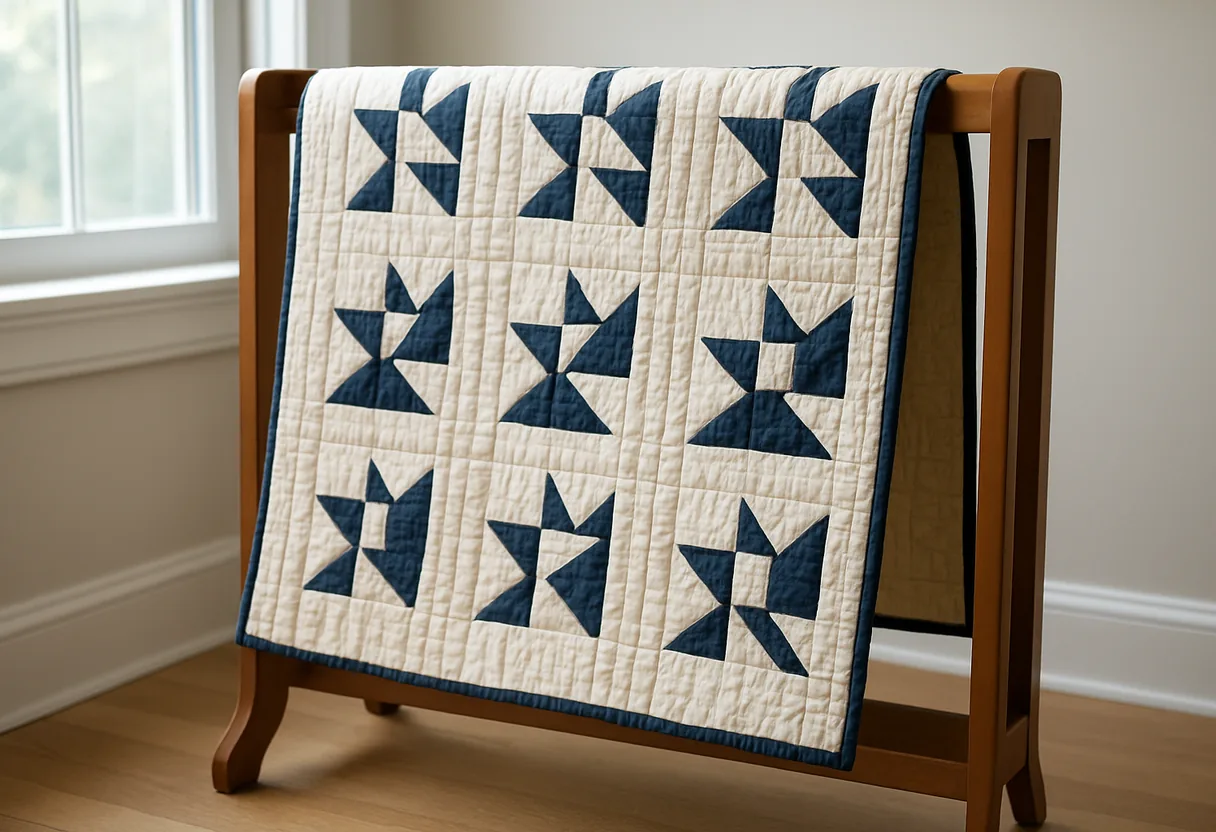 Friendship star quilt blockA nine-patch star of four half-square triangles, with a plain center for signatures.