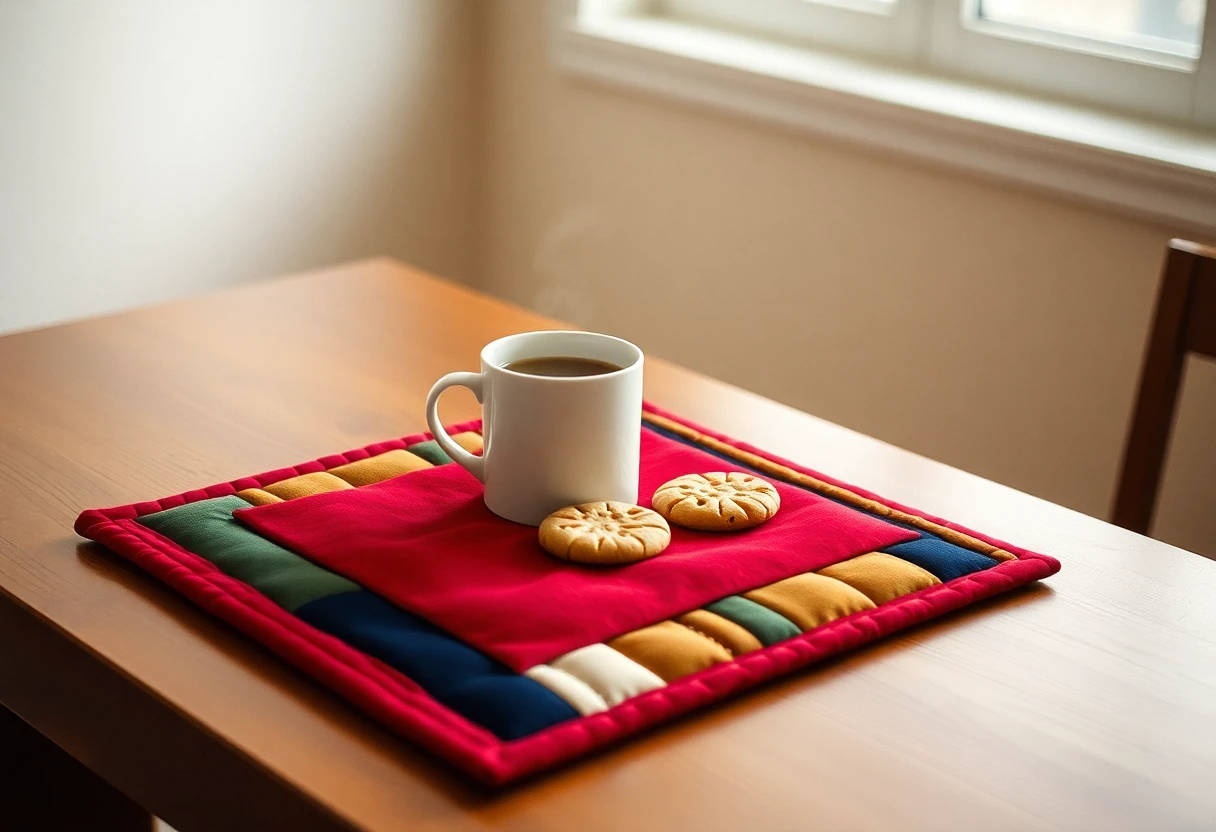

What you need for one
| Piece | Cut |
|---|---|
| Mug square (a favorite print) | One 6½-in square |
| Strips (four scraps) | Four 1½ × 6½-in strips |
| Backing | One 14 × 10-in piece |
| Cotton batting | One 14 × 10-in piece |
| Binding | 2½-in strips totaling 42 in: two strips across the width of the fabric, or three cut from a fat quarter |
The backing and batting are cut 2 inches bigger than the top on every side. On a bed quilt you'd allow 4, but a piece this small doesn't shift much while you quilt it. Use cotton batting: a hot mug sits on it, and cotton doesn't melt the way polyester can. (For pans straight off the stove, make a pot holder with insulated batting instead.)
Sew the top
- Lay the four strips next to each other and pick an order. Alternate light and dark so each strip stands out.
- Sew the strips together along their long edges with a ¼-inch seam. Press the seams in one direction.
- Sew the strip unit to one side of the 6½-inch square. Press the seam toward the square.
- The top measures 10½ × 6½ inches. The check: 6½ + four × 1½ = 12½ inches of fabric, less four seams at ½ inch, is 10½.
Narrow strips go wavy if you pull them. Let the feed dogs do the work, and press with an up-and-down motion instead of sliding the iron.
Quilt it
- Lay the backing right side down, then the batting, then the top right side up, centered. A few pins or a light mist of basting spray holds three layers this size.
- Stitch in the ditch along every seam. Then add straight lines on the square: a grid 1 inch apart, or diagonal lines corner to corner. Lines inside the strips aren't needed; they're only 1 inch wide.
- Trim the batting and backing even with the top, using a ruler to keep the corners square. The quilted piece should measure 10½ × 6½ inches.
Dense quilting on the mug square makes it firmer and flatter, so the cup won't tip. This is a good place to try a decorative stitch from your machine or a bit of free-motion quilting without risking a big project.
Bind it
- Join the binding strips with a diagonal seam, trim the seam to ¼ inch and press it open. Fold the strip in half lengthwise, wrong sides together, and press.
- Starting in the middle of a long side, sew the binding to the front with a ¼-inch seam, leaving a 6-inch tail.
- Stop ¼ inch before each corner, fold the binding up at a 45-degree angle and back down, and keep sewing. Four corners in 32 inches of edge is good practice.
- Join the ends, then fold the binding to the back and stitch it down by hand or by machine.
Our binding guide has photos of each step, including the join. If the binding feels too bulky on such a small piece, cut it 2¼ inches wide instead; you'll still need 42 inches.
Three sizes
| Size | Square | Strips | Top | Backing and batting | Binding |
|---|---|---|---|---|---|
| Small, 5 × 8 in | 5½ in | Three, 1½ × 5½ in | 8½ × 5½ in | 12 × 9 in | 36 in (one strip) |
| Standard, 6 × 10 in | 6½ in | Four, 1½ × 6½ in | 10½ × 6½ in | 14 × 10 in | 42 in (two strips) |
| Large, 8 × 12 in | 8½ in | Four, 1½ × 8½ in | 12½ × 8½ in | 16 × 12 in | 50 in (two strips) |
Binding lengths are the perimeter plus 10 inches for the corners and the join. The large size fits a mug and a small plate, which makes it a decent lap tray mat for a reader in an armchair.
Quilt-as-you-go version
Skip the separate quilting step by sewing the pieces straight onto the batting and backing. Layer the backing and batting, lay the square right side up near one end, then place the first strip right side down along its edge and sew through all the layers. Flip the strip open, press, and add the next one the same way. Each seam quilts as you sew it. Trim to 10½ × 6½ inches and bind. Our quilt-as-you-go guide uses the same method for full-size quilts.
Making a batch
Mug rugs make good small gifts for teachers, coworkers or a craft-sale table, and they use up the strips left over from bigger projects. For four standard mug rugs you need four 6½-inch squares, sixteen strips, two fat quarters of backing (each fits two 14 × 10-inch pieces) and five binding strips joined into one long piece. Four strips aren't quite enough for four mug rugs once you allow for the joins.
If you have orphan blocks from another project, a single 6-inch block can replace the plain square. A 6-inch churn dash or shoofly (6½ inches before it's sewn in) drops straight into the pattern. For a matching set, see the quilted placemats.
More free patterns: see them all. This pattern is free for personal and charity use; please don't sell the pattern itself.
You might also like
 Rail fence quiltThree strips sewn together and turned every other block, a zigzag throw of 58 x 70 in that works from a jelly roll.
 Postage stamp scrap quilt1,080 tiny squares from the scrap bin in a light and dark checkerboard, sewn in strip sets so you rarely handle a single square; 60 x 72 in.
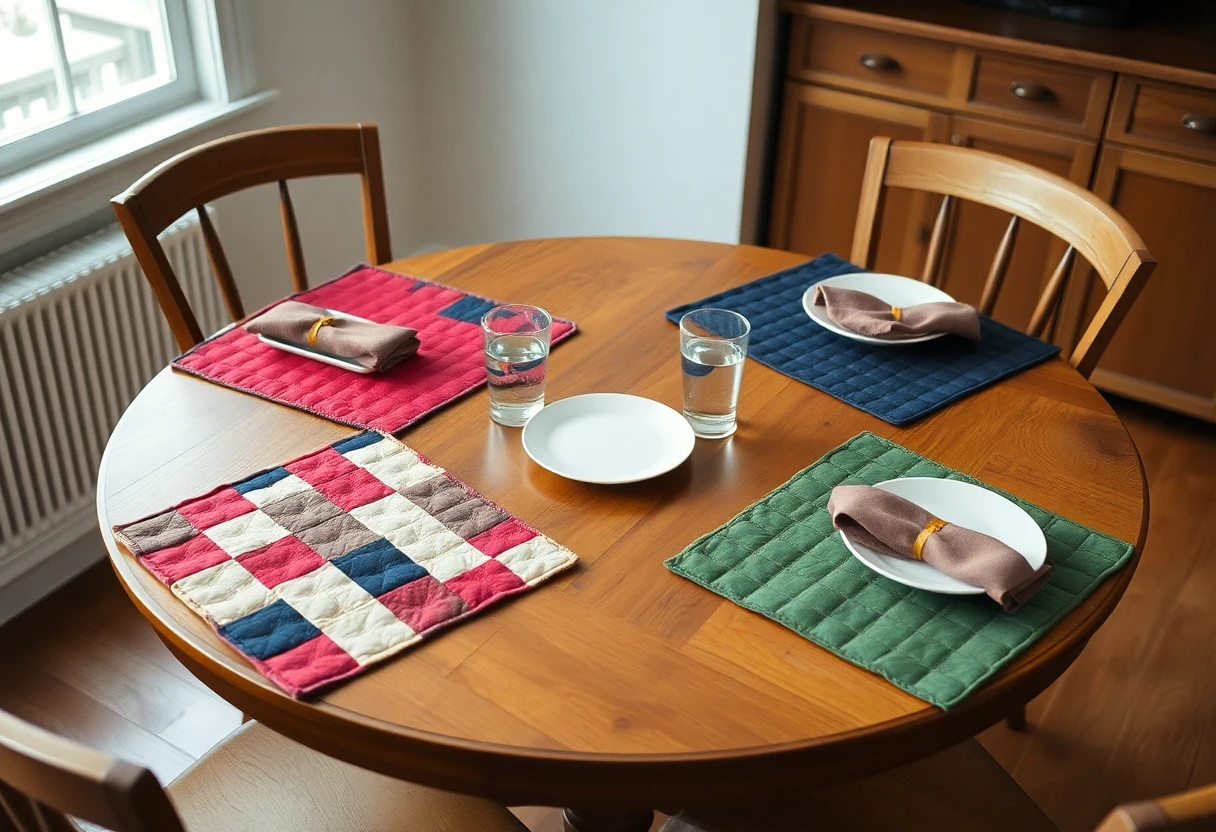 Quilted placemats (set of four)A set of four 12 x 18 in placemats with a column of squares, finished by turning instead of binding.
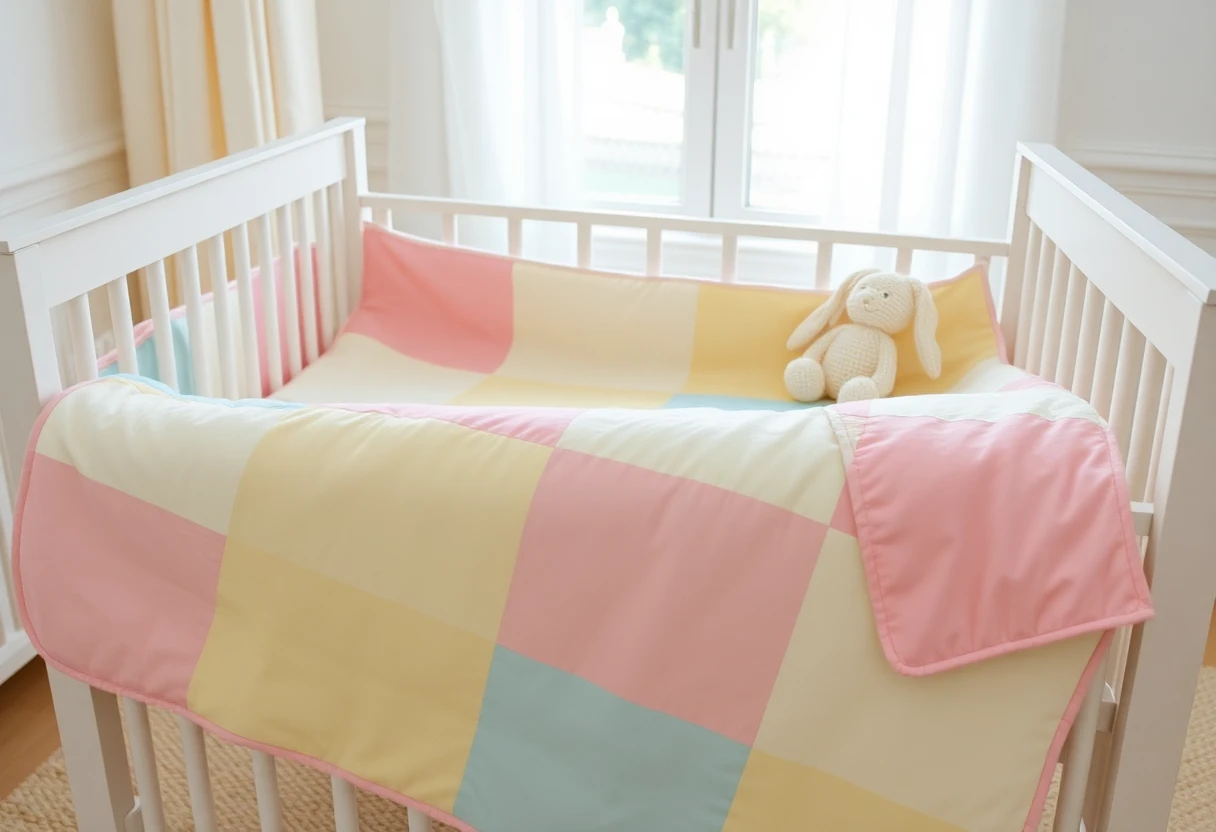 Easy baby quilt48 big squares from 8 fat quarters, 36 x 48 in, with crib, toddler and throw sizes.