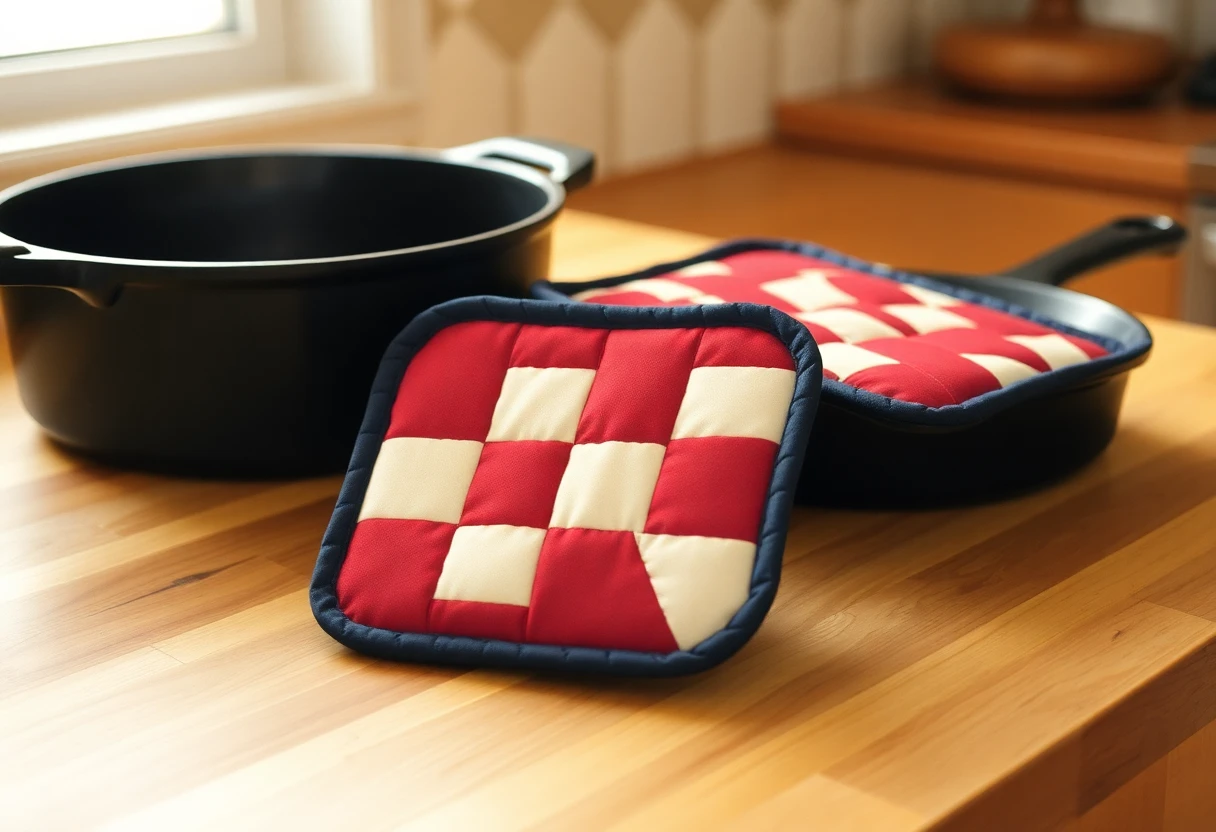

Why two kinds of batting
Insul-Bright is made by The Warm Company. The maker describes it as a metalized polyester film that reflects radiant heat back toward its source, needle-punched through polyester fibers that resist conduction (Insul-Bright product page). It lists pot holders and oven mitts among its intended uses.
It doesn't absorb moisture, though, and steam from a pan carries heat. The company's FAQ recommends cotton batting to absorb steam vapor, and for pot holders it says to sandwich the Insul-Bright between two layers of cotton batting. The same FAQ says that for pot holders it doesn't matter which way the reflective side faces, so you don't need to track the shiny side as you stack.
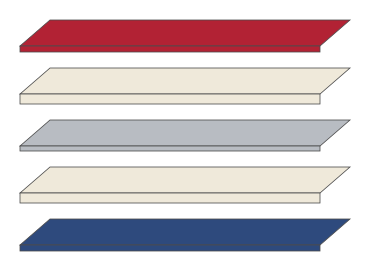
That's the stack this pattern uses. Don't replace the cotton layers with polyester batting or skip them to save bulk.
Materials for two pot holders
| Material | Cut | Amount |
|---|---|---|
| Two 100% cotton prints | Four 4½-in squares of each | Scraps or a fat quarter of each |
| 100% cotton backing | Two 10-in squares | ⅜ yd or a fat quarter |
| 100% cotton binding fabric | Four 2½-in strips (three for binding, one for loops) | ⅜ yd |
| Cotton batting | Four 10-in squares | Scraps from a larger batt |
| Insulated lining | Two 10-in squares | Part of one package |
| Thread | – | 100% cotton |
Insul-Bright is sold by the yard and in a 45-inch by 1-yard pack such as this Insul-Bright craft pack. One pack cuts twelve 10-inch squares, enough for six pairs. For the cotton layers, offcuts from a bed-size batt like Warm and Natural cotton batting work well. A cotton thread such as Aurifil 50 wt (100% cotton, per the listing) matches the rest of the materials.
Safety notes
- Use only 100% cotton for the front, back and binding. Polyester, poly-cotton blends, fleece and minky can melt or scorch against a hot pan, and melted fabric sticks to skin.
- Use cotton batting for the two outer batting layers, never polyester batting.
- Don't use these in a microwave. The Warm Company says Insul-Bright is not recommended for microwave use.
- Keep pot holders dry. A damp pot holder lets heat through far faster than a dry one.
- Keep them away from open flames and burner coils. Cotton burns.
- Replace a pot holder that has a scorch mark, a thin spot or a worn-through binding.
- Test a new pot holder on a warm pan before you trust it with a pan straight from a hot oven.
Sew the fronts
- Sew a square of each print together. Press the seam toward the darker print. Make four pairs.
- Join two pairs, turning one so the prints alternate, to make a four-patch. The seams nest in the middle.
- Each front measures 8½ inches square. Make two.
Layer and quilt
- Stack the layers for each pot holder: backing right side down, cotton batting, Insul-Bright, cotton batting, then the four-patch right side up in the center. The four-patch is smaller than the other layers by about ¾ inch on each side; that leaves room to trim.
- Pin through all the layers with long pins or safety pins. Basting spray is fine on the fabric and cotton layers.
- Quilt with a walking foot and a slightly longer stitch than usual. Stitch in the ditch along both center seams, then add lines ½ inch apart, or diagonal lines through the squares. Close quilting keeps the batting from bunching after washing.
- Trim all the layers to 8½ inches square, matching the edges of the four-patch.
Five layers are thick. If your machine struggles, start each line with the needle down, sew slowly and hold the thread tails as you begin. A sharp new needle (a 90/14 quilting or denim needle) helps it go through the film.
Make the loops and bind
- From the fourth binding strip, cut two pieces 2½ × 6 inches. Press each in half lengthwise, open it, fold both long edges to the center crease, then fold in half again. Topstitch along both long edges. Each loop is about ⅝ inch wide.
- Fold a loop in half and pin it to the back of a pot holder at one corner, with the raw ends lined up with the two edges of the corner. The binding will catch them.
- Join the three remaining strips with diagonal seams and press in half lengthwise. Each pot holder needs 44 inches: the 34-inch perimeter plus 10. Cut the long strip in half.
- Sew the binding to the front with a ¼-inch seam, mitering the corners. Fold it to the back and stitch it down by machine. Machine stitching holds up better than hand stitching on something that gets washed and grabbed daily. Full steps are in how to bind a quilt.
- Flip the loop up over the binding and stitch across it once more, through all the layers, so it can't pull out.
Variations
- Larger: for a 10-inch pot holder, use four 5½-inch squares and cut all the other layers 12 inches square. Binding: 52 inches (the 42-inch perimeter plus 10).
- A single block: any 8-inch block (8½ inches unfinished) can replace the four-patch. Small half-square triangle or hourglass blocks look good and use scraps.
A stack of pot holders is an easy donation to a church or charity bazaar, and a pair with a matching mug rug makes a good housewarming present. Every one should go out with a note: cotton only, keep it dry, not for the microwave.
More free patterns: see them all. This pattern is free for personal and charity use; please don't sell the pattern itself.
Products on this page
Photos and prices come from Amazon and can change.
 Insul-Bright Needlepunched Insulated Lining 45 in x 1 ydCheck price on Amazon
- Warm and Natural Cotton Batting, TwinCheck price on Amazon
- Aurifil 50wt Mako Cotton ThreadCheck price on Amazon
You might also like
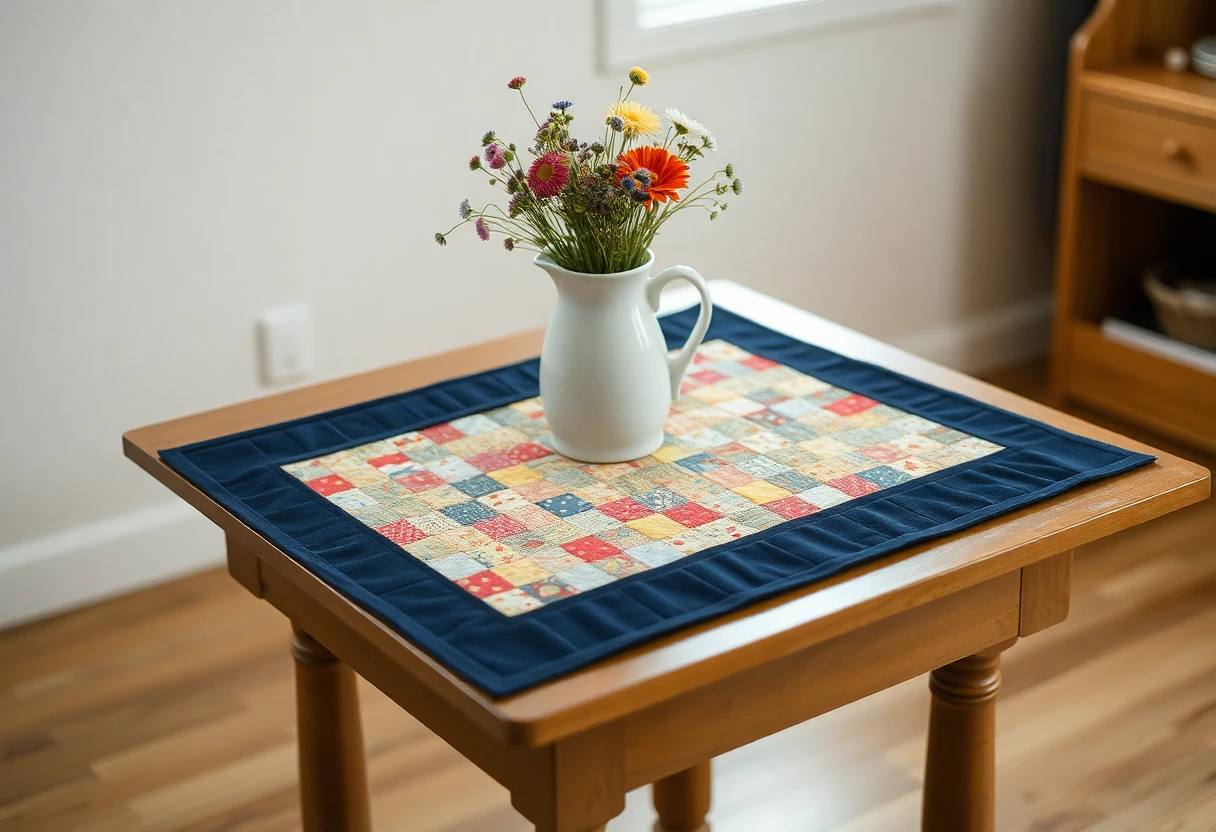 Easy quilted table runner in any lengthRows of 4-inch squares with a navy border, sized for any table from 48 to 96 inches long.
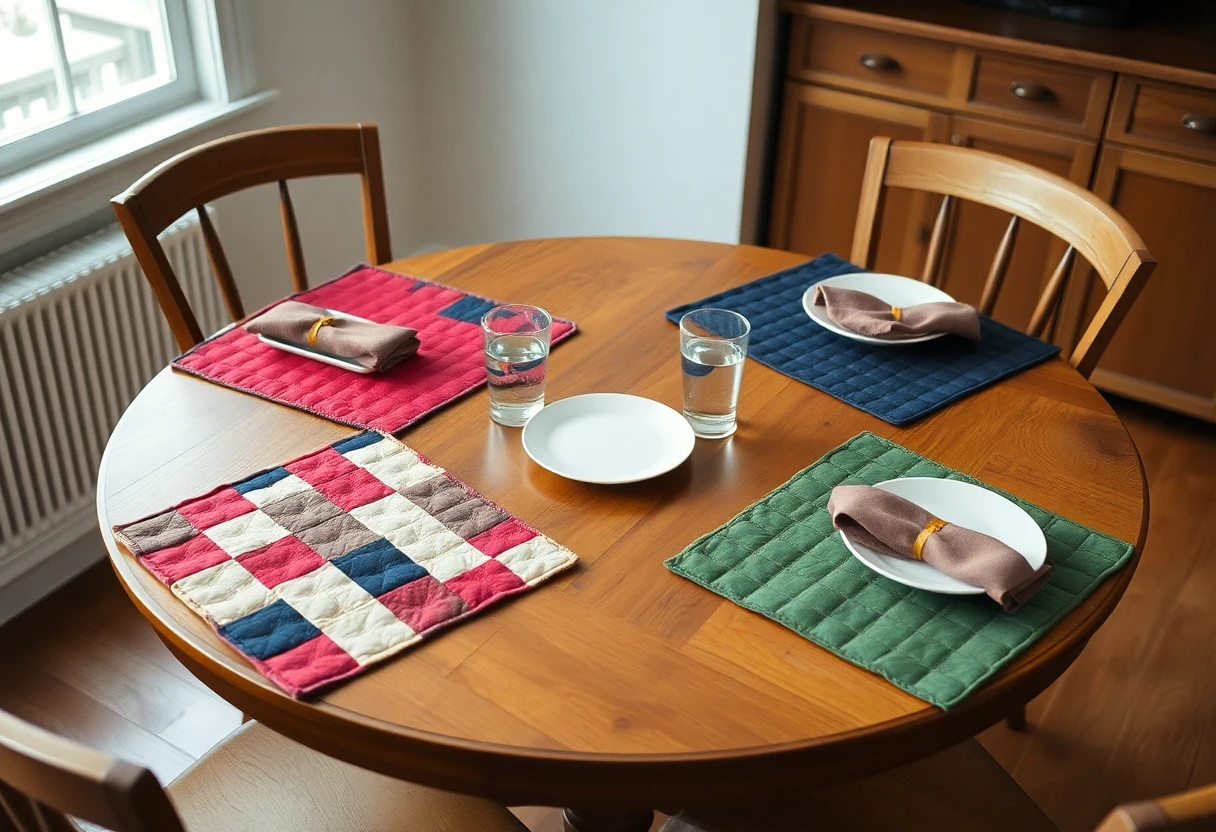 Quilted placemats (set of four)A set of four 12 x 18 in placemats with a column of squares, finished by turning instead of binding.
 Mug rug from scrapsA 6 x 10 in quilted mat with a square for the mug and four scrap strips, in three sizes.
 Snail's trail quilt blockA four-patch and four rounds of two-color triangles that spiral out, cut for 8, 12 and 16 inch blocks.