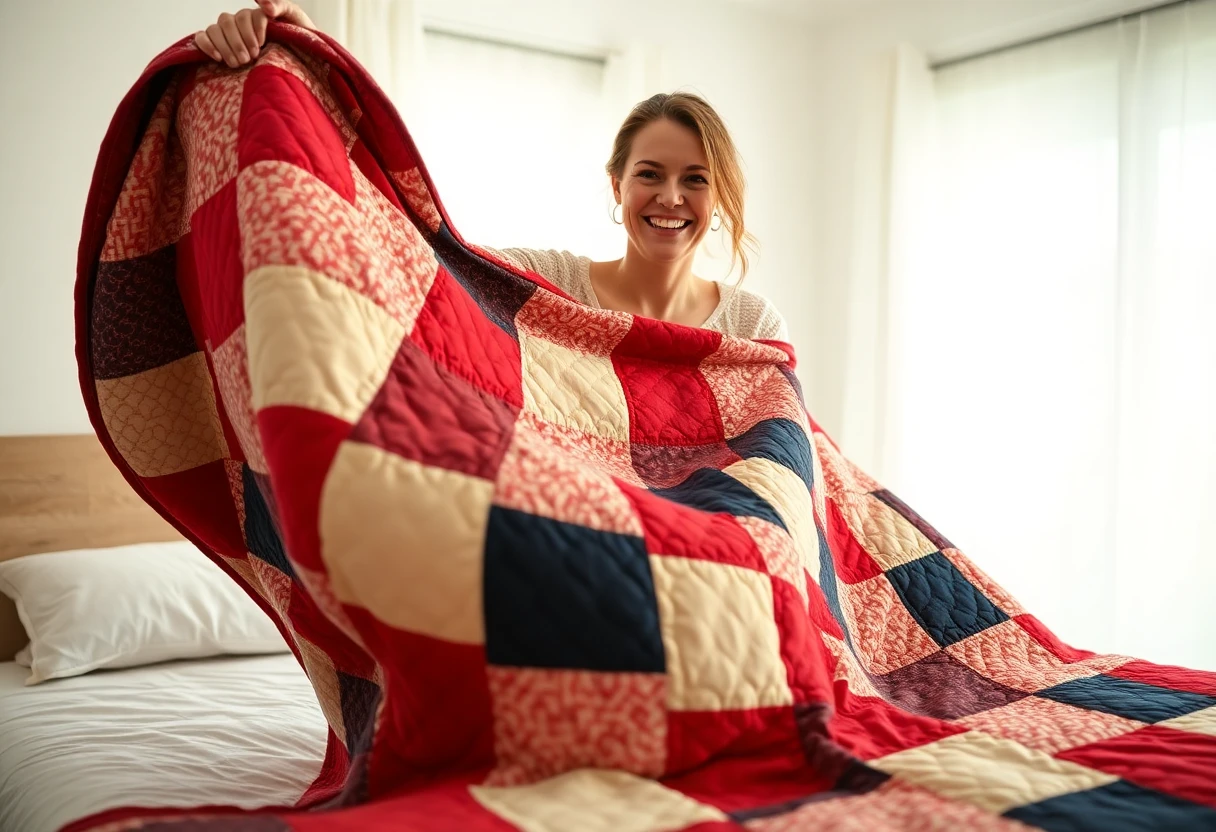
1. Pick a first pattern
Start with squares or rectangles. Triangles have stretchy bias edges and points that have to match, which is a lot to learn at once. A nine-patch, a simple patchwork of squares or a rail fence is ideal. Our nine-patch throw pattern is written for exactly this: only squares, with a full cutting chart.
Make it lap or throw size (around 50 × 65 inches). A queen quilt is four times the work and much harder to push through a home sewing machine. StitchTested's quilt size chart lists the standard sizes.
2. Buy fabric
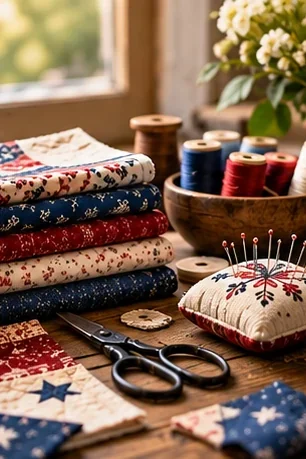
Use 100% cotton quilting fabric from a quilt shop or the quilting section of a fabric store. It presses crisply, holds a seam and doesn't stretch much. Pick one light, one medium and one dark, or a precut bundle where the colors already go together. Check the pattern's yardage, then add a little in case of cutting mistakes. To work out yardage for your own design, see StitchTested's fabric guide.
Prewashing is a matter of opinion. Washing first removes sizing and lets reds bleed before they're sewn next to white. Skipping it saves time and gives the crinkly look many people like after the first wash. If you skip it, toss a color-catcher sheet in the first wash of the finished quilt.
3. Cut accurately
A rotary cutter, a self-healing mat and a clear acrylic ruler make quilt cutting fast and accurate. Fold the fabric selvage to selvage, straighten the edge, then cut strips and crosscut them into squares. Always cut away from yourself and close the blade every time you set it down. See our beginner supply list.
4. Sew with a ¼-inch seam
Quilt patterns assume a ¼-inch seam allowance, and small errors multiply: sewing both seams of a nine-patch row just 1/16 inch too wide makes the block about ¼ inch too small. A ¼-inch presser foot with a guide is the easiest way to stay consistent. Sew a test: three 2½-inch strips sewn side by side should measure exactly 6½ inches across.
Chain piecing saves time. Feed pairs of squares through the machine one after another without cutting the thread, then snip them apart.
5. Press, don't iron
Ironing means sliding the iron back and forth, which stretches fabric. Pressing means setting the iron down, lifting it and moving it. Press seams to one side, usually toward the darker fabric, and alternate directions row by row so the seams nest together when you join rows.
6. Assemble the top
Lay all the blocks out on a floor or bed and take a photo before sewing; it's easier to spot two identical fabrics next to each other in a photo. Sew blocks into rows, then join the rows, pinning at each seam intersection. Add borders last, measuring through the center of the quilt rather than along the edges.
7. Make the quilt sandwich
Cut the backing and batting at least 4 inches larger than the top on every side. The quilt shrinks a little as you quilt it, and the extra gives you something to hold. Lay the backing right side down and tape it taut to the floor or a table, smooth the batting on top, then center the quilt top right side up. Baste the layers with curved safety pins every 4 to 6 inches, or with temporary basting spray.
Cotton batting is flat and soft and looks traditional. Polyester is lighter and puffier. An 80/20 cotton-polyester blend is a common middle choice for a first quilt.
8. Quilt it
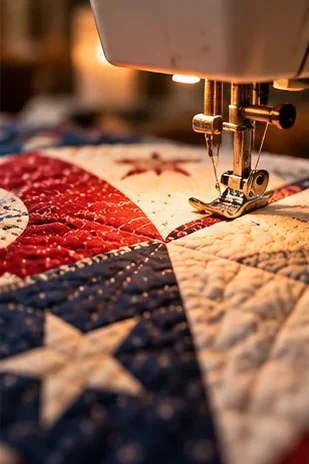
The simplest option is straight lines with a walking foot: stitch in the seam lines (“in the ditch”) or ¼ inch beside them. Start in the middle and work outward so any fullness moves to the edges. Roll the sides of the quilt tightly so the bulk fits through the machine's throat.
Free-motion quilting (dropping the feed dogs and moving the quilt freely) looks great once you've practiced on scraps; StitchTested has a free-motion guide for beginners. You can also hire a longarm quilter, which many quilters do for large quilts.
9. Bind, label and wash
Trim the extra batting and backing, then bind the edges. Sew on a label with your name and the date. Wash the quilt in cold water on a gentle cycle with a color catcher, and dry it on low. It will crinkle up and look like a real quilt for the first time.
What machine do you need?
Any machine that sews a straight stitch evenly can piece a quilt top. For quilting the layers together, a walking foot and a wider space to the right of the needle make the job much easier, especially on a throw or larger. StitchTested compares machines for quilting and machines for beginners.
You might also like
 Precut fabric guide: jelly rolls, layer cakes, charm packs and moreWhat's in a jelly roll, layer cake, charm pack and the rest, drawn to scale, plus which free patterns use each one.
 Quilting supplies for beginnersThe short list of tools for a first quilt, and what can wait.
 Quilts of Valor: requirements and how to make oneThe Foundation's size, fabric and label rules in plain English, plus a pattern that fits them.
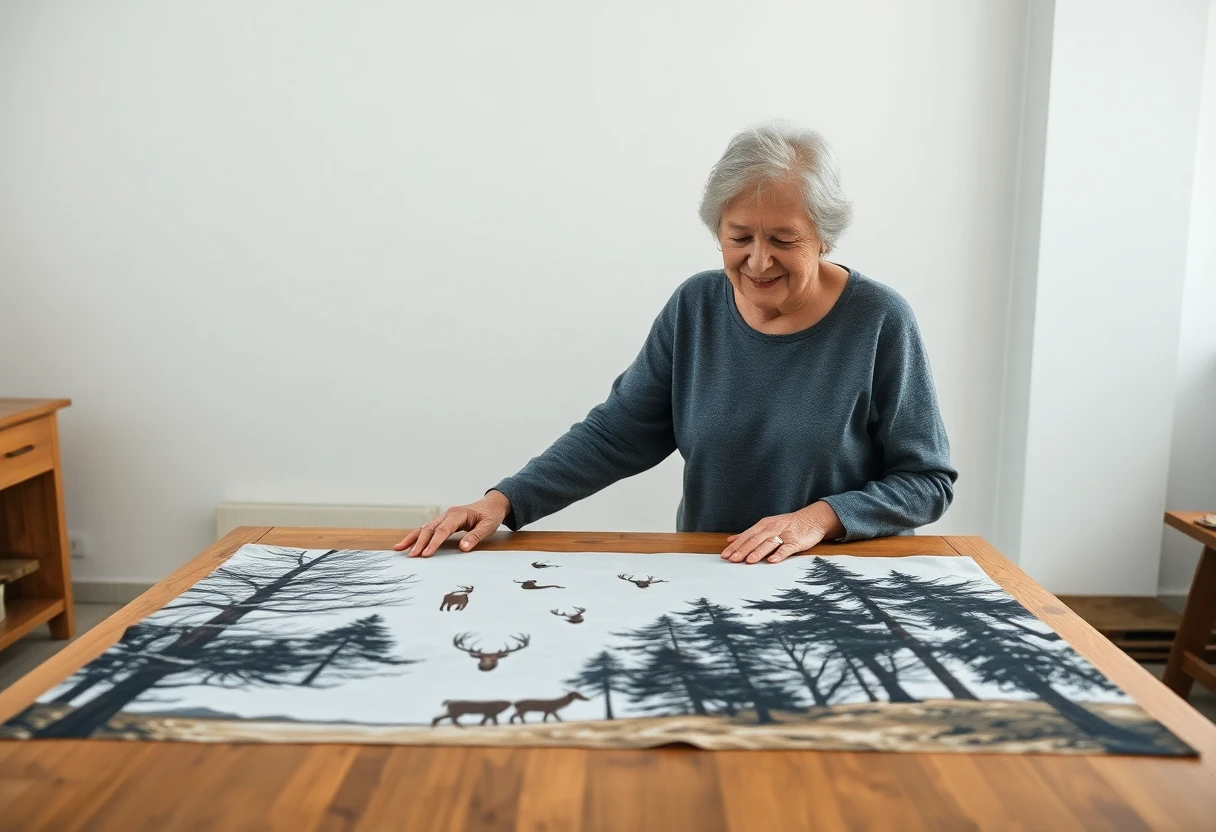 How to make a quilt from a fabric panelSquaring a pre-printed panel that's off-grain, border math for two common panel sizes, and quilting around the printed picture.