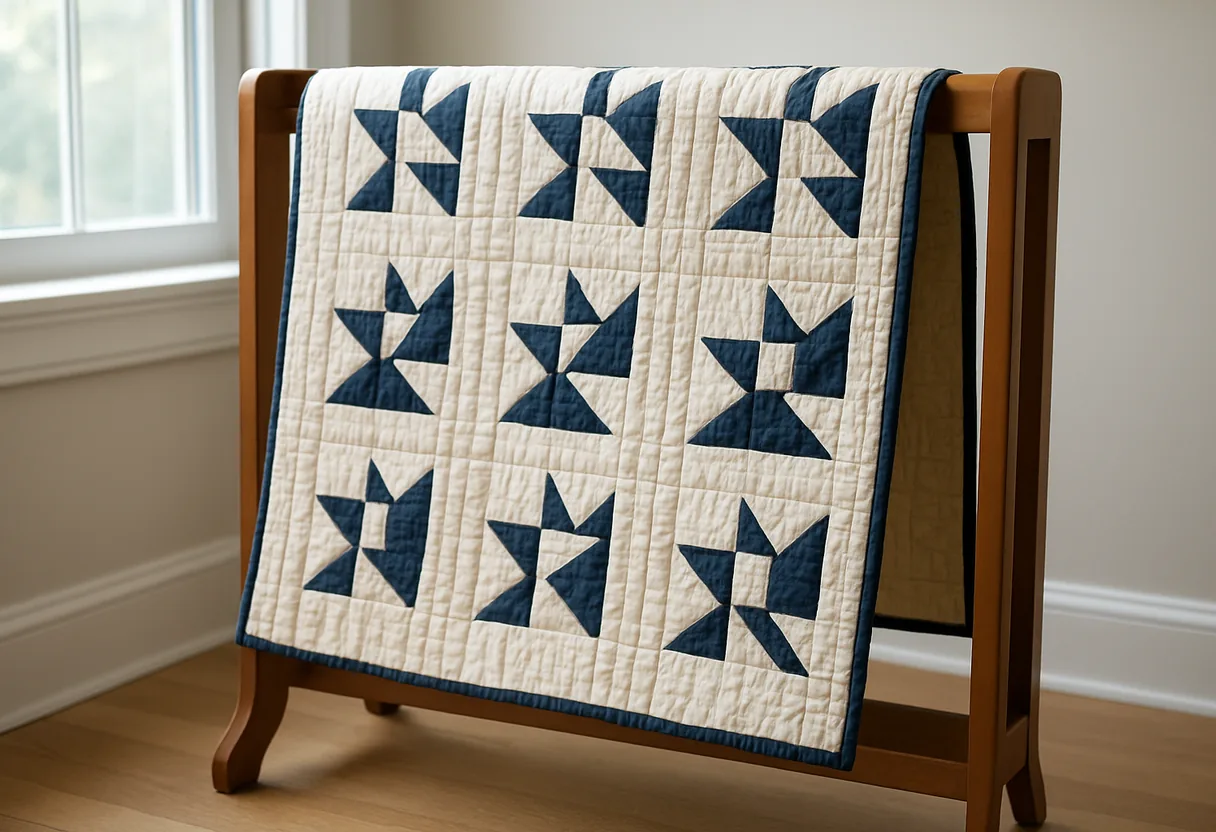
Friendship and signature quilts
A friendship quilt is made of blocks signed by (and often made by) different people, then joined into one quilt and given to someone. The American Folk Art Museum describes the form, which also goes by album quilt and fundraising quilt, as individual signed blocks brought together into a larger design, each block typically named for a different member of a community. Its collection includes a Friendship Star quilt made in Philadelphia in 1844 by Elizabeth Hooton (Cresson) Savery and others, of cotton and linen with ink. Jessica Fleming Nicoll's 1989 University of Delaware thesis on the region's signature quilts found that they first appeared in the Delaware Valley in 1841 and stayed popular through the mid-1850s.
The same idea still works for a retirement, a wedding, a teacher leaving a school or a family remembering someone. Each person signs one center square, and the quilt holds all the names. Our signature quilt guide covers collecting signatures and choosing pens, and the guide to organizing a memorial quilt covers running a project with many contributors, from written guidelines to deadlines.
How the block is built

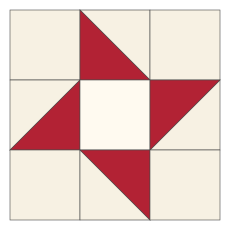
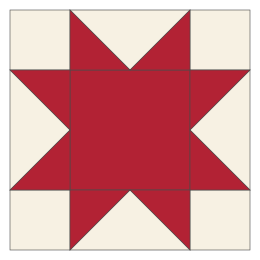
A 3 × 3 grid: four background corner squares, one center square and four HSTs. In each HST, the star triangle has one short side against the center square and the other along the side of the unit, so its point reaches the outer edge. Each HST is turned a quarter turn from the one before.
Cutting chart (one block)
| Finished block | Unit | HST squares (2 background, 2 star) | Background corners | Center |
|---|---|---|---|---|
| 6 in | 2 in | 3 in | 4 squares 2½ in | 1 square 2½ in |
| 9 in | 3 in | 4 in | 4 squares 3½ in | 1 square 3½ in |
| 12 in | 4 in | 5 in | 4 squares 4½ in | 1 square 4½ in |
HST squares are cut 1 inch over the unit size so you can trim (the exact sizes are 2⅞, 3⅞ and 4⅞ inches). The block is 6½, 9½ or 12½ inches unfinished. Sizes checked by calculation.
For signatures, the 9-inch block gives a 3-inch finished center, room for one name in a fine pen. If people will write a line or two of message, use the 12-inch block (4-inch center), or the variation below.
Piecing steps
- Pair each background HST square with a star square, right sides together. Draw a diagonal on the background square, sew ¼ inch from the line on both sides, cut on the line.
- Press the seams toward the star fabric. Trim the four HSTs to 2½, 3½ or 4½ inches.
- Lay out the block. Put the center square in the middle and the corners in place. Place the top HST so its star triangle runs along the bottom (touching the center) and up the left side. Turn the right-hand HST a quarter turn clockwise from that, the bottom one another quarter turn, and the left one another. All four points should spin the same way.
- Sew the rows. Press the top and bottom rows toward the corner squares and the middle row toward the center square, so the seams nest. If the center will be signed, reverse all three (outer rows toward the HSTs, middle row toward the HSTs) so no seam allowance sits under the writing.
- Join the rows and press the long seams away from the middle row for the same reason, or toward it for a plain star.
Preparing signature centers
- Use a tightly woven light solid or tone-on-tone for the centers. Prints and loose weaves make writing hard to read.
- Wash the center fabric first if you'll be washing the quilt, so sizing doesn't affect the ink.
- To give people a firm surface, iron a piece of freezer paper (shiny side down) to the back of each center square, or the whole block, before they sign. Peel it off afterward.
- Mark the writing area with a light pencil line ½ inch inside the seam lines, so names don't disappear into the seams.
- Choose a pen made for fabric that gets washed, such as a laundry marker like the Sharpie Rub-a-Dub, whose listing says the ink stays permanent through washing. The popular Sakura Pigma Micron 05 writes more neatly, but Sakura lists fabric as decorative use only and doesn’t recommend it for fabric that will be washed. Whichever pen you choose, test it on a scrap of your center fabric and wash the scrap before the signing day. Our signature quilt guide has more on pens.
- Decide whether people sign loose center squares (sewn in later) or finished blocks. Loose squares are easier to mail; finished blocks show signers where their name will go.
If the signed blocks come from many different people, ask for them unsewn, or send everyone the same pre-cut kit. Blocks pieced by many hands rarely come back the same size.
Variation for longer messages
A 3-inch center holds a name but not much of a message. For more room, swap the four HSTs for flying geese 3 × 6 inches finished, with a 6½-inch center and 3½-inch corners. That is a sawtooth star: a 12-inch block with a 6-inch center, four times the writing area of the 9-inch friendship star. Our patriotic star throw gives the full cutting chart for it.
Common mistakes and fixes
- One point spins the wrong way. One HST is turned over or rotated. Lay out all nine units before sewing and look at all four points together.
- Points cut off at the block edge. HSTs trimmed with the seam off the corner. Trim with the ruler's 45-degree line on the seam.
- Dark seam allowance shows through a light center. Press the seams around the center away from it.
- Signatures run into the seam. Mark a writing area before signing.
- Ink bleeds or fades. Use a pigment-ink fabric pen and test it first.
Quilts made from friendship stars
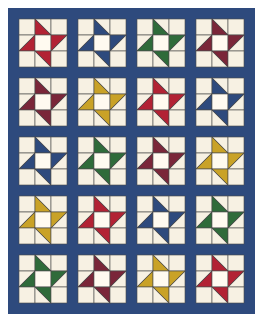
For a group quilt, sashing between the blocks keeps the stars from running into each other and evens out blocks that came back slightly different sizes. Each star can be a different fabric, chosen by the person who signs it. Set the blocks edge to edge without sashing and the corners join into larger background squares, which give space for quilting.
When the quilt is finished, add a label with the occasion and date, plus who organized it; the signatures alone won't say why the quilt was made. The same HSTs make the churn dash and the shoofly, and four of them around a center make the pinwheel in our pinwheel baby quilt.
You might also like
 Pinwheel quilt blockFour half-square triangles turned around the center, cut for 4, 6, 8, 10 and 12 inch blocks.
 Shoofly quilt blockA nine-patch with half-square triangle corners, cut for 6, 9 and 12 inch blocks.
 Sawtooth star quilt blockA big center square and four flying geese points, cut for 6, 8, 12 and 16 inch blocks.
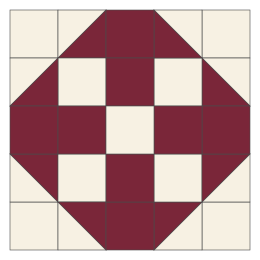 Sister's choice quilt blockA five-patch with a nine-patch center and eight triangle points, cut for four sizes.