
How the block is built
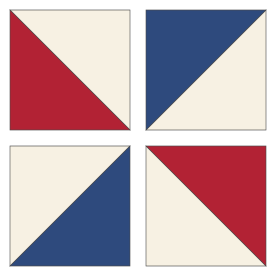
Each half-square triangle (HST) finishes at half the block: a 10-inch pinwheel uses four 5-inch HSTs. All four diagonal seams run to the center point, so that's where the block succeeds or fails. The blades can all be one print, two prints alternating (as drawn), or four different scraps.
Cutting chart (one block)
| Finished block | Finished HST | Squares, exact | Squares, to trim | Trim HSTs to | 8 at a time (exact / to trim) |
|---|---|---|---|---|---|
| 4 in | 2 in | 2⅞ in | 3 in | 2½ in | 5¾ / 6 in |
| 6 in | 3 in | 3⅞ in | 4 in | 3½ in | 7¾ / 8 in |
| 8 in | 4 in | 4⅞ in | 5 in | 4½ in | 9¾ / 10 in |
| 10 in | 5 in | 5⅞ in | 6 in | 5½ in | 11¾ / 12 in |
| 12 in | 6 in | 6⅞ in | 7 in | 6½ in | 13¾ / 14 in |
For one two-print pinwheel with the two-at-a-time method, cut 2 background squares, 1 square of each print. Each background and print pair makes two HSTs, which is exactly the two blades of that print. The squares are the finished HST + ⅞ inch (exact) or + 1 inch (to trim). Trimming every HST to the same size is what makes the center meet, so the "to trim" column is the one to use.
The eight-at-a-time column is for batches: one pair of squares (background and print) at that size gives eight identical HSTs, enough for two one-print pinwheels or the blades of one print in four two-print pinwheels. All sizes were checked by calculation; for other sizes, use the half-square triangle calculator.
Piecing steps
- Draw a diagonal line on the wrong side of each background square. Pair each with a print square, right sides together.
- Sew ¼ inch on both sides of the line, cut on the line, and press the seams toward the print.
- Trim each HST to the size in the chart. Put the ruler's 45-degree line on the seam and trim two sides, then turn the HST and trim the other two.
- Lay out the four HSTs. Start with the top-left one: print triangle in its lower-left half, background in its upper-right half. Turn the next one a quarter turn clockwise for the top right, and so on around the block. Every print triangle should have one point at the center.
- Sew the top pair and the bottom pair. Press the top pair's seam to the right and the bottom pair's seam to the left, so they nest.
- Pin the pairs right sides together at the center, pushing a pin straight through the point where the diagonal seams meet on both layers. Sew, crossing the center exactly at the X the seams make on the back.
- Spin the center: on the back, unpick the two or three stitches of the last seam that are inside the seam allowances, then press all four seams in the same direction around the center. A tiny four-patch of seam allowance appears in the middle and the block lies flat. Pressing the last seam open works too.
- Measure: 4½, 6½, 8½, 10½ or 12½ inches.
Variations
Turn every HST so the print is in the opposite half and the pinwheel spins the other way; mixing both directions in one quilt looks like a mistake unless you do it on purpose in alternate rows. Make the blades from a single directional print and they all point outward like a whirligig. A pinwheel made from four different scraps is a good way to use 5-inch charm squares: a 5-inch square cut to trim gives a 4-inch HST and an 8-inch block, which is the size in our pinwheel baby quilt pattern.
Big pinwheels go fast. Four 12-inch HSTs make a 24-inch block, and twelve of those (3 across, 4 down) make a 72 × 96-inch top with no border.
Common mistakes and fixes
| Problem | Cause | Fix |
|---|---|---|
| Center points don't meet | HSTs trimmed to slightly different sizes | Trim every HST to the exact unfinished size before sewing |
| Blades cut off at the center | Last seam sewn wide of the X on the back | Sew through the crossing point of the two seams |
| Block won't lie flat | Four seam allowances stacked in the middle | Spin the center seams or press open |
| One blade faces backward | An HST turned 180 degrees | Lay out all four and compare to the diagram first |
| Wavy edges | HSTs cut from squares cut on both diagonals, putting bias on the edge | Use the two-at-a-time or eight-at-a-time method, which keeps straight grain on the outer edges |
Quilts made from pinwheels
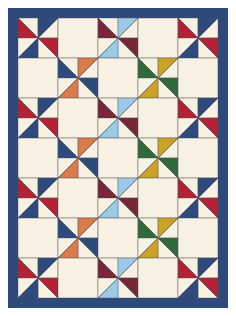
Alternating pinwheels with plain blocks gives each one room to spin and halves the piecing. Set side by side with no plain blocks, the background triangles of neighboring pinwheels join into their own pinwheels, and the quilt looks busier. Pastels make a classic baby quilt; pinwheels in red and navy on white make a cheerful Fourth of July throw or charity quilt.
Related blocks
The Dutchman's puzzle spins the same way with flying geese, and the friendship star puts four HSTs around a center square. The hourglass uses two HSTs sewn and recut. To make the block a different size, the block resizer covers the grid math, and the quilt block library shows every block on the site.
You might also like
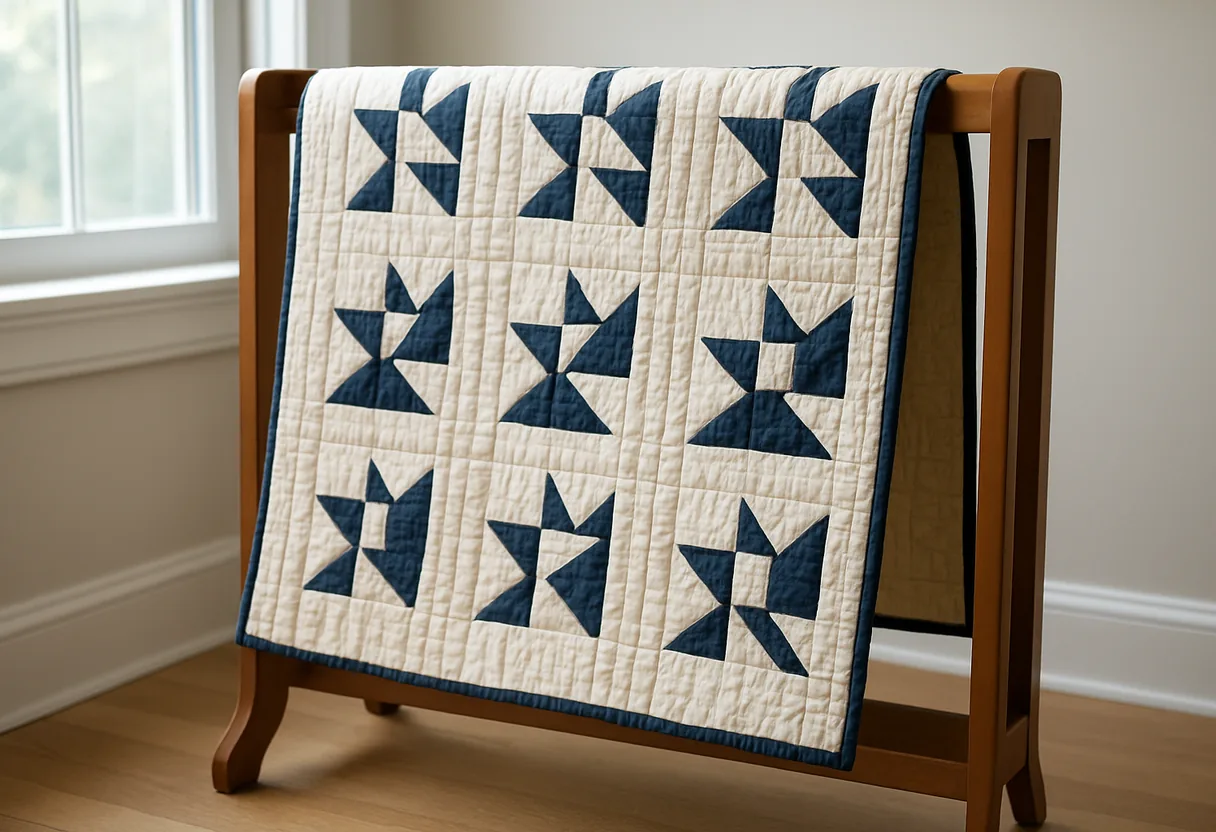 Friendship star quilt blockA nine-patch star of four half-square triangles, with a plain center for signatures.
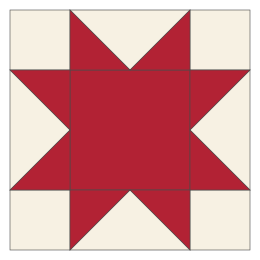 Sawtooth star quilt blockA big center square and four flying geese points, cut for 6, 8, 12 and 16 inch blocks.
 Card trick quilt blockFour "cards" that seem to overlap, from half and quarter triangles, cut for 6, 9 and 12 inch blocks.
 Economy quilt block (square in a square)A center square framed by two rounds of triangles, with cut sizes for 4, 6, 8 and 12 inch blocks.