
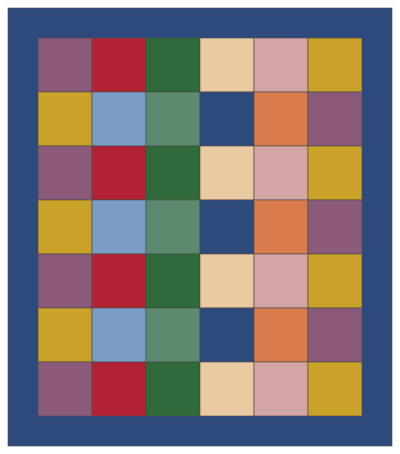
Fabric
| Fabric | Amount |
|---|---|
| Layer cake | 1 (42 squares, 10 × 10 in) |
| Border | 1⅛ yd |
| Binding | ⅝ yd |
| Backing | 4½ yd |
| Batting | Twin size (72 × 90 in) |
Count your squares when the bundle arrives. Most layer cakes have 42, but some collections have 40; the variation below covers that.
Which layer cakes work for this layout
Nothing gets cut up here, so the squares show at 9 inches, about as big as a precut print ever gets to be in a quilt. That favors the collections people hesitate to cut: large florals, novelty prints, a big-scale paisley. A collection of small blenders works too, but at this scale it reads as a soft texture and the border has to do the talking.
Before you buy the border, sort the squares into lights, mediums and darks and count them. The thing to watch is the low-volume group, the prints on a white or cream ground. Some collections have a lot of them. Six or seven scattered through the quilt keep it from looking heavy. With a dozen or more, the pale squares start to form patches, so place them first, no two touching, and fill in around them. If your cake is heavy on light squares, use a dark border so the edge holds the quilt together, and check the light squares against each other in a phone photo set to black and white; our fabric value checker does the same thing on screen.
Many layer cakes include two squares of some prints. Pull the duplicates out first and place them in different rows and different columns, then fill in around them. One-way prints (a house, a tree, lettering) need to go in upright, which is easy to forget when you rotate squares to trim them.
For the border, take two or three candidate fabrics to the layout and lay each along one edge. A solid or tone-on-tone pulled from the darkest color in the cake almost always works. A border print from the same collection can work if its scale is different from the squares; if it matches them, the border just looks like a seventh column.
Cutting
- Trim each layer cake square to 9½ × 9½ inches. Most precuts have pinked (zigzag) edges, and trimming gives you a clean, accurate edge to sew along. It also evens out squares that came off the cutter slightly off size.
- Border: cut seven strips 5½ inches wide.
- Binding: cut eight strips 2½ inches wide.
If a few squares won't give a full 9½ inches because a pinked valley dips in, trim all 42 to 9¼ inches instead, so they still match. The squares finish at 8¾ inches, the center at 52½ × 61¼ and the quilt at 62½ × 71¼ inches, and the yardage above still covers it. Don't mix the two sizes; a quarter inch per square adds up fast across a row of six.
Arrange and sew
- Spread each value group evenly over a 6 × 7 grid, and keep the two or three boldest prints away from each other and away from the edges.
- Sew the squares into 7 rows of 6, pressing the seams in alternate directions row by row: odd rows to the right, even rows to the left.
- Join the rows, nesting the seams. Press the long row seams open or all toward the bottom of the quilt. The center measures 54½ × 63½ inches.
- Join the border strips end to end. Cut two pieces to the length of the quilt measured through its center (about 63½ inches) and sew them to the sides. Then cut two to the new width (about 64½ inches) for the top and bottom. Press toward the border.
With only 42 pieces, the row seams are the ones that decide how the quilt looks. Six nested intersections per row line up easily if every square really is 9½ inches; if one row comes out a quarter inch long, look for a square that escaped the trimming.
Quilt and finish
For the backing, cut the 4½ yards into two 81-inch lengths, trim the selvages and sew them side by side. That gives about 79½ × 81 inches, at least 4 inches beyond the quilt on every side. Bind it with the eight strips.
Big squares leave big open areas, so check your batting before picking a quilting plan. Stitching in the ditch around each square leaves 9 inches unquilted in both directions, and some battings ask for lines no more than 3 or 4 inches apart while others allow 8 or 10. The package says which; the batting guide explains the numbers.
An all-over meander suits a busy print collection and hides the scale of the squares. For a walking foot, diagonal lines corner to corner through every square, in both directions, make a large X in each square and a diamond lattice across the quilt, and parallel lines end up a little over 6 inches apart. Add a second set of lines halfway between and it's closer to 3. Straight lines through the seams in both directions are the plainest option. Quilt the border separately, with two lines 1 and 2 inches in from the seam, so the corners don't depend on the center lines meeting up. Straight-line machine quilting covers marking.
If your layer cake has 40 squares
Lay them out 5 across and 8 down for a 45 × 72 inch center; with the same 5-inch border the quilt finishes at 55 × 82 inches. That's long and narrow, which works well on a twin bed or a sofa. Cut seven border strips and eight binding strips as above. The backing is longer: buy 5 yd and cut two 90-inch lengths, which gives about 79½ × 90 inches. Twin batting (72 × 90 in) is exactly long enough; a full-size batt (81 × 96 in) leaves a little room.
Make it bigger or smaller
All sizes use 9½-inch trimmed squares. The 63-square and 81-square sizes take two layer cakes. Two 42-square cakes give 84 squares, enough for either; two 40-square cakes give 80, one short of the queen. Every size was checked by calculation.
| Squares used | Layout | Border | Finished | Border strips (yardage) | Binding | Backing | Batting |
|---|---|---|---|---|---|---|---|
| 20 | 4 × 5 | 4 in (cut 4½) | 44 × 53 in (baby or lap) | 5 strips (¾ yd) | 6 strips, ½ yd | Two 52-in lengths, 3 yd | Twin size (72 × 90 in) |
| 42 (this pattern) | 6 × 7 | 5 in (cut 5½) | 64 × 73 in | 7 strips (1⅛ yd) | 8 strips, ⅝ yd | Two 81-in lengths, 4½ yd | Twin size (72 × 90 in) |
| 63 (from two layer cakes) | 7 × 9 | 5 in (cut 5½) | 73 × 91 in (twin) | 9 strips (1½ yd) | 9 strips, ¾ yd | Three 81-in lengths, 6¾ yd | Queen (90 × 108 in) |
| 81 (from two layer cakes) | 9 × 9 | 6 in (cut 6½) | 93 × 93 in (queen) | 10 strips (1⅞ yd) | 11 strips, ⅞ yd | Three 101-in lengths, 8½ yd | King (120 × 120 in) |
The 44 × 53 size is 1 inch too long for a throw-size batt once you allow 4 inches on each side, which is why the table says twin. On the other three sizes in the table, the backing lengths are turned so the seams run across the quilt. To size the quilt for a particular bed, StitchTested has a quilt size chart and a binding and backing calculator. Our precut fabric guide explains what else comes in a layer cake's family of precuts.
See all our free quilt patterns. This pattern is free for personal and charity use; please don't sell the pattern itself.
You might also like
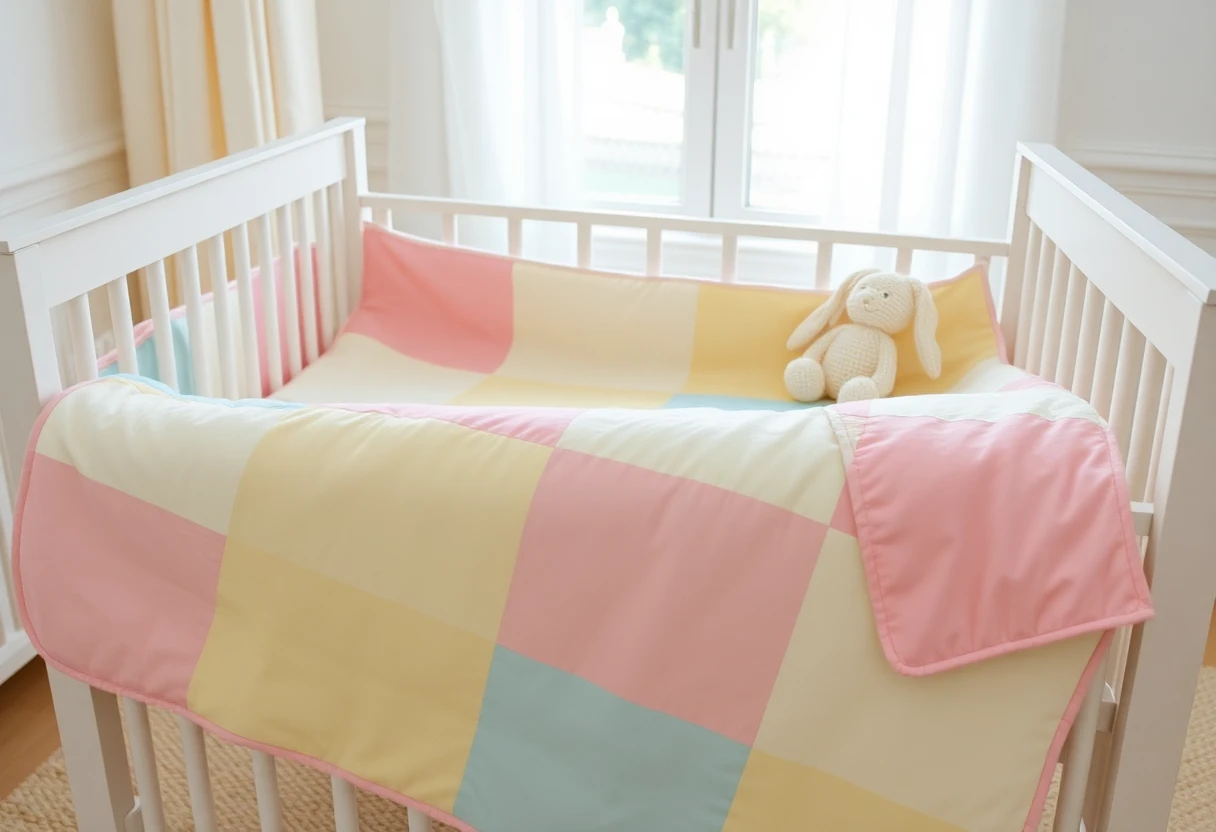 Easy baby quilt48 big squares from 8 fat quarters, 36 x 48 in, with crib, toddler and throw sizes.
 Pinwheel baby quiltOne charm pack, 20 pinwheels, 38 x 46 in, a step up from a squares-only baby quilt.
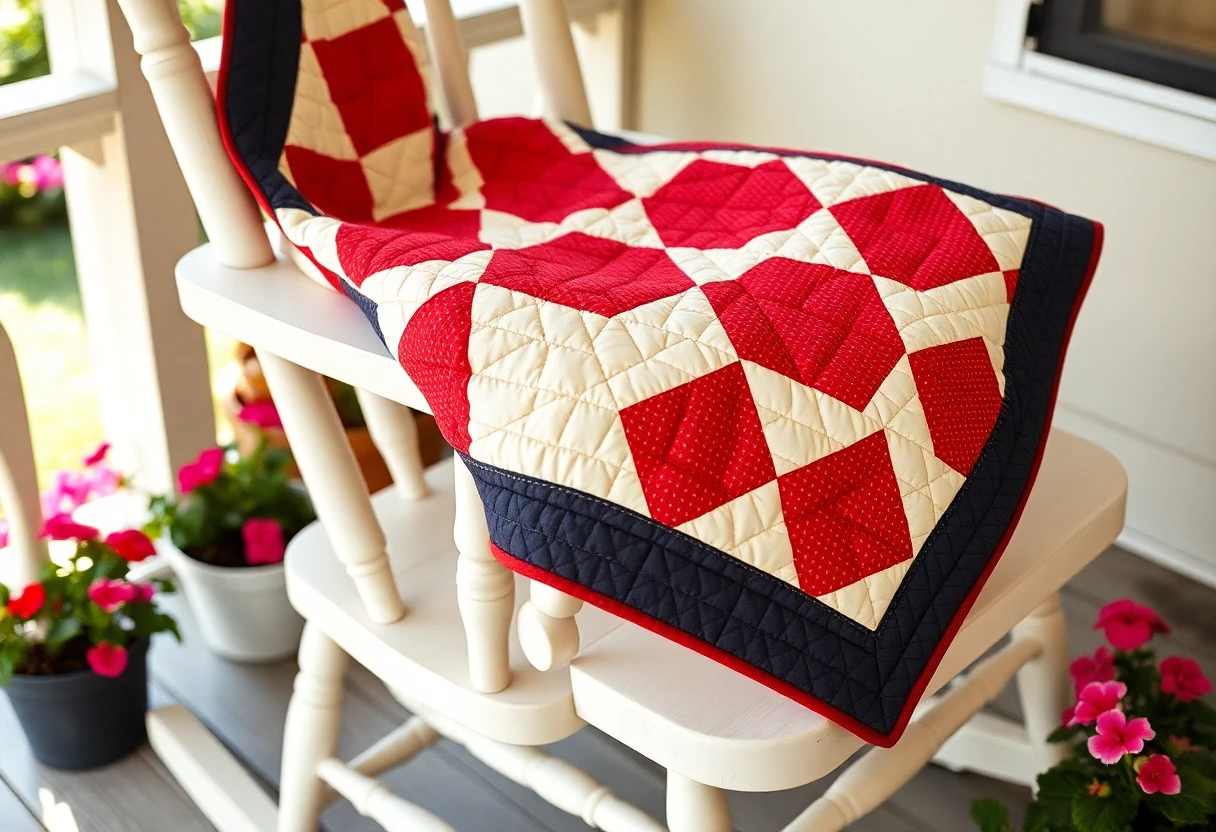 Nine-patch throw quiltThe classic first quilt, a 53 x 71 in throw with only squares to cut and sew.
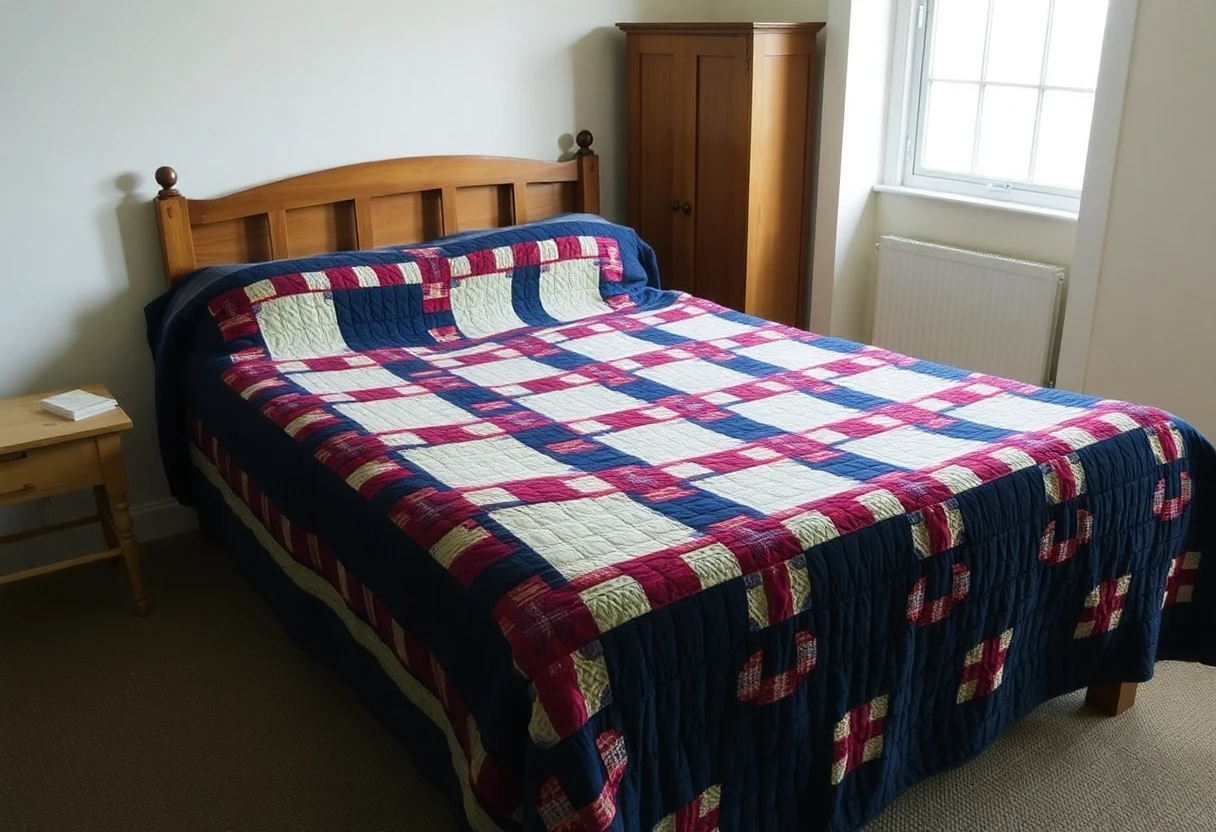 Double Irish chain quiltNavy and red chains on cream, 58 x 78 in, strip pieced so there are no tiny squares to cut one by one.