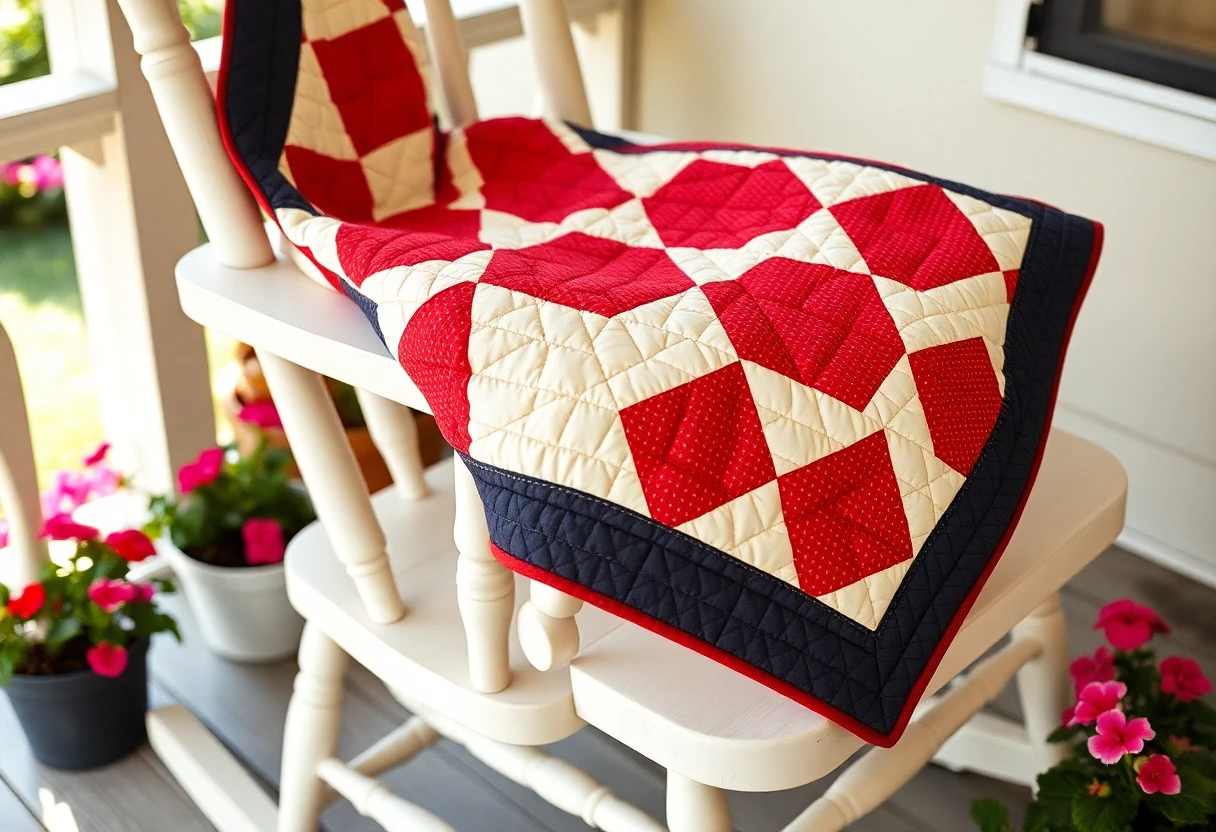
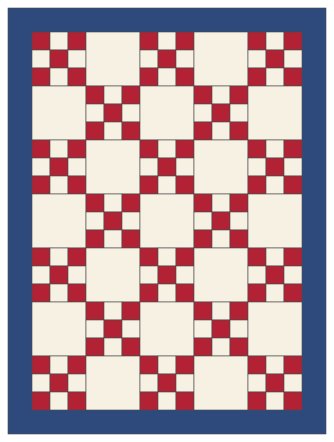
The finished quilt is 53 × 71 inches, a generous throw or lap size. Blocks are 9-inch nine-patches made from 3½-inch squares, sewn with a ¼-inch seam throughout. It's a beginner pattern.
Fabric
Yardage assumes 42-inch-wide quilting cotton with at least 40 inches usable after the selvages are trimmed.
| Fabric | Used for | Yardage |
|---|---|---|
| Red (or scraps) | Nine-patch squares | 1 yd |
| Cream | Nine-patch squares and plain blocks | 2¼ yd |
| Navy | Border and binding | 1½ yd |
| Backing | Back of the quilt | 3½ yd |
| Batting | Middle layer | At least 61 × 79 in (twin size): Warm & Natural twin fits |
Want to resize it? Our sister site has a guide to working out quilt yardage.
Cutting
Cut strips across the width of the fabric, selvage to selvage, then subcut.
| Fabric | Cut strips | Subcut |
|---|---|---|
| Red | 9 strips, 3½ in | 90 squares, 3½ × 3½ in |
| Cream | 7 strips, 3½ in | 72 squares, 3½ × 3½ in |
| Cream | 5 strips, 9½ in | 17 squares, 9½ × 9½ in |
| Navy | 7 strips, 4½ in | Border (join first) |
| Navy | 7 strips, 2½ in | Binding |
A sharp rotary cutter makes all the difference with this many squares. See StitchTested’s rotary cutter picks.
Make the nine-patch blocks

- Sew rows of three: red, cream, red (make 2 per block) and cream, red, cream (make 1 per block).
- Press seams toward the red squares. In each block, the seams of neighboring rows will then point in opposite directions, so they “nest” and the corners line up.
- Sew the three rows together, matching the seams. Press.
- Check the size: each block should measure 9½ inches square. Make 18.
Assemble the quilt top
- Lay out 7 rows of 5 blocks. Odd rows start and end with a nine-patch (nine-patch, plain, nine-patch, plain, nine-patch); even rows start and end with a plain block.
- Sew the blocks into rows. Press seams toward the plain blocks so they nest with the next row.
- Sew the rows together. The center should measure 45½ × 63½ inches.
Add the border
- Join the seven 4½-inch navy strips end to end into one long strip.
- Measure the quilt top through its center, top to bottom (it should be about 63½ inches). Cut two border strips to that length and sew them to the sides.
- Measure again through the center, side to side (about 53½ inches). Cut two strips and sew them to the top and bottom.
Measuring through the center, not along the edges, keeps the border from rippling.
Finish
- Layer the backing (right side down), batting and quilt top (right side up). Baste with pins or spray.
- Quilt as you like. Straight lines a ¼ inch on each side of the seams (“stitch in the ditch” or echo quilting) suit this design and are easy with a walking foot.
- Trim the edges and bind with the 2½-inch navy strips. See how to bind a quilt.
- Add a label. See how to label a quilt.
Variations
- Go scrappy: cut the 90 red squares from many different scraps. Keep the cream the same so the pattern still reads.
- Make it bigger: add one more row and one more column (7 × 9 blocks) for a 71 × 89 inch twin.
- For a double nine-patch, replace the center square of each block with a tiny nine-patch of 1½-inch squares.
This pattern is free for personal use and for charity quilts. Please don’t sell the pattern itself.