
Which method to use
| Method | Edge | Speed | Best for | Skip it for |
|---|---|---|---|---|
| Fusible web, raw edge | Raw, stitched over | Fastest | Wall quilts, flag cantons, children's quilts, lots of small shapes | Heirloom bed quilts you want soft and drapey |
| Needle-turn by hand | Turned | Slowest | Traditional floral blocks, curves, take-along handwork | Very small, very sharp points if you're new to it |
| Freezer paper | Turned | Medium | Circles, hearts and any shape that has to match its template exactly | Huge numbers of tiny pieces |
| Back-basting | Turned | Slow, little prep | Complex layouts with many overlapping pieces; no templates to cut | Thick or dark backgrounds you can't see lines through |
| Machine stitch over turned edges | Turned, machine-finished | Medium | Quilts that will be washed often | Pieces under about ¾ inch |
All of the methods start with a template. Our applique template generator prints stars, hearts, leaves, circles, flowers and a bird at any size, with or without the turn-under allowance and reversed for fusible web.
Fusible (raw-edge) applique
Paper-backed fusible web is a sheet of heat-activated glue on release paper. You trace the shape on the paper side, fuse it to the back of your fabric, cut it out, peel the paper and press the shape to the background. Then stitch around the edge so it stays down through washing; glue alone lets go eventually.
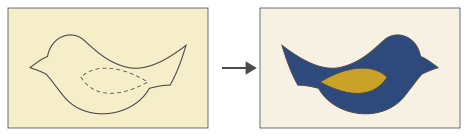
- Trace the shape reversed on the paper side of the web. Leave about ¼ inch between shapes. (Symmetric shapes like stars and hearts don't need reversing.)
- Cut the shapes apart roughly, outside the lines. For large shapes, cut out the middle of the web too, leaving a ring about ¼ inch wide inside the line. The shape stays soft in the middle and only the edge is glued.
- Fuse each piece to the wrong side of its fabric, following the temperature and time on the web's package. Let it cool.
- Cut on the traced line, peel the paper, position the shape and press it in place.
- Stitch the edge (see the machine stitches below).
A light, sewable web is the one to buy; heavy “no-sew” webs gum up the needle. HeatnBond Lite is the light kind our American flag quilt pattern uses for its 50 fused stars.
Needle-turn applique
Needle-turn is done by hand. The shape is cut with a 3⁄16-inch allowance, and you fold the allowance under with the tip of the needle a little at a time as you stitch.
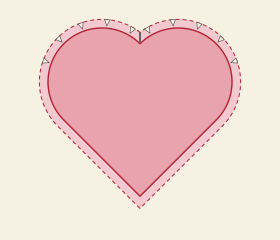
- Mark the finished line on the right side of the fabric with a fine pencil or a removable marker. Cut on the dashed line of the template, 3⁄16 inch outside the mark.
- Pin or glue-baste the shape to the background, or hold it with short applique pins.
- Thread a fine needle (a size 10 or 11 straw needle is common) with thread that matches the shape, not the background. 50-weight or finer cotton or polyester disappears best.
- Start on a straight or gently curved edge, never at a point. Sweep about ½ inch of allowance under with the needle until the marked line just disappears.
- Bring the needle up through the background and catch two or three threads at the very fold of the shape. Go back down into the background right beside where it came up, travel about ⅛ inch underneath, and come up again. Stitches 8 to 12 per inch are typical.
- At an outside point, stitch right up to the tip, fold the tip allowance under, then sweep the next side under and take a second stitch at the tip. At an inside point, clip into the allowance almost to the line and take two or three closer stitches there.
Freezer paper applique
Freezer paper has a plastic coating on one side that sticks to fabric when you iron it and peels away clean. It gives you a firm edge to turn the allowance over, which makes accurate circles and smooth curves much easier than needle-turn.
- Print or trace the template without allowance and cut the freezer paper exactly on the line.
- Iron it shiny side down to the wrong side of the fabric. (Because the paper goes on the back, reverse any one-way shape.)
- Cut the fabric about 3⁄16 inch outside the paper.
- Press the allowance over the paper's edge with the tip of a hot iron, using a little spray starch or a glue stick to hold it. Clip inside curves and points first.
- Stitch the shape down by hand or machine, leaving a 1-inch opening. Remove the paper with tweezers, then close the opening. Some quilters stitch it all the way round, slit the background behind the shape and pull the paper out from the back.
For circles there's an even easier version: cut the fabric circle ½ inch bigger than the finished size (the generator's circle with a ¼-inch allowance), run a gathering stitch around the edge, pull it tight around a card or heat-resistant template circle and press.
Back-basting
Back-basting skips templates almost entirely. You trace the whole design onto the back of the background, so the lines show where every piece goes.
- Trace the design, reversed, on the wrong side of the background.
- From the front, lay a piece of applique fabric over the area it will cover, a generous ¼ inch past the lines all around.
- From the back, baste along the traced line with a long running stitch through both layers. The basting stitches now outline the shape on the front.
- Trim the applique fabric 3⁄16 inch outside the basting. Remove a few basting stitches at a time and needle-turn the edge under. The holes left by the basting show you exactly where the fold goes.
Work the pieces that sit underneath first, and leave the allowance flat where another piece will cover it.
Machine applique stitches

| Stitch | Where the needle goes | Starting settings to test | Look |
|---|---|---|---|
| Straight stitch | About ⅛ inch inside the edge | Length 2 to 2.5 mm | Raw edge frays a little and softens with washing |
| Zigzag | Right swing just off the edge, left swing into the shape | Width 2 to 2.5 mm, length 1 to 1.5 mm | Covers the edge; a casual look |
| Satin stitch | Same as zigzag, packed tight | Width 2 to 3 mm, length close to 0.3 to 0.5 mm | A solid, bold outline; hides fraying completely |
| Blanket stitch | Straight part on the background touching the edge, bites into the shape | Width and bite about 2.5 mm | Folk-art look, often in black or a contrast thread |
| Invisible (blind hem) | Straight stitches on the background beside a turned edge, small bites into the fold | Width about 1 mm, length about 1.5 mm, monofilament or fine matching thread | Looks like hand applique |
Those numbers are only a place to start; machines name and measure their stitches differently, so sew a sample on scraps of the same fabrics first. A few things hold for every machine:
- Use an open-toe foot so you can see the edge.
- Put a tear-away or wash-away stabilizer under the background for satin and blanket stitch, or the background puckers.
- Stop with the needle down on the outside of the curve to pivot. On tight curves, pivot every two or three stitches.
- At a star point, stitch to the tip, pivot with the needle down on the outside, and go back up the next side.
- Pull the top thread to the back and knot it; backstitching shows on applique.
Common problems
| Problem | Cause | Fix |
|---|---|---|
| Shapes face the wrong way | One-way shape not reversed for fusible web or freezer paper | Trace reversed; the generator's Reverse box does it for you |
| Fused shape peeling at the edge | Iron too cool, or no stitching | Re-press with the web's recommended heat, then stitch the edge |
| Stiff, board-like applique | Heavy web, or web under the whole of a big shape | Use a light web and cut away its middle |
| Pointy bumps on curves | Too much allowance turned at once | Turn ¼ inch at a time; trim the allowance to ⅛ inch on tight curves |
| Fraying at inside points | Clip went all the way to the line | Stop the clip a thread or two short; take extra stitches there |
| Background puckers under stitching | No stabilizer, or the thread tension is too tight | Add stabilizer; loosen the top tension a little |
| Shadow of a dark seam allowance through a light shape | Light fabric over a dark background | Line the shape with a second layer, or cut the background away behind it |
After the applique is done, quilting around each shape makes it stand out. Echo quilting is the classic choice; see echo and feather quilting. Then layer the quilt as usual, starting with basting.
Products on this page
Photos and prices come from Amazon and can change.
 HeatnBond Lite Iron-On AdhesiveCheck price on Amazon
You might also like
 Quilt as you go: joining quilted blocks with stripsQuilting each block on its own, then joining them with narrow front and back strips, with exact cut sizes.
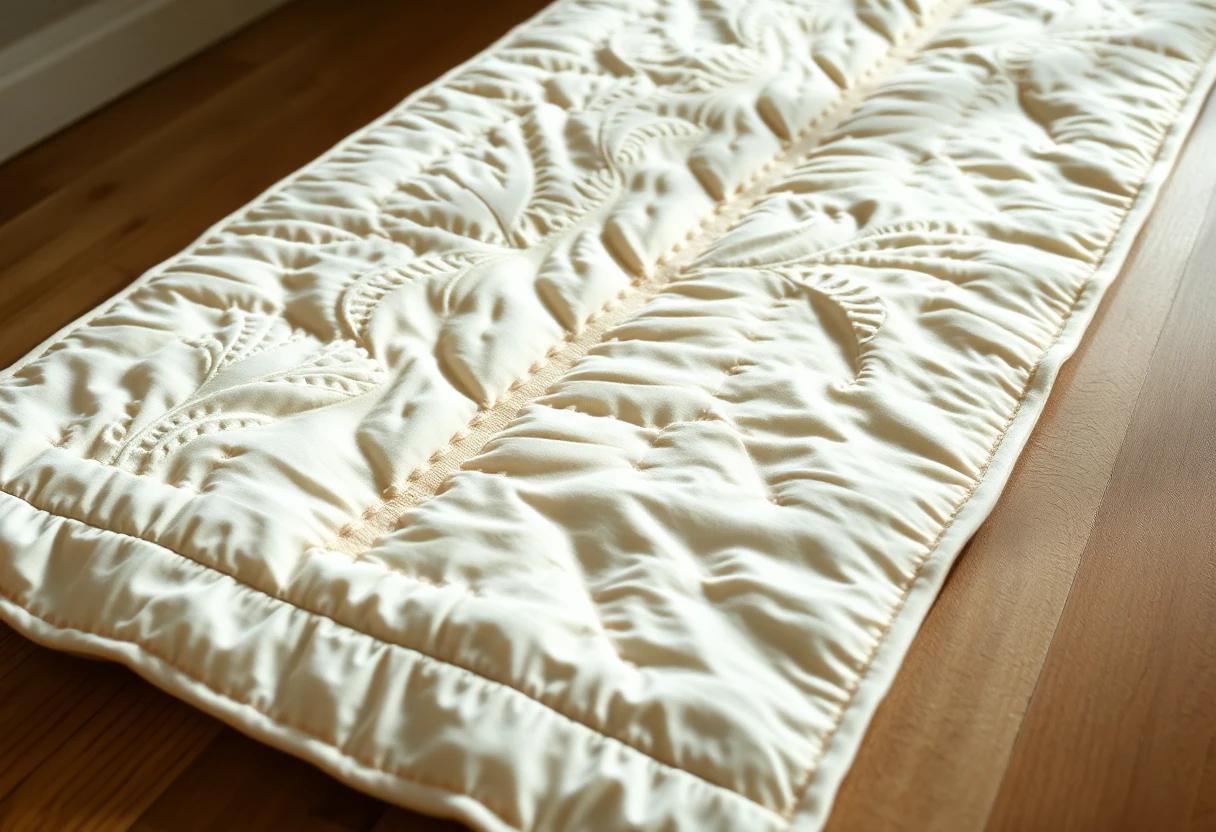 Echo and feather quiltingEcho lines around shapes, and feathers by hand and machine: spines, plumes, the bump-back method and common fixes.
 Applique templatesPrintable stars, hearts, leaves, circles, flowers and a bird at any size, with turn-under allowance or reversed for fusible web.
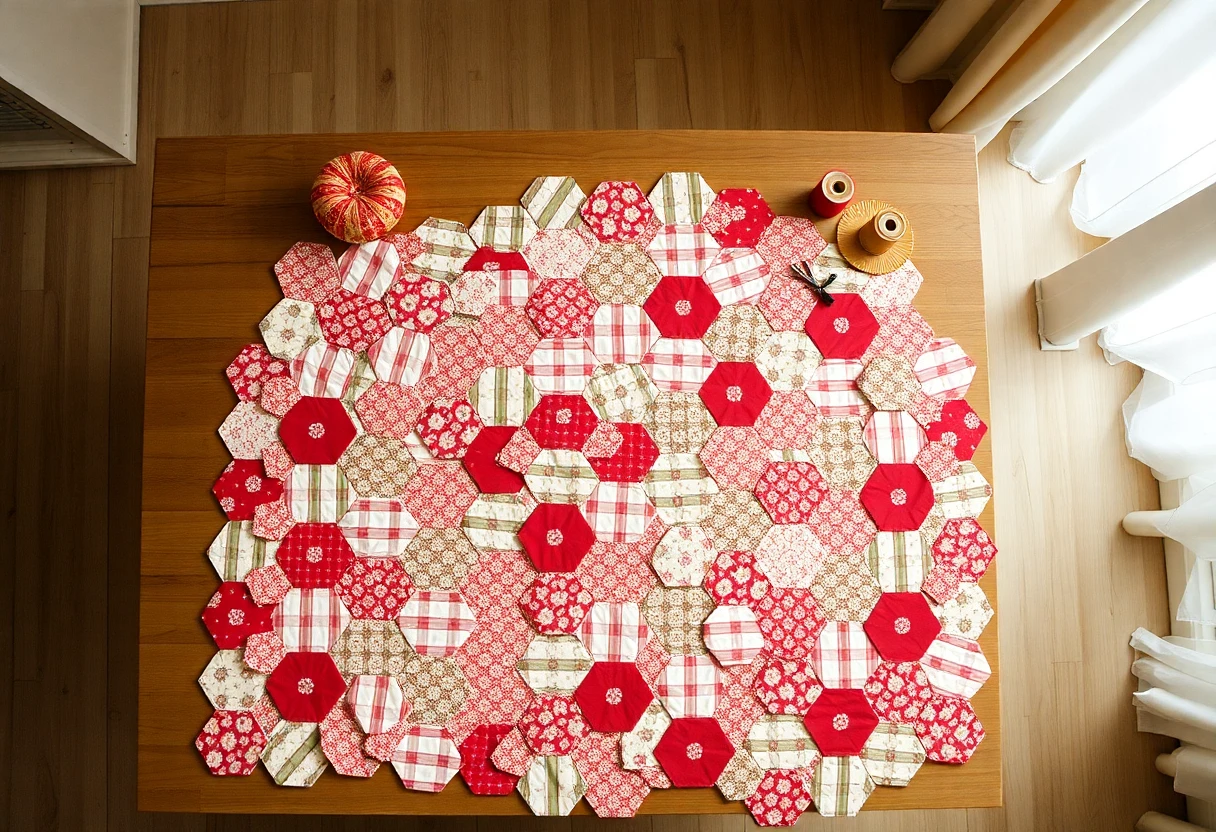 English paper piecingWrap fabric around paper shapes, baste with thread or glue, then stitch the edges together by hand.