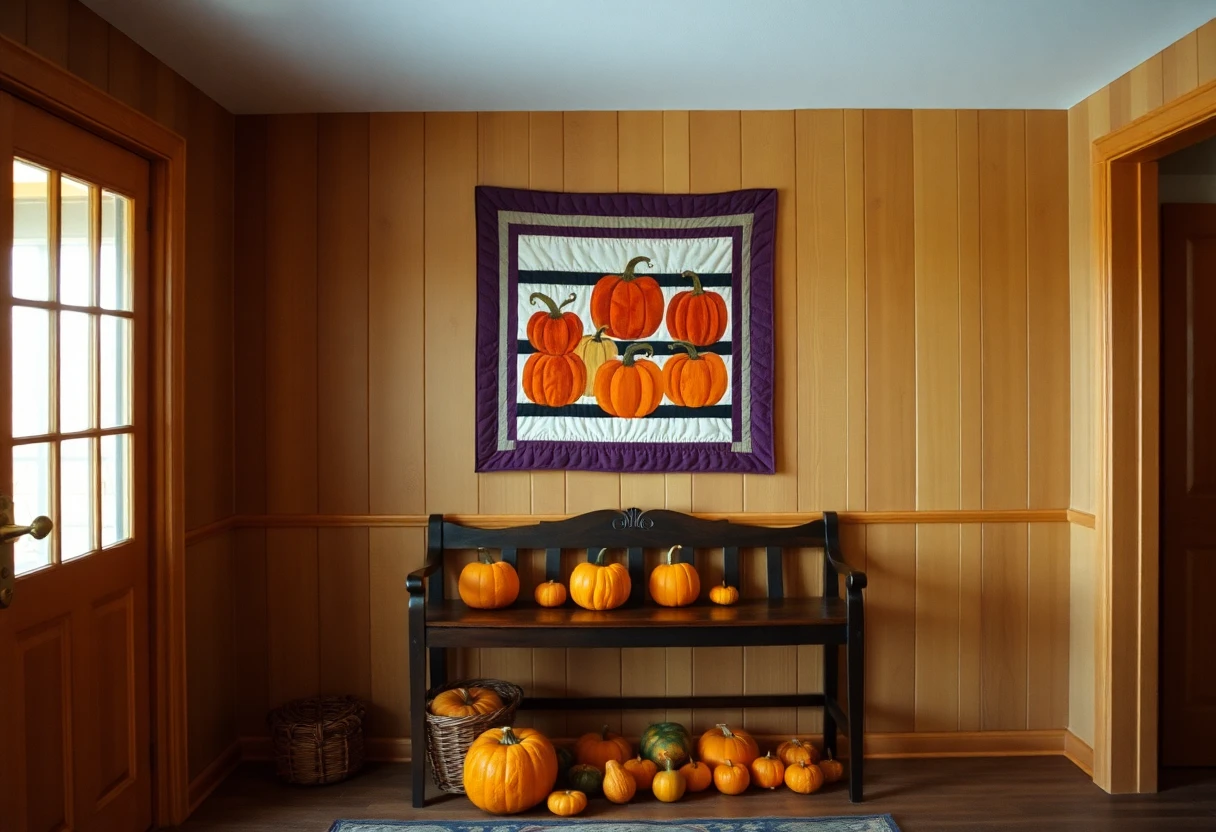
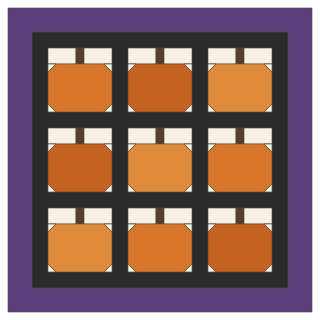
The pumpkin block
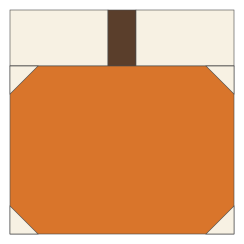
Per block you need two cream 4 × 2½-inch rectangles, one brown 1½ × 2½-inch stem, one orange 8½ × 6½-inch body and four cream 1½-inch squares for the corners.
Fabric
| Fabric | Used for | Yardage |
|---|---|---|
| Oranges | Nine pumpkin bodies | ⅝ yd of one, or two fat quarters (six bodies each) for a mix |
| Cream | Block backgrounds | ⅜ yd |
| Brown | Stems | A 2½ × 14-in scrap |
| Black | Sashing and binding | 1 yd |
| Purple | Border | ½ yd |
| Backing | A 46-in square, pieced | 1¾ yd |
| Batting | Middle layer | 46 × 46 in |
A few different oranges, from pale pumpkin to deep rust, make the patch look more natural than nine identical ones. A black print with a subtle texture (tiny dots, a crackle) looks richer than flat black, and it hides lint, which flat black shows badly.
Cutting
| Fabric | Strips | Then cut |
|---|---|---|
| Orange | Three 6½-in strips | Nine 8½ × 6½-in bodies (four per strip) |
| Cream | Two 2½-in strips | Eighteen 4 × 2½-in rectangles (ten per strip) |
| Two 1½-in strips | Thirty-six 1½-in squares | |
| Brown | – | Nine 1½ × 2½-in stems |
| Black | Three 2½-in strips | Twelve 2½ × 8½-in short sashing pieces (four per strip) |
| Four 2½-in strips | Trim each to 32½ in for the long sashing | |
| Five 2½-in strips | Leave whole for the binding | |
| Purple | Four 3½-in strips | Two 32½ in long, two 38½ in long |
Sew nine pumpkins
- Draw a diagonal line on the wrong side of each 1½-inch cream square.
- Place a square right sides together on each corner of an orange body, with the line running across the corner. Sew on the lines.
- Trim ¼ inch outside each seam, toward the corner, and press the cream triangles out. The body still measures 8½ × 6½ inches, now with rounded-looking corners.
- Sew a cream rectangle to each side of a brown stem. Press toward the stem. This top strip measures 8½ × 2½ inches.
- Sew the top strip to the body, with the stem centered. Press toward the body. The block measures 8½ inches square. Make nine.
Sew a thread's width to the corner side of each drawn line. When the triangle is pressed back it needs that tiny bit of room to reach the edge; sewing exactly on the line leaves the corner a hair short.
Assemble the wall hanging
- For each row, sew four short sashing pieces and three pumpkins together, starting and ending with sashing: sash, pumpkin, sash, pumpkin, sash, pumpkin, sash. Press toward the sashing. Each row measures 32½ × 8½ inches.
- Lay out the three rows with a long sashing strip above, between and below them. Sew them together. Mark the center of each long strip and each row with a pin and match them, so the short sashing lines up from row to row.
- The center measures 32½ inches square. Sew the two 32½-inch purple borders to the sides, then the two 38½-inch borders to the top and bottom. The top measures 38½ inches square.
Quilt and finish
- Cut a 46-inch length of backing. From the rest, cut two 7-inch strips across the width, join them end to end, trim to 46 inches and sew to one side of the large piece. The backing is now about 46½ × 46 inches.
- Layer the backing, the batting and the top, and baste.
- Quilt in the ditch around every block and along the border seam. Then stitch three or four slightly curved lines down each pumpkin body to suggest ribs, and fill the purple border with straight lines or a simple wave. Matching thread on the orange keeps any wobbles quiet.
- Trim, then join the five black strips with diagonal seams and bind. The wall hanging needs 162 inches: the 152-inch perimeter plus 10. See how to bind a quilt.
To hang it, add a sleeve to the back before you bind, or sew two corner triangles to the top corners for a dowel. Our guide to hanging a quilt covers both. A sleeve cut 9 inches by about 37 inches takes another ⅜ yard of fabric.
Jack-o'-lantern faces (optional)
For faces, draw simple triangle eyes and a toothy mouth on the paper side of a lightweight fusible web, fuse it to black fabric, cut out the shapes and fuse them to the pumpkin bodies before you sew the blocks. HeatnBond Lite is sewable, according to its listing, so you can stitch around each shape with a small zigzag or blanket stitch to keep the edges from lifting in the wash. Draw your own shapes or trace kitchen cookie cutters. Mixing a few faces with a few plain pumpkins looks better than nine faces staring at you.
Table runner version (16 × 46 in)
Make four pumpkin blocks and sew them in a row with five short sashing pieces (sash, pumpkin, sash, pumpkin, sash, pumpkin, sash, pumpkin, sash). Join three 2½-inch black strips end to end, cut two 42½-inch long sashing pieces and sew them along the top and bottom. The center measures 42½ × 12½ inches. Add a 2-inch border: two 2½ × 12½-inch pieces on the ends, then two 2½ × 46½-inch pieces on the long sides, from four border strips joined end to end. Bind with four 2½-inch strips (134 inches needed) and use a 24 × 54-inch backing.
The runner pairs with the easy squares runner sewn in fall colors for the weeks after Halloween, and the same corner trick shows up in the bow tie block.
More free patterns: see them all. This pattern is free for personal and charity use; please don't sell the pattern itself.
You might also like
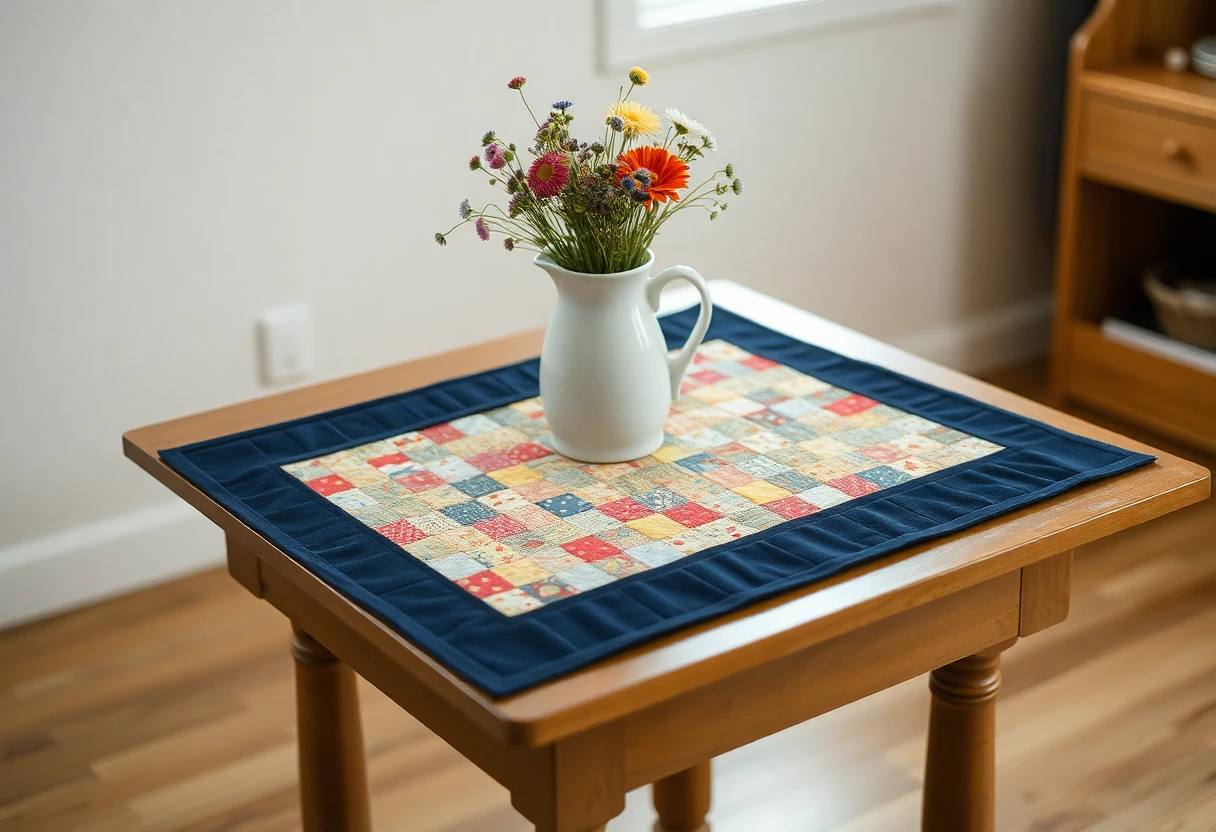 Easy quilted table runner in any lengthRows of 4-inch squares with a navy border, sized for any table from 48 to 96 inches long.
 Nine-patch throw quiltThe classic first quilt, a 53 x 71 in throw with only squares to cut and sew.
 Disappearing nine-patch quiltA plain nine-patch cut in quarters and turned, which looks far harder than it is; 20 blocks from charm squares for a 62 x 75 in throw.
 Amish center diamond quiltThe Lancaster County classic of a big solid diamond in a square with wide borders and corner blocks; only nine large pieces plus borders, 70 in square.