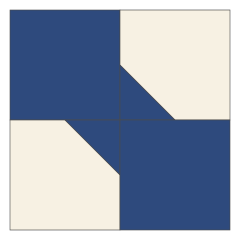
Cutting chart (one block)
| Finished block | Unit | Tie fabric: squares | Tie fabric: knot squares | Background squares |
|---|---|---|---|---|
| 4 in | 2 in | 2 at 2½ in | 2 at 1½ in | 2 at 2½ in |
| 6 in | 3 in | 2 at 3½ in | 2 at 2 in | 2 at 3½ in |
| 8 in | 4 in | 2 at 4½ in | 2 at 2½ in | 2 at 4½ in |
| 10 in | 5 in | 2 at 5½ in | 2 at 3 in | 2 at 5½ in |
The knot squares finish at half the unit, so they're cut at half the unit plus ½ inch. The unfinished block is 4½, 6½, 8½ or 10½ inches. Every size was checked by calculation. The 4-inch block uses up small scraps but is fiddly in slippery fabrics.
The stitch-and-flip corner

- Draw a diagonal line on the wrong side of each knot square.
- Lay a knot square on one corner of a background square, right sides together, edges matched. The line runs across the corner, from one side of the background square to the adjacent side.
- Sew on the line, or a thread's width toward the corner. That small shift allows for the fold, so the pressed triangle reaches the corner instead of falling a hair short.
- Trim the corner ¼ inch past the stitching, toward the corner. Throw away the two small triangles or save them.
- Press the knot triangle out toward the corner. Check that it lines up with the background square's edges; if it falls short, the seam went too far from the corner.
- Repeat with the second background square.
If the background or tie fabric is see-through, as some shirtings and silks are, trim only the knot square's corner and leave the background corner underneath. The extra layer stops the seam showing through, at the cost of a little bulk.
Assemble the block
- Lay out the four squares: tie square top left, background square top right with its knot corner at the bottom left (toward the center), background square bottom left with its knot corner at the top right, tie square bottom right.
- Sew the top pair and press toward the tie square. Sew the bottom pair and press toward the tie square. The seams now point in opposite directions.
- Join the two pairs, nesting the center seam. The knot's corners should meet the tie squares' corners exactly at the center.
- Press the center seam open; four seam allowances meet at the knot, and open is flatter. Or swirl the center: pop the few stitches in the seam allowance above the cross seam and press the allowances in a circle.
Neckties and shirts
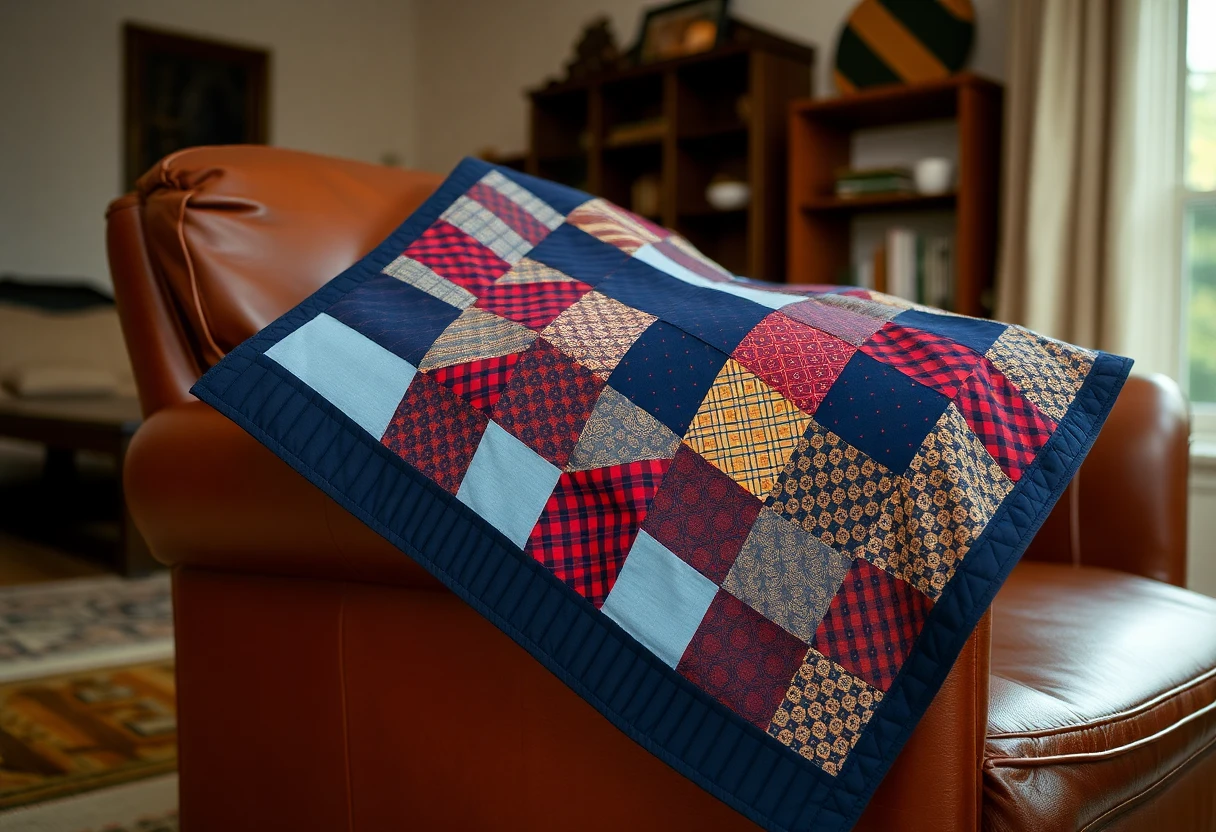
The bow tie block is a classic for quilts made from a person's neckties, with their dress shirts as the background. It's a good choice for a memory quilt from clothes, and our memory quilt guide covers sizes and how many garments you need.
- Open each tie along its back seam. Take out the interlining and the lining, and press the tie fabric flat with a press cloth on a low (silk) setting.
- Many tie fabrics are silk or polyester and slip and fray. Fuse a lightweight woven interfacing to the wrong side before you cut; Pellon SF101 is a woven cotton fusible made for light to medium fabrics. Test the iron heat on a scrap of each tie first.
- Measure the widest flat part of each opened tie. For the 6-inch block you need two 3½-inch squares and two 2-inch squares from the same tie; for the 8-inch block, two 4½-inch and two 2½-inch squares. Narrow ties suit the smaller sizes.
- Cut the background from the body and back of the shirts, where the fabric is flattest. Skip the buttonholes and pockets.
- Launder the shirts before cutting, but don't wash the silk ties.
A quilt that mixes silk ties and cotton shirts needs gentler care afterward; hand washing or careful machine washing on cold, and laying flat to dry, keeps the silk from wearing. If the quilt will be used every day, consider making it from the shirts alone and saving the ties for a wall hanging.
Common mistakes and fixes
| Problem | Cause | Fix |
|---|---|---|
| Knot sits on the outer corner | Knot square sewn to the wrong corner of the background square | The knot corner always points to the block's center |
| Corner falls short of the edge | Sewing exactly on the line; the fold takes up fabric | Sew a thread's width toward the corner |
| Knot doesn't meet at the center | Seams not nested or wider than ¼ inch | Press pairs toward the tie squares so they nest; pin at the center |
| Silk puckers or stretches | No stabilizer | Fuse woven interfacing before cutting |
| Dark tie shows through a light shirt | Seam pressed toward the background | Press toward the tie fabric |
Quilts made from bow ties
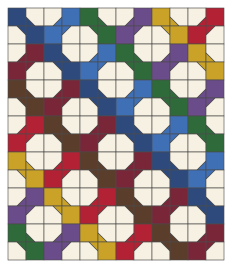
Turning every other block a quarter turn, as above, makes the background squares of neighboring blocks meet around the knots, and rings of background appear between the ties. Set all the blocks the same way and the ties line up in diagonal rows instead. Both settings work with a scrappy mix of ties, since each block uses only one tie fabric.
The stitch-and-flip corner is the same move used for one-at-a-time flying geese. For more units built from triangles, see the hourglass, and for triangle units in general, how to make half-square triangles.
You might also like
 Flying geese quilt blockStitch-and-flip and no-waste geese, cut charts for five sizes and how to keep the points.
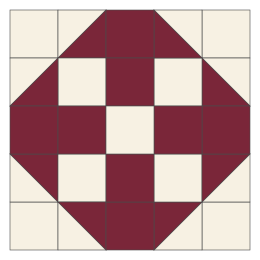 Sister's choice quilt blockA five-patch with a nine-patch center and eight triangle points, cut for four sizes.
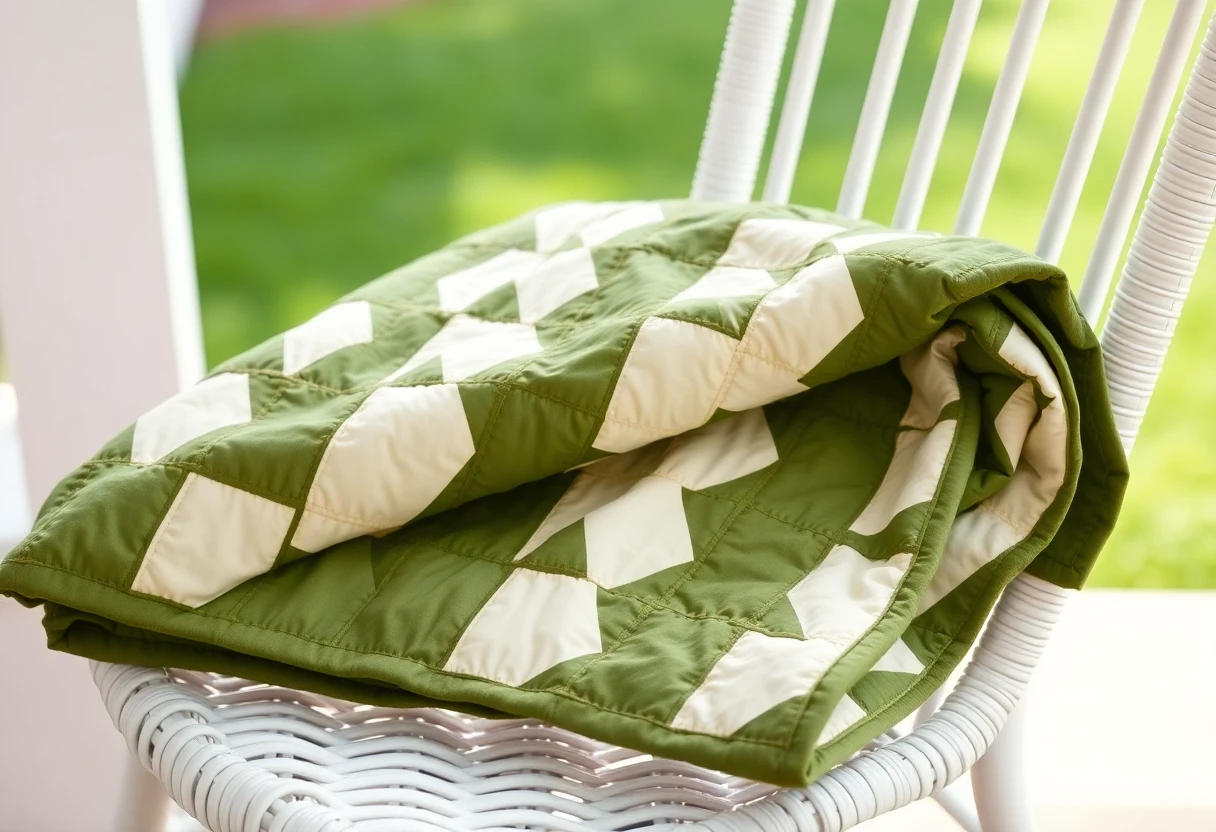 Shoofly quilt blockA nine-patch with half-square triangle corners, cut for 6, 9 and 12 inch blocks.
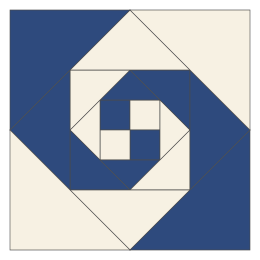 Snail's trail quilt blockA four-patch and four rounds of two-color triangles that spiral out, cut for 8, 12 and 16 inch blocks.