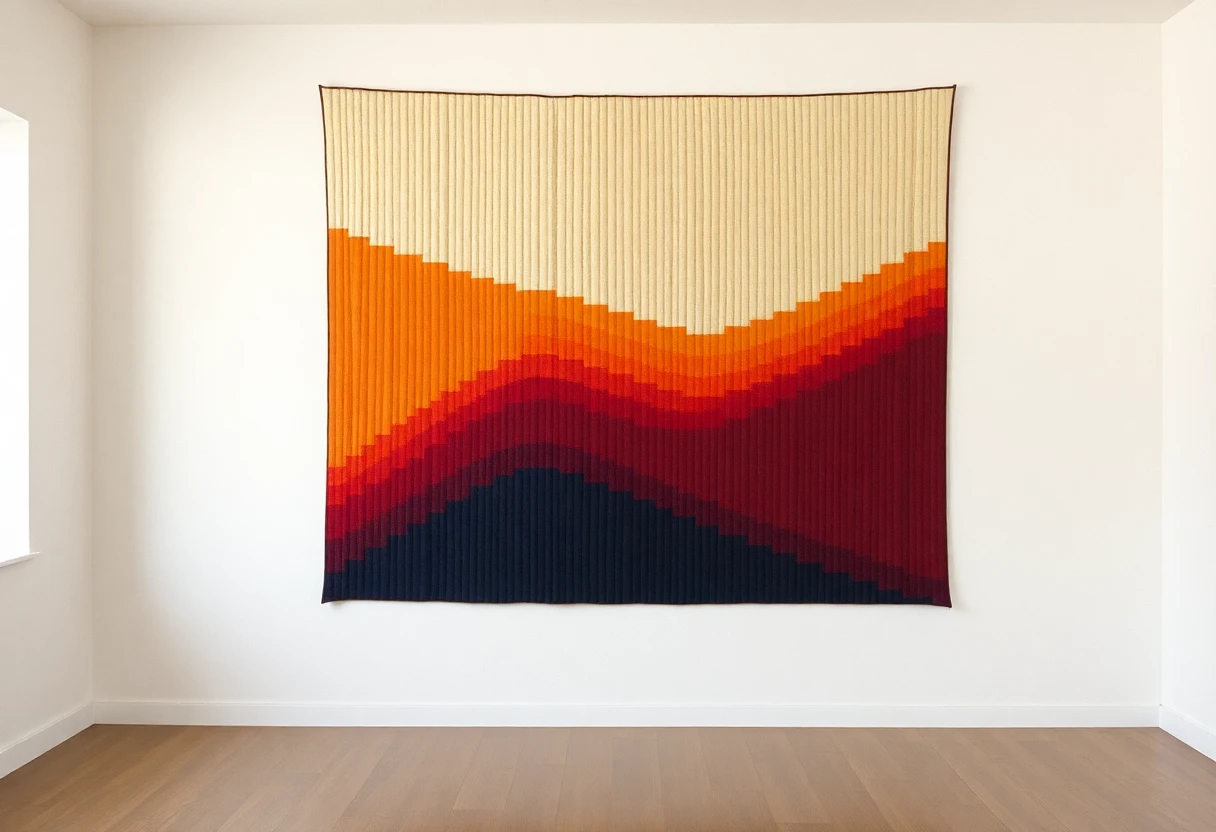

How the waves happen
Twelve fabrics are sewn into a strip set, and the set is sewn into a tube. Slice the tube into loops, and each loop holds all twelve fabrics in order. Open a loop at one seam and fabric 1 is at the top; open the next loop one seam later and fabric 2 is at the top. Set those columns side by side and the colors climb one step per column. Reverse direction and they fall.
The width of the columns shapes the curve. Where the colors climb through narrow 1-inch columns, the slope is steep. Where they turn at the top and bottom of a wave, wide 2-inch columns flatten the line into a rounded crest. This pattern climbs for eight columns, falls for eight, and repeats, making two full waves.
Choosing and ordering 12 fabrics
Bargello depends on a smooth run of value. Number the fabrics 1 to 12. Because each column wraps around from 12 back to 1, the best order shades light to dark and back to light, so 12 and 1 are both pale. The diagram uses pale gold through orange, rust and plum to navy, then back up through blue to pale blue. Tone-on-tone prints and solids work; prints with a strong pattern break the bands up. Lay the fabrics in order on the floor and photograph them in black-and-white mode: the grays should step evenly, without a jump.
Fabric
| Fabric | Used for | Yardage |
|---|---|---|
| Fabrics 1 to 12 | Four 3-in strips of each | ½ yd each (6 yd total) |
| Border | Seven 5½-in strips | 1⅛ yd |
| Binding | Seven 2½-in strips | ⅝ yd |
| Backing | Two 68-in lengths, seamed | 3⅞ yd |
| Batting | At least 68 × 78 in | Twin size (72 × 90 in) |
Make four tubes
- From each of the 12 fabrics, cut 4 strips 3 inches × the width of the fabric.
- Sew one strip of each fabric together in order, 1 to 12, with ¼-inch seams. Sew each new strip in the opposite direction from the last (top to bottom, then bottom to top) to keep the set from bowing.
- Press all the seams in one direction.
- Fold the set right sides together and sew strip 12 to strip 1 along the long edge. The tube is 30 inches around (finished), twelve 2½-inch bands.
- Make 4 tubes. Label them 1 to 4.
The cutting sequence

Lay a tube flat, trim one end straight, then cut loops in exactly this order, measuring from the freshly cut edge each time. Pin a numbered paper tag to each loop as you cut it. Every column needs two loops of the same width, one from each tube of a pair.
- Tubes 1 and 2, columns 1 to 17: 2½, 2½, 2, 1½, 1½, 1½, 2, 2½, 2½, 2½, 2, 1½, 1½, 1½, 2, 2½, 2½ inches.
- Tubes 3 and 4, columns 18 to 33: 2½, 2, 1½, 1½, 1½, 2, 2½, 2½, 2½, 2, 1½, 1½, 1½, 2, 2½, 2½ inches.
A 1½-inch loop finishes at only 1 inch, so a sixteenth of an inch of drift matters. Use a ruler with ⅛-inch markings, such as the Omnigrip 6 × 24, line up a horizontal ruler line with a seam on every cut, and re-trim the edge square if the seams start to tilt.
Column chart
Each column is two loops of its width, opened so the listed fabric is on top, and sewn end to end. To put fabric 5 on top, unpick the seam between fabrics 4 and 5; to put fabric 1 on top, unpick the seam between 12 and 1. Each opened loop reads down from the top fabric through all twelve. Sew the bottom of the first loop to the top of the second, and the column has 24 rectangles and measures 60½ inches long.
| Columns | Cut width | Finished width | Top fabric |
|---|---|---|---|
| 1, 2 | 2½ in | 2 in | 1, 2 |
| 3 | 2 in | 1½ in | 3 |
| 4, 5, 6 | 1½ in | 1 in | 4, 5, 6 |
| 7 | 2 in | 1½ in | 7 |
| 8, 9, 10 | 2½ in | 2 in | 8, 9, 8 |
| 11 | 2 in | 1½ in | 7 |
| 12, 13, 14 | 1½ in | 1 in | 6, 5, 4 |
| 15 | 2 in | 1½ in | 3 |
| 16, 17, 18 | 2½ in | 2 in | 2, 1, 2 |
| 19 | 2 in | 1½ in | 3 |
| 20, 21, 22 | 1½ in | 1 in | 4, 5, 6 |
| 23 | 2 in | 1½ in | 7 |
| 24, 25, 26 | 2½ in | 2 in | 8, 9, 8 |
| 27 | 2 in | 1½ in | 7 |
| 28, 29, 30 | 1½ in | 1 in | 6, 5, 4 |
| 31 | 2 in | 1½ in | 3 |
| 32, 33 | 2½ in | 2 in | 2, 1 |
The finished widths add up to 50 inches. Columns 9 and 25 are the crests (fabric 9 on top); columns 1, 17 and 33 are the troughs (fabric 1 on top).
Sew the columns together
- Open and join the loops for columns 1 and 2 only, and keep the rest closed until you need them. Closed loops can't get turned upside down.
- Re-press the seams of every even-numbered column in the opposite direction. The horizontal seams of neighboring columns line up, so pressed opposite ways they nest.
- Sew column 2 to column 1, pinning at every seam. Sew the narrow columns with the wider one underneath, so you can see the seam allowance of the narrow one stay straight.
- Work across the quilt one column at a time, checking each new column against the chart before you sew it. A column turned upside down reverses the shading and is easy to miss until the end.
- Join the columns in two halves (1 to 17 and 18 to 33), then sew the halves together. The center measures 50½ × 60½ inches.
Press the long vertical seams open or to one side; with many narrow columns, pressing them open keeps the top flatter.
Border and finishing
Join the seven 5½-inch border strips end to end. Cut two side borders 60½ inches long and sew them on, then two top and bottom borders, also 60½ inches (the 50½-inch center plus both side borders). Measure your top first and adjust if needed; see how to add borders. A dark border in the darkest value of the run frames the waves; a light one makes them look like they float.
Seam the backing lengths for a backing about 79½ × 68 inches (the quilt needs 68 × 78). Baste, then quilt wavy lines that follow the bands, or straight vertical lines in the ditch between columns; both keep the quilting from fighting the design. Bind with the seven 2½-inch strips (perimeter 260 inches; seven joined strips give about 277).
Changing the size
To make it taller, use 3½-inch strips instead of 3 inches: each rectangle finishes at 3 inches and the center becomes 50 × 72. The loop widths stay the same. To make it wider, repeat columns 2 to 17 again on the right after column 33; each repeat adds 25 inches and needs two more tubes, so buy ⅝ yd of each fabric instead of ½ yd. Our trip around the world uses the same tube method with every loop the same width, and is a gentler first tube quilt. An accurate seam matters more here than in almost any other pattern, so if yours drifts, read how to sew a quarter-inch seam first.
More free patterns: see them all. This pattern is free for personal and charity use; please don't sell the pattern itself.
You might also like
 Rail fence quiltThree strips sewn together and turned every other block, a zigzag throw of 58 x 70 in that works from a jelly roll.
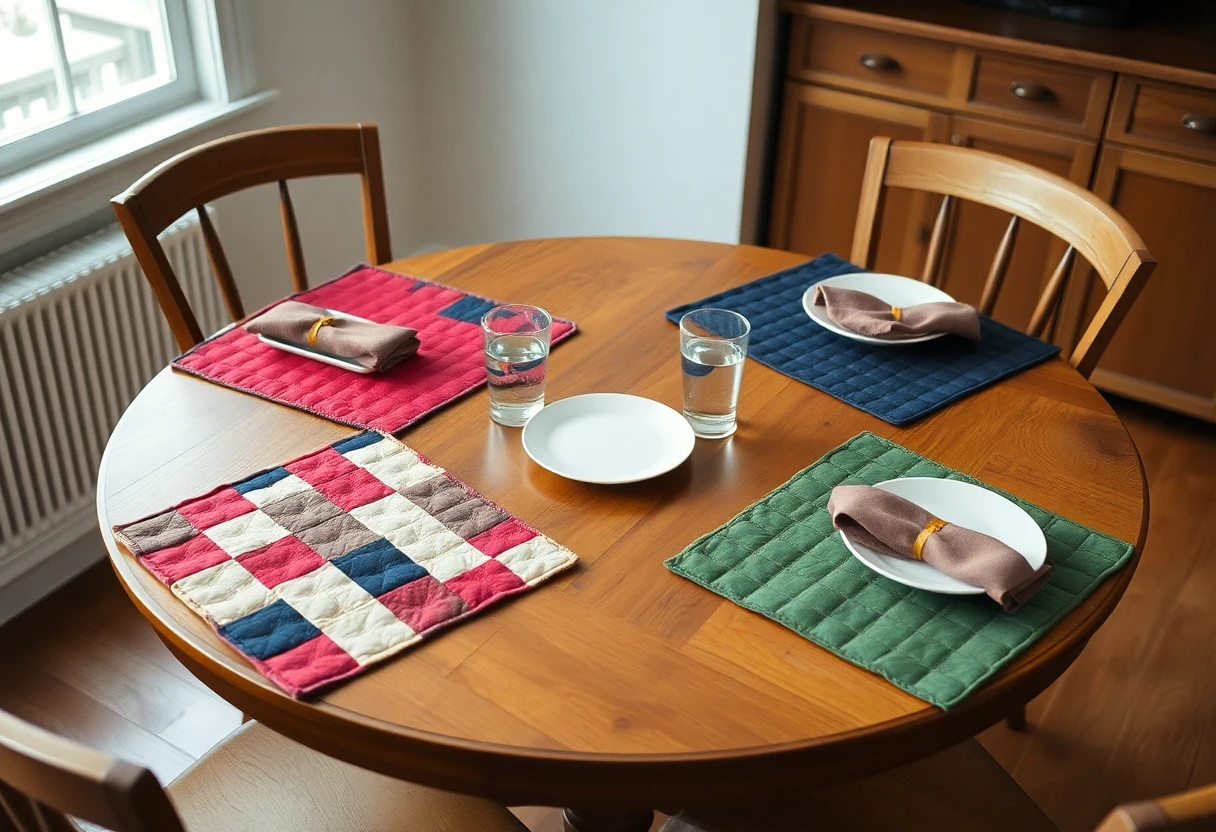 Quilted placemats (set of four)A set of four 12 x 18 in placemats with a column of squares, finished by turning instead of binding.
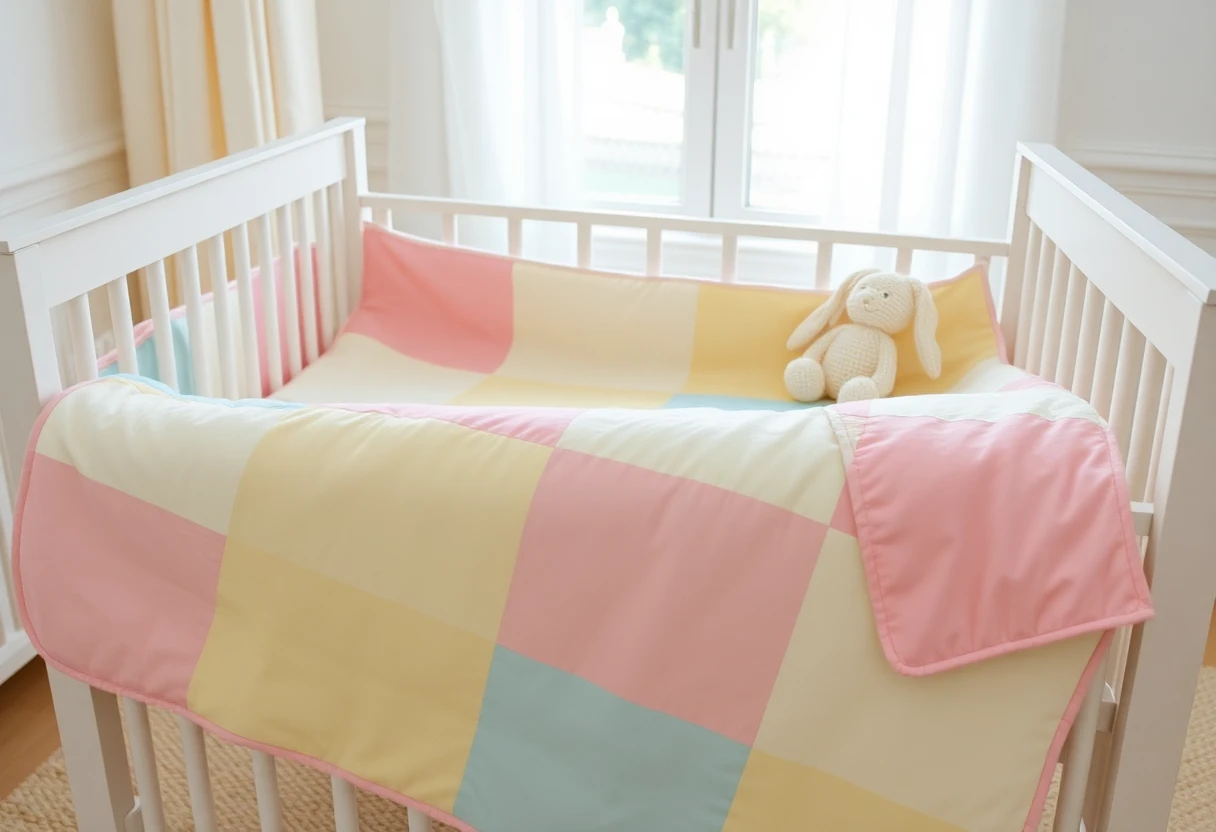 Easy baby quilt48 big squares from 8 fat quarters, 36 x 48 in, with crib, toddler and throw sizes.
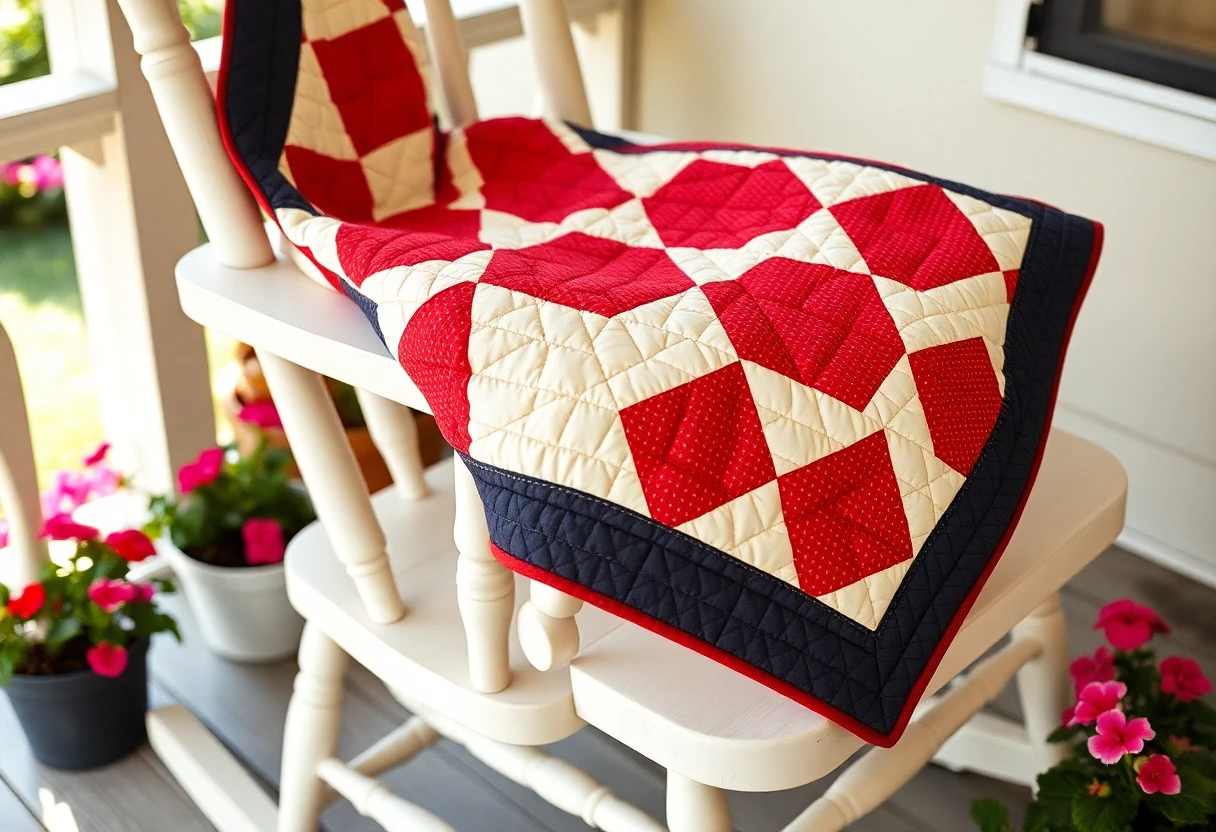 Nine-patch throw quiltThe classic first quilt, a 53 x 71 in throw with only squares to cut and sew.