
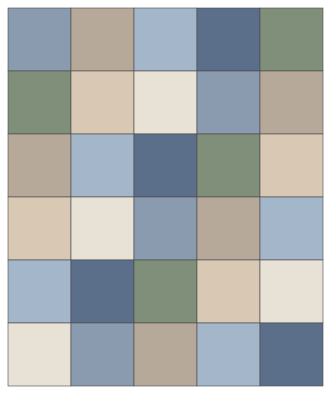
How it works
Each block is a front square and a back square of flannel with a smaller square of batting between them. You quilt an X through each block, sew the blocks together with the seam allowances on the front, snip those allowances every ¼ to ½ inch, and wash. Flannel frays beautifully; quilting cotton frays less and looks thinner.
Sizes and materials
Squares are cut at 8 inches and sewn with ½-inch seams, so each block is 7 inches in the finished quilt, plus a ragged edge all the way around.
| Baby | Throw | |
|---|---|---|
| Layout | 5 × 6 blocks | 7 × 9 blocks |
| Finished size, about | 36 × 43 in | 50 × 64 in |
| Blocks | 30 | 63 |
| Flannel for fronts | 1⅝ yd total (from several prints) | 3¼ yd total |
| Flannel for backs | 1⅝ yd | 3¼ yd |
| Cotton batting, 6-in squares | Crib size (45 × 60 in) covers it | Twin size (72 × 90 in) covers it |
Flannel shrinks more than quilting cotton and the usable width after washing is often under 40 inches. These amounts allow for five 8-inch squares per strip across the width; prewash the flannel first so the squares don't shrink unevenly later.
Cutting
- Fronts: cut 8-inch strips and subcut 8-inch squares (30 for baby, 63 for throw). Mix several prints and solids.
- Backs: the same number of 8-inch squares. One fabric for the whole back looks tidy; the backs show only on the reverse.
- Batting: cut 6-inch squares, one per block. Keeping the batting out of the seam allowances is what lets the seams fray and lie flat.
Make the blocks
- Stack a back square (right side down), a batting square centered on it, then a front square (right side up).
- Sew an X from corner to corner through all three layers. A walking foot keeps the layers from shifting, but a regular foot works if you pin.
- Make all the blocks before you start joining.
Join the blocks
- Place two blocks back sides together, so the seam allowance ends up on the front of the quilt. This is the opposite of normal quilting.
- Sew with a ½-inch seam. Sew the blocks into rows, then sew the rows together, again back to back.
- At the intersections, open the seam allowances of the rows in opposite directions so the crossing seams lie flatter.
- Sew all the way around the outside edge, ½ inch in from the edge. That line holds the edge together and gives it a ragged border to match.
Clip and wash
Snip every seam allowance, including the outer edge, every ¼ to ½ inch, cutting almost to the stitching line but never through it. On a throw that's a few thousand snips; spring-loaded rag-quilt snips save your hand, and many quilters do it over a few evenings in front of the TV.
Wash the quilt on a regular cycle and dry it in the dryer. Check and empty the dryer's lint trap partway through; a new rag quilt sheds a lot of lint in its first wash and dry. A second wash makes it fluffier still.
Variations
- Use 6-inch squares (5-inch finished) for a busier look, or 10-inch squares (9-inch finished) to finish faster.
- Make every front square from an old flannel shirt for a memory quilt. See memory quilts from clothes.
- Use minky or cotton for the backs; the fronts still need to be flannel or homespun so the seams fray.
More free patterns: see them all. This pattern is free for personal and charity use. Please don't sell the pattern itself.
You might also like
 Fat quarter brick quilt14 fat quarters cut into bricks, offset rows, no seams to match, 56 x 64 in.
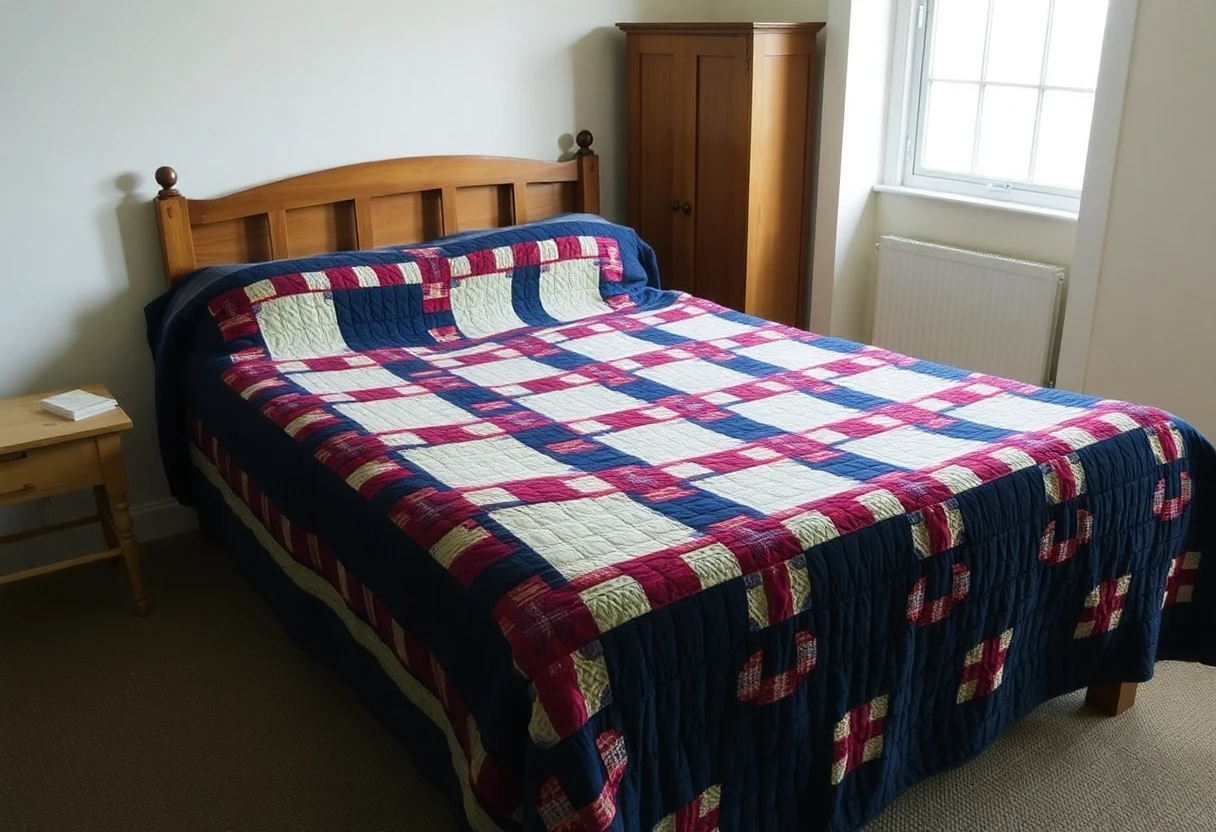 Double Irish chain quiltNavy and red chains on cream, 58 x 78 in, strip pieced so there are no tiny squares to cut one by one.
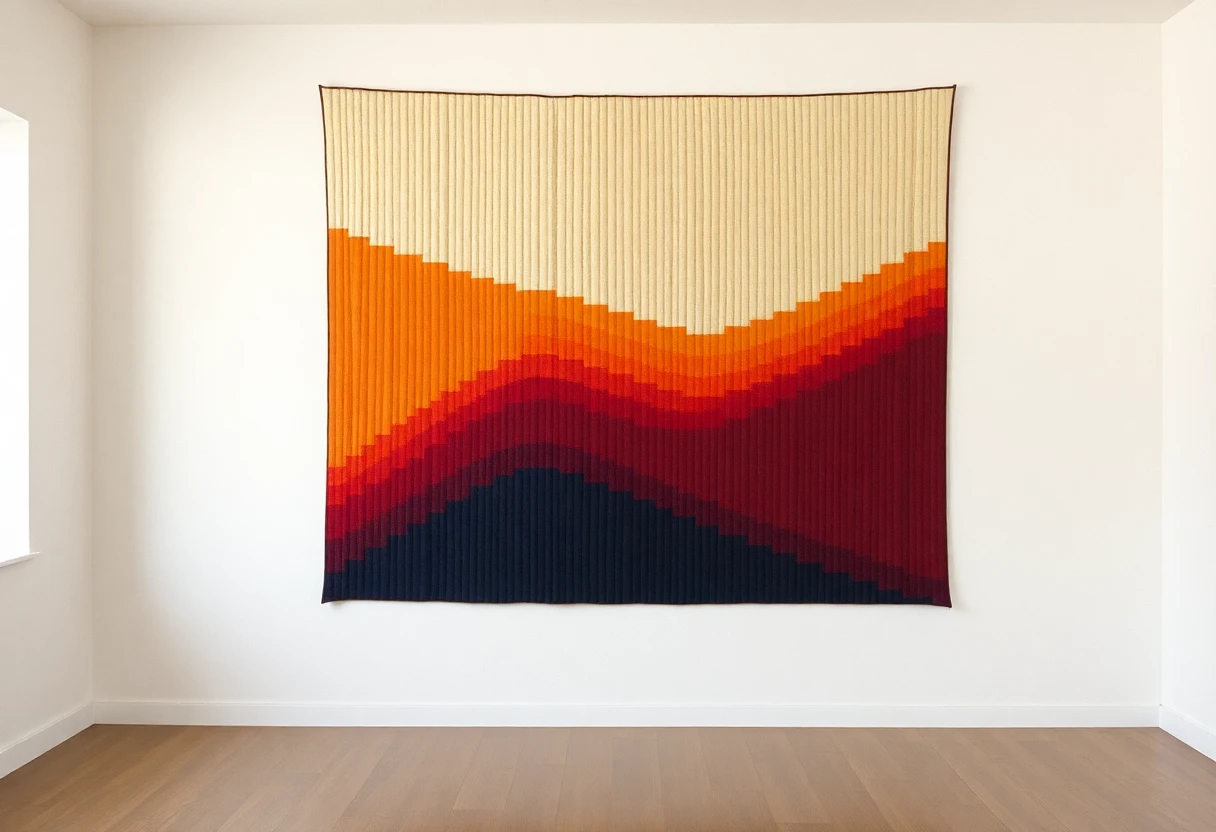 Bargello wave quiltShaded strips sewn into tubes and sliced into columns of different widths that rise and fall in waves; full column-by-column chart for a 60 x 70 in throw.
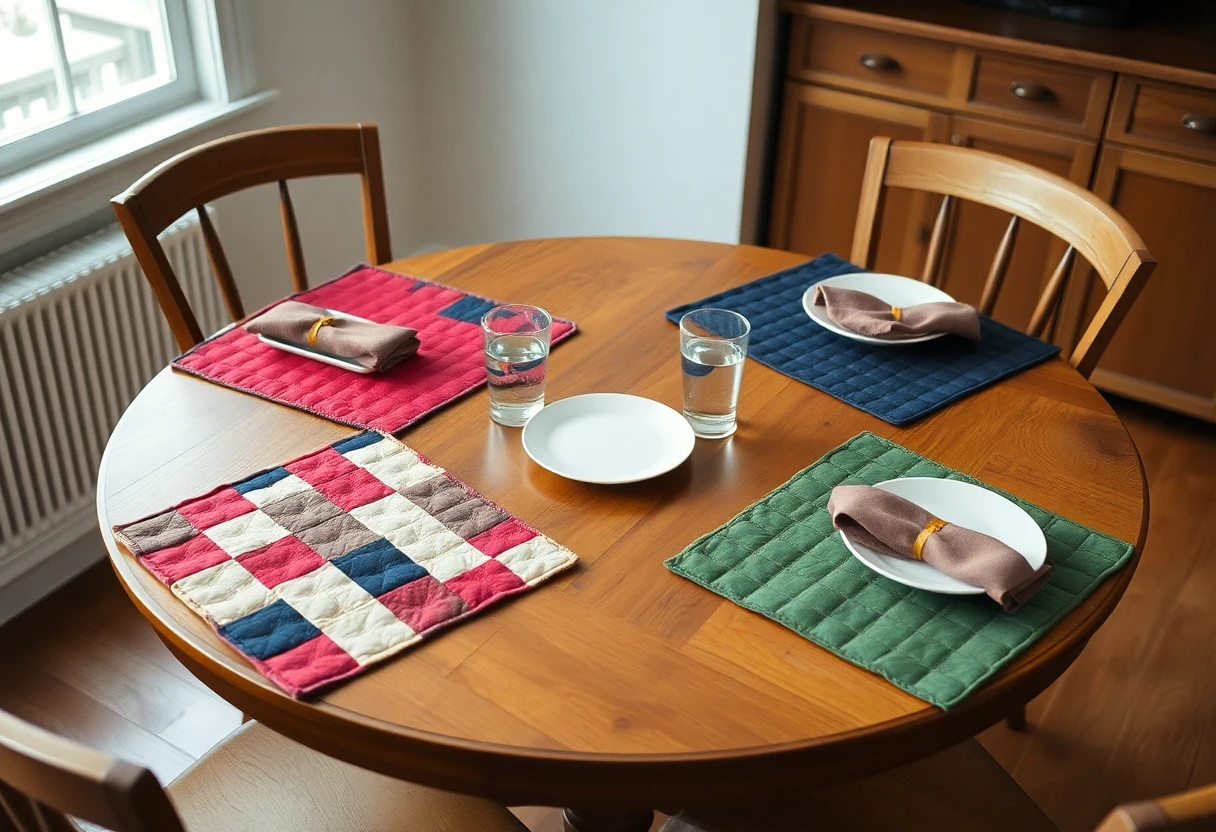 Quilted placemats (set of four)A set of four 12 x 18 in placemats with a column of squares, finished by turning instead of binding.