
How the block is built
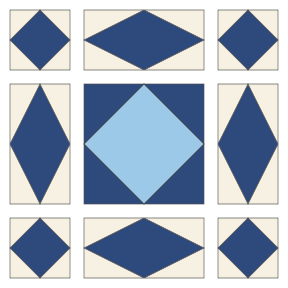
The block is a 4 × 4 grid. Call one grid square x: the finished block divided by 4. The corner units are x × x, the center unit is 2x × 2x, and each diamond unit is x × 2x. For a 12-inch block, x is 3 inches: 3-inch corner units, a 6-inch center and 3 × 6-inch diamond units.
The square-in-a-square units are easy to rotary cut with stitch-and-flip corners. The diamond units are the hard part: their corner triangles are long and thin (one leg twice the other), so they can't be made from squares. The cleanest way to make them accurately is foundation paper piecing on a pattern you draw yourself, which takes two minutes with a ruler.
Cutting chart (one block)
| Finished block | Grid square (x) | Center unit | Four corner units | Four diamond units (foundation pieced) | Unfinished block |
|---|---|---|---|---|---|
| 8 in | 2 in | 1 square 4½ in + 4 squares 2½ in | 4 squares 2½ in + 16 squares 1½ in | 4 rectangles 5 × 3 in + 8 rectangles 3½ × 2 in | 8½ in |
| 12 in | 3 in | 1 square 6½ in + 4 squares 3½ in | 4 squares 3½ in + 16 squares 2 in | 4 rectangles 7 × 4 in + 8 rectangles 4½ × 2½ in | 12½ in |
| 16 in | 4 in | 1 square 8½ in + 4 squares 4½ in | 4 squares 4½ in + 16 squares 2½ in | 4 rectangles 9 × 5 in + 8 rectangles 5½ × 3 in | 16½ in |
In each unit, the first piece listed is the on-point center or the diamond, and the second is the fabric for its corners. For the square-in-a-square units, the center is cut at its finished size + ½ inch, and the four corner squares at half that finished size + ½ inch. For the diamond units, the diamond is cut as a rectangle a generous ½ inch bigger all round than the finished unit, and the corners come from rectangles x + 1½ by x/2 + 1 inches cut once on the diagonal. Those corner rectangles were checked by calculation to cover the triangle plus its seam allowance at every size in the chart; a squarer rectangle (x + 1 by x/2 + 1) comes up short at the tip.
The colors in the diagram: navy diamonds and navy centers in the small units, light blue in the big center, and cream in the corners of the small units and the diamond units. Two fabrics also work (dark and light), and the waves read most clearly when the diamonds and the center's corner triangles are the same dark fabric.
Step 1: the square-in-a-square units
- Draw a diagonal line on the wrong side of each small corner square.
- Lay one on a corner of the center square, right sides together, with the line running across the corner. Sew on the line. Do the opposite corner the same way.
- Trim ¼ inch outside the seams and press the triangles out. Repeat on the other two corners.
- Each unit should measure x + ½ inch (corner units) or 2x + ½ inch (center), with the points of the on-point square exactly ¼ inch from each edge.
The four corner triangles meet at the midpoint of each side, so the corner squares are exactly half the unit. Stitch on the line or a thread to the outside of it; if you sew inside the line, the corners come up short and the points get cut off later.
Step 2: the diamond units, foundation pieced
- Draw the foundation. On printer paper, draw a rectangle x by 2x (3 × 6 inches for a 12-inch block). Mark the midpoint of each side and join them into a diamond. Draw a second line ¼ inch outside the rectangle: that's the cutting line. Number the diamond 1 and the four corners 2, 3, 4 and 5. Make four, or trace one onto four sheets.
- Cut the corner rectangles on the diagonal in pairs: stack two rectangles right sides together and cut once from corner to corner. That gives two triangles slanting each way, which you need, because two corners of every diamond unit are mirror images of the other two.
- Pin the diamond rectangle to the unprinted side of the paper, right side out, covering area 1 with at least ¼ inch to spare all round. Hold it to a light to check.
- Fold the paper back on the line between 1 and 2 and trim the fabric ¼ inch beyond the fold. Lay a corner triangle on it, right sides together with the edges matched. Sew on the line from the printed side with a short stitch (about 1.5 mm, or 18 to 20 stitches per inch) so the paper tears away easily.
- Press the triangle open. Repeat for corners 3, 4 and 5, choosing the triangle that leans the right way for each corner.
- Trim the unit on the outer cutting line. Leave the paper in until the block is sewn; it keeps the bias edges from stretching.
Step 3: sew the block
- Lay out the nine units in three rows. Every diamond unit lies with its long side against the center unit or along the block edge.
- Sew the rows. The diamond points should meet the points of the neighboring square-in-a-square units at the seam, ¼ inch in from the raw edge. Pin there.
- Press the seams in the top and bottom rows toward the corner units and in the middle row toward the center; the seams nest when you join the rows. Some quilters press everything open in this block because so many points meet; that's fine too.
- Join the rows, remove the papers and measure: 8½, 12½ or 16½ inches.
Common mistakes and fixes
- Points cut off where units meet. One unit was trimmed a little small, or the seam ran wide. Trim every unit to exactly x + ½ or 2x + ½ inches with the points ¼ inch from the edge.
- A corner triangle doesn't cover its area on the foundation. It was cut slanting the wrong way. Keep the left-leaning and right-leaning triangles in separate piles.
- Waves look broken across the quilt. A diamond unit was rotated, or the colors of the center unit got swapped. Lay out a few blocks together before sewing them all.
- Stitches pull out when you remove the paper. The stitch was too long. Shorten it and tear the paper against the seam, supporting the stitches with a thumb.
The quilt: where the storm shows up

Set side by side, the corner units of four blocks meet in a cluster, and the diamond units of neighboring blocks line up end to end. That's where the curving lines appear. Sashing breaks the effect, so this block is almost always set edge to edge. Blues and creams are the traditional colors, for the sea; the same block in reds and creams looks more like a lattice.
A storm at sea quilt is a lot of work, and it's often made for someone with a tie to the water: a sailor's family, say, or a coastal memorial. Put a label on it. Our quilt label guide covers how to record who it's for and who made it.
Related blocks
The square-in-a-square unit has its own page, the economy block, and our square in a square calculator gives cut sizes for any unit size. To make the block bigger or smaller, scale x: the block resizer explains which sizes stay on ruler lines. Other blocks with secondary patterns that only appear in the quilt are the snail's trail and Jacob's ladder. Browse them all in the quilt block library.
You might also like
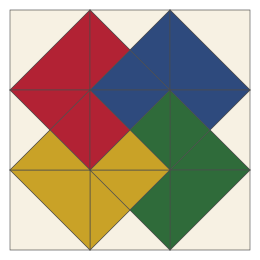 Card trick quilt blockFour "cards" that seem to overlap, from half and quarter triangles, cut for 6, 9 and 12 inch blocks.
 Jacob's ladder quilt blockFive four-patches and four triangle squares that link into diagonal ladders, cut for 6, 9 and 12 inch blocks.
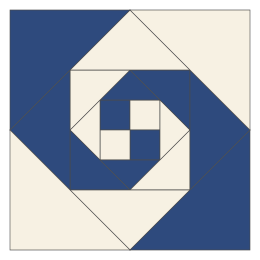 Snail's trail quilt blockA four-patch and four rounds of two-color triangles that spiral out, cut for 8, 12 and 16 inch blocks.
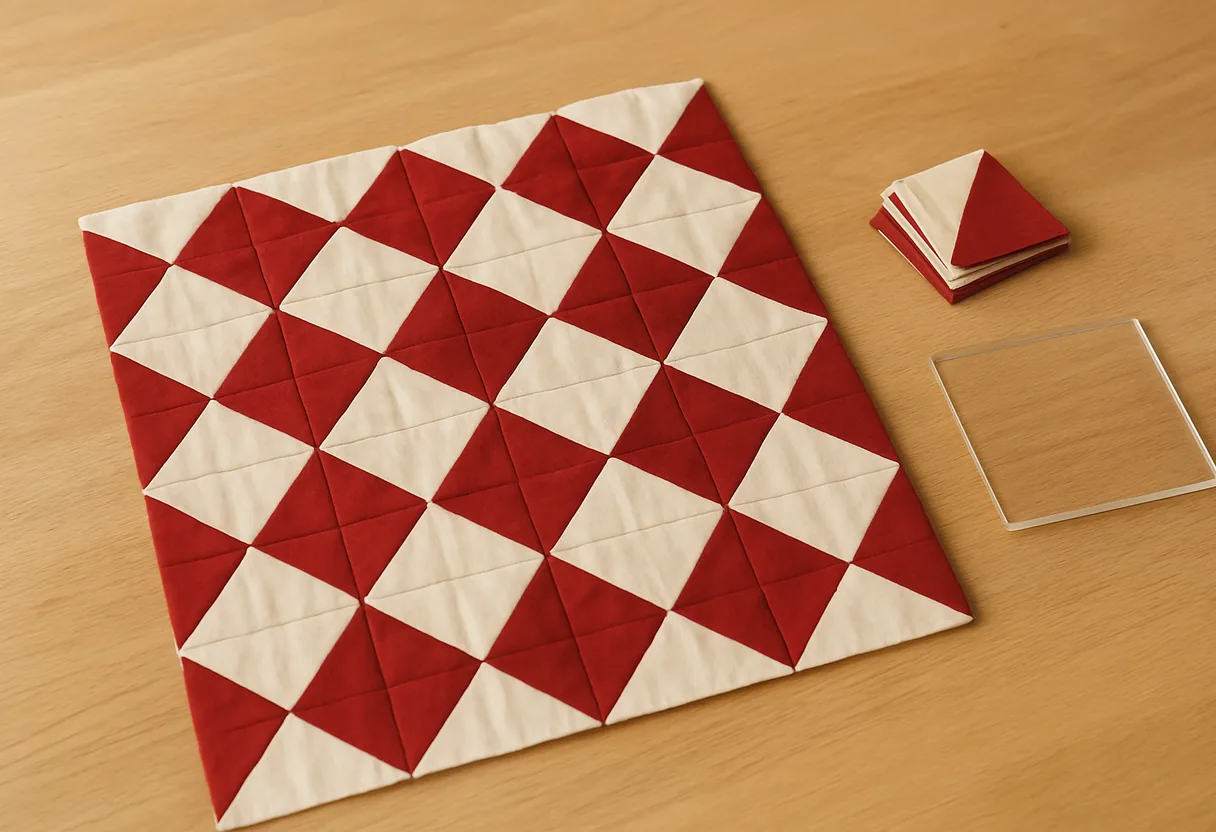 How to make half-square trianglesThe 2-, 4- and 8-at-a-time methods, a cut-size chart for each and how to trim.