

Make the template
- On a large sheet of paper (taped-together printer paper or wrapping paper with a grid on the back), draw a 1-inch grid at least 18 × 21 inches.
- Copy the outline square by square. The leg is 8 inches wide and 11 inches long before the heel curves; the foot reaches about 16½ inches from the back of the leg, and the stocking is about 19½ inches tall.
- Draw a second line ½ inch outside the first. That's the cutting line. Cut the template on it.
Materials for one stocking
| Part | Amount |
|---|---|
| Front: Christmas scraps | Enough 2½-in strips to make a 20 × 23 in panel (3 fat quarters cover it) |
| Back | ⅔ yd of one Christmas print |
| Lining | ⅔ yd of plain cotton |
| Cuff and hanging loop | ⅓ yd of cream cotton or flannel |
| Batting | Two pieces 20 × 23 in (thin cotton batting or fusible fleece) |
Make the outer stocking
- Sew 2½-inch strips side by side until you have a panel about 20 × 23 inches. Horizontal stripes are classic; strips at an angle look more modern.
- Lay the panel on a piece of batting and quilt lines ¼ inch from the seams. Quilt the back fabric to the second piece of batting the same way.
- Lay the template on the front panel, right side up, and cut. Then flip the template over and cut the back. Forgetting to flip it gives you two fronts that don't match.
- Place front and back right sides together and sew around the stocking with a ½-inch seam, leaving the top open. Clip into the seam allowance around the curves every inch or so, without cutting the stitches, and turn right side out.
Make the lining
Fold the lining fabric right sides together, trace the template and cut both layers at once; that gives a mirrored pair automatically. Sew around with a ½-inch seam, leaving the top open, and clip the curves. Don't turn it. Slip it inside the outer stocking, wrong sides together, line up the top edges and baste around the top.
Add the cuff and loop
- Cuff: cut a rectangle 17 × 10 inches. Sew the short ends together with a ½-inch seam to make a ring, then fold it in half lengthwise, wrong sides together, so it's 5 inches tall.
- Loop: cut a strip 2 × 6 inches. Press it in half lengthwise, open it, press the long edges to the center crease, then fold again and topstitch. Fold it into a loop.
- Put the cuff inside the stocking, against the lining, with its raw edges lined up with the top edge and its seam at the back seam. Tuck the loop between the cuff and the lining at the back seam, loop end pointing down.
- Sew around the top through all layers with a ½-inch seam. Finish the raw edge with a zigzag stitch, then fold the cuff out and down over the outside. The loop pops up at the back.
Add a name to the cuff with embroidery or fabric paint before you sew it on; it's much easier while the cuff is flat.
More holiday sewing: patchwork tree skirt, Christmas star table runner and 12 Christmas quilt ideas. This pattern is free for personal use; please don't sell the pattern itself.
You might also like
 Patchwork tree skirt36 Christmas print squares quilted and cut into a 42-in circle, bound with bias binding.
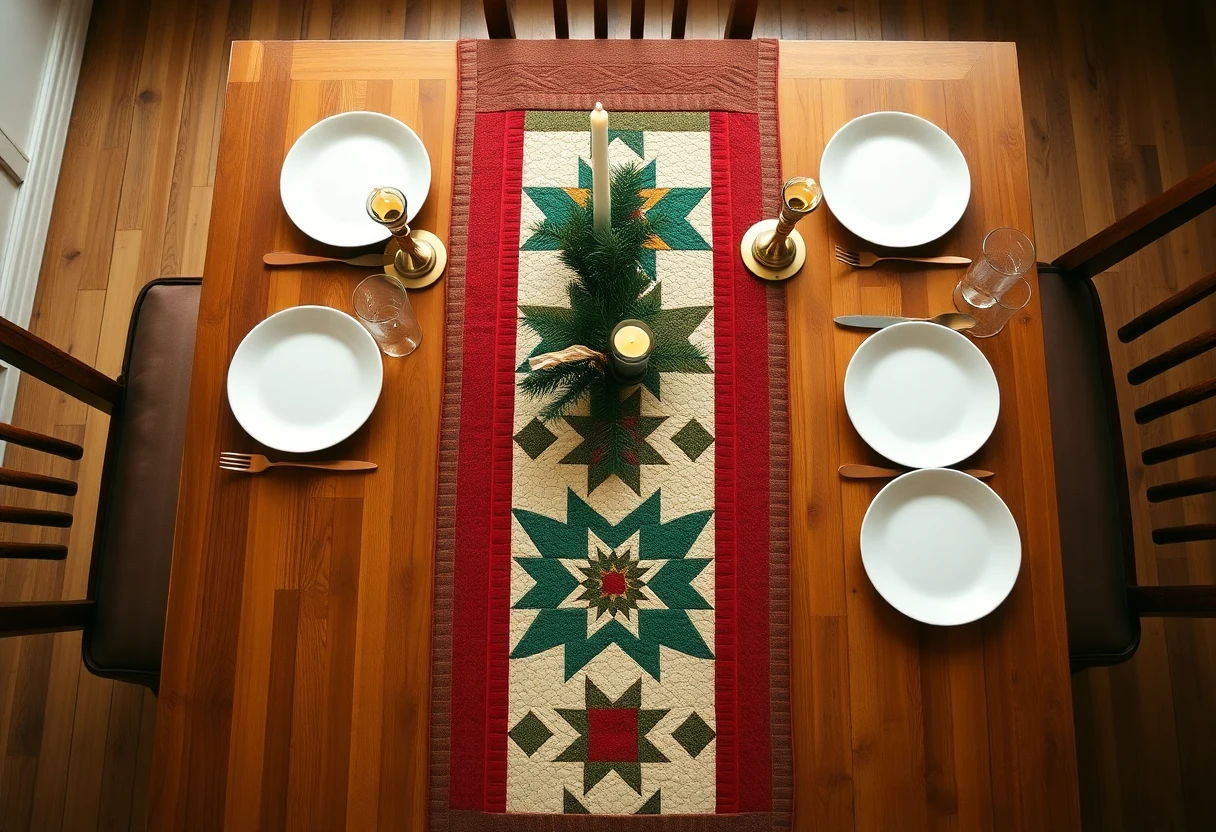 Christmas star table runnerThree sawtooth stars in green, gold and red, 16 x 40 in, a one-weekend project.
 Christmas quilt ideas, sorted by how much time you haveTwelve holiday projects, from one-evening gifts to a full Christmas throw.
 Gifts for quilters that actually get usedStocking stuffers, everyday tools and bigger gifts, and how to find out what they already have.